Hangboard
Mar 22, 2021 | Author: Nic La | Tags: rock climbing project woodHangboard, for the serious rock climber only. I say this because the hangboard is a tool best eased into and built on with time. Ignoring the risks can mean certain injury. Still, when used correctly, hangboarding can be a valuable tool for the rock climber seeking continuous improvment. Isn't that what rock climbing is all about? That said, here's a bunch more warnings.
WARNING: Your wall may be different and therefore will require different hardware. Know your wall before purchasing hardware. The location I wanted to install my hangboard was half stud and half dry wall. Therefore, I bought (x3) wood screws and (x3) toggle bolts.
WARNING: If installing at a rental property, consult your lease and landlord before drilling 1/2" holes in your wall. I fully expect to loose my security deposit when I move out.
WARNING: Electrical lines are run behind walls. While unlikely to be run immediately above a doorway, know your wall before drilling.
WARNING: A hangboard can be dangerous if not installed properly and can be dangerous if installed properly. Know how to use a hangboard before attempting. I highly recommend "The Rock Climber's Training Manual" by Michael L. Anderson PhD and Mark L. Anderson.
Step 1: Materials + Tools
Materials:
- (x1) TRANGO Rock Prodigy Training Center Hangboard. Highly recommend. However, other hangboard will suffice
- (x1) small stool from Amazon
- (x1) 2x12-12ft Prime Doug Fir cut to 37" from Home Depot. I used scrap wood
- (x3) 1/4 in. Drywall Anchor from Home Depot
- (x3) 1/4 in.-20 x 3 in. Zinc Plated Hex Bolt from Home Depot. 3" bolts required to catch anchors through 2" wood and 1/2" dry wall
- (x3) 1/4 in. x 3 in. Zinc-Plated Hex Lag Screw from Home Depot
- (x6) 1/4 in. Zinc-Plated Flat Washer from Home Depot
- (x1) stepping stool or ladder
- (x1) hand drill + 1/2" wood bit
- (x1) stud finder
- (x1) leveler
- (x1) socket set
- (x1) screwdriver set
- (x1) belt sander
- (x1) Dremel
- (x1) friend
- (x1) pizza (for the friend)
Step 2: Secure a Location
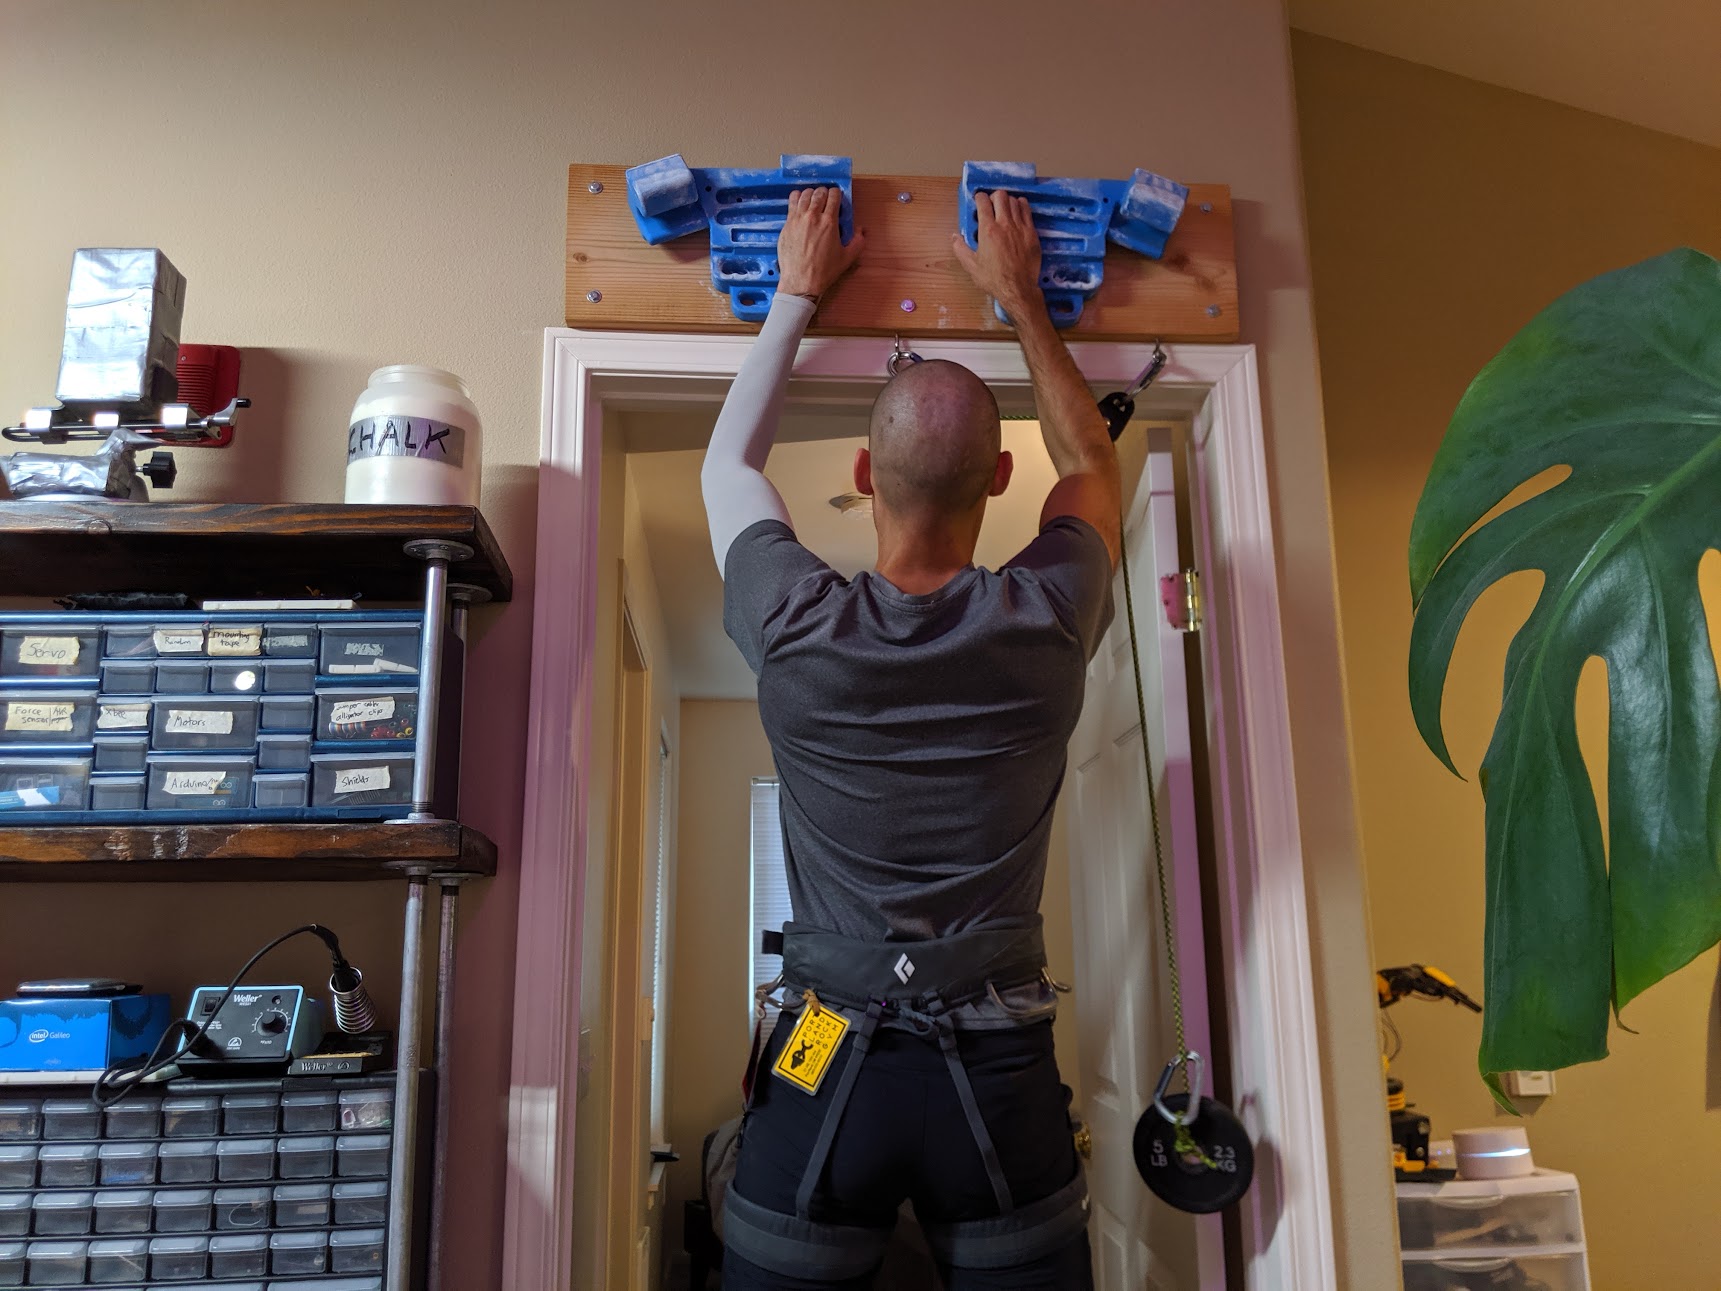
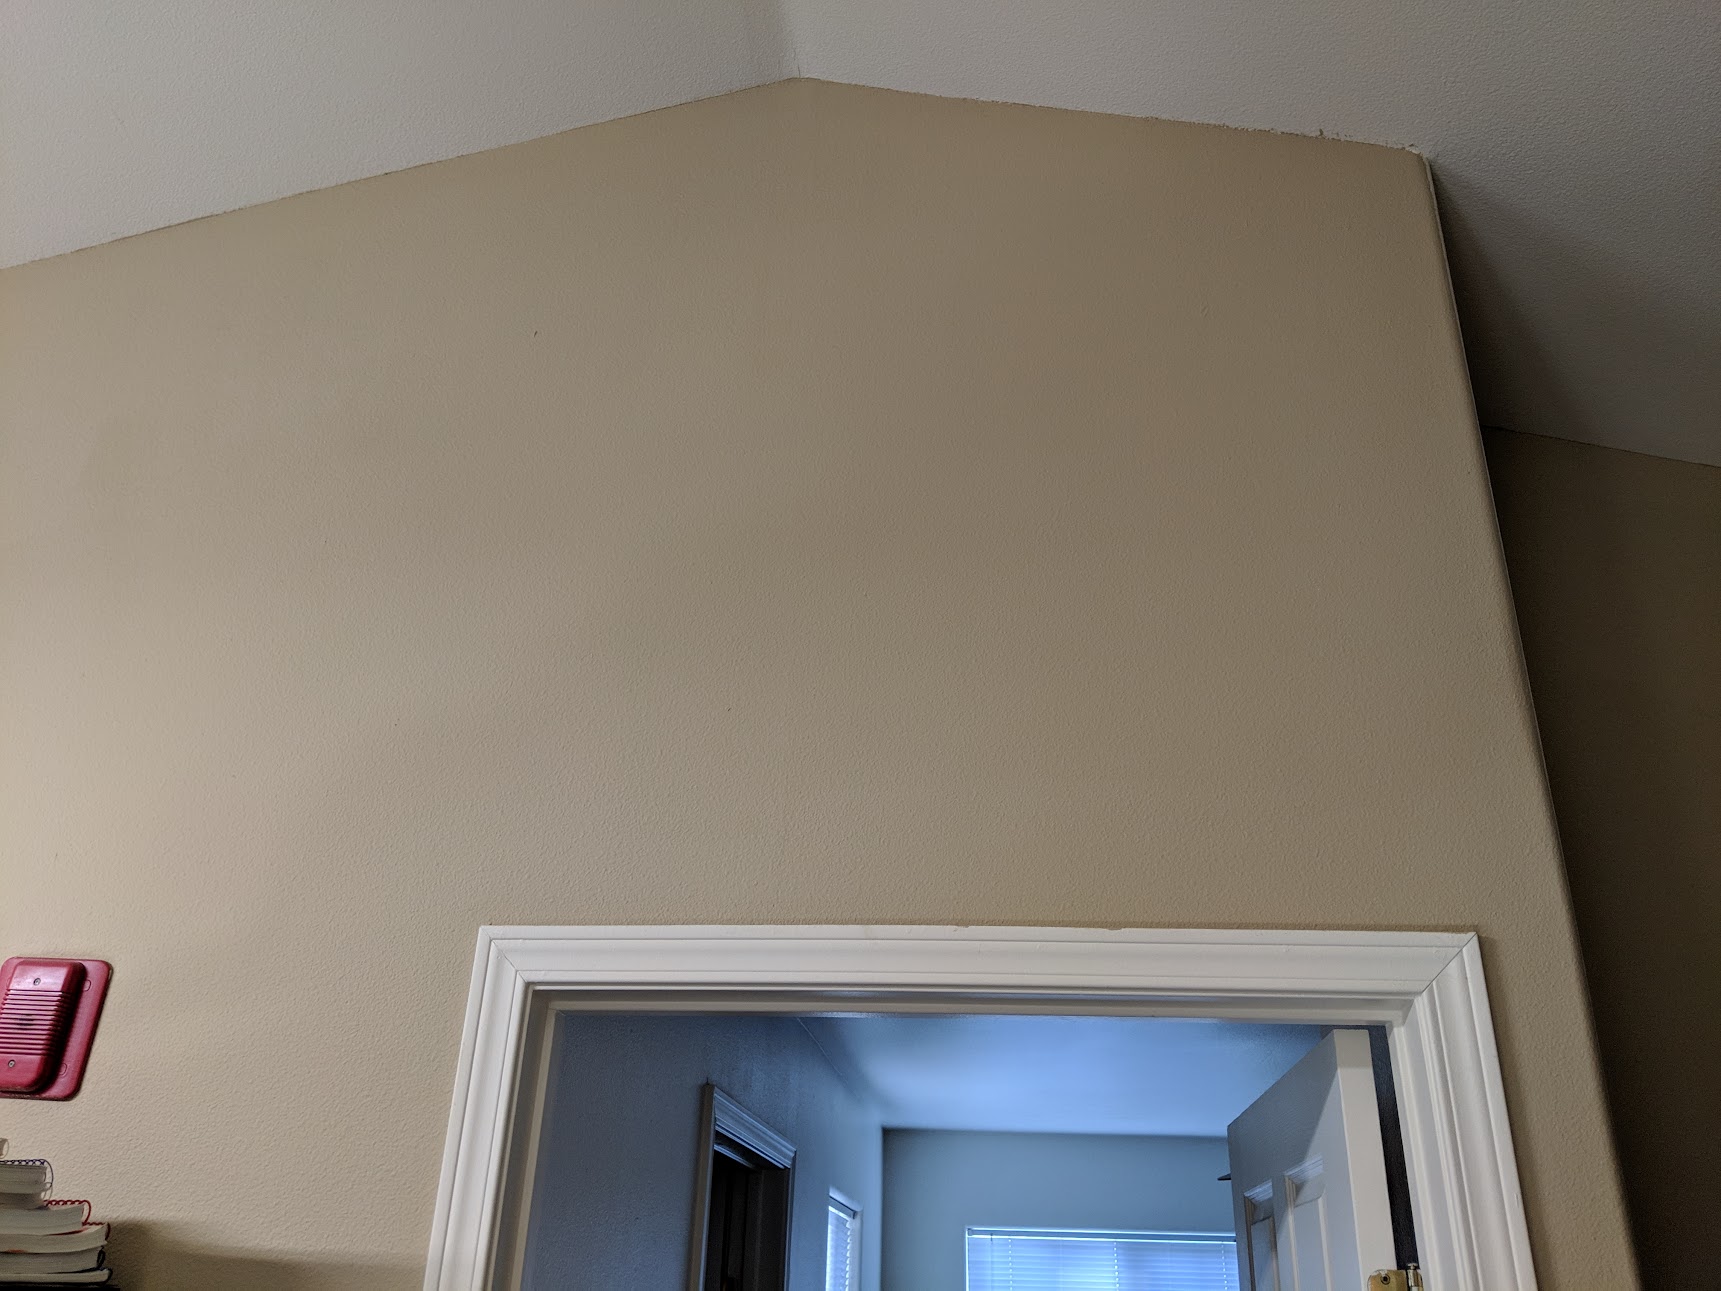
Secure a location for your hangboard. Ideally the hangboard should be in a location where it's easy to reach the top holds while allowing your legs to hang freely. That means high enough so you don't have to clentch your legs and with enough space in front of you such that your knees don't hit anything. With the addition of a small stool, above a doorway satisfies both these requirements. Thankfully I have a high ceiling and an interior doorway.
Step 3: Map the Wall
Ideally your chosen location would have three vertical studs spaced 18" apart. Life's not ideal. Using a stud finder, I discovered my location had two horizontal studs: one too high and one immediately above my door (a doorframe if you will). I decided to go with the bottom stud and rest the hangboard on the molding for additional support. This meant the top of my hangboard would be supported by nothing but drywall. Regardless of the 85 lb per toggle bolt shear load rating, I'm still sketched out.
Step 4: Prep the Board
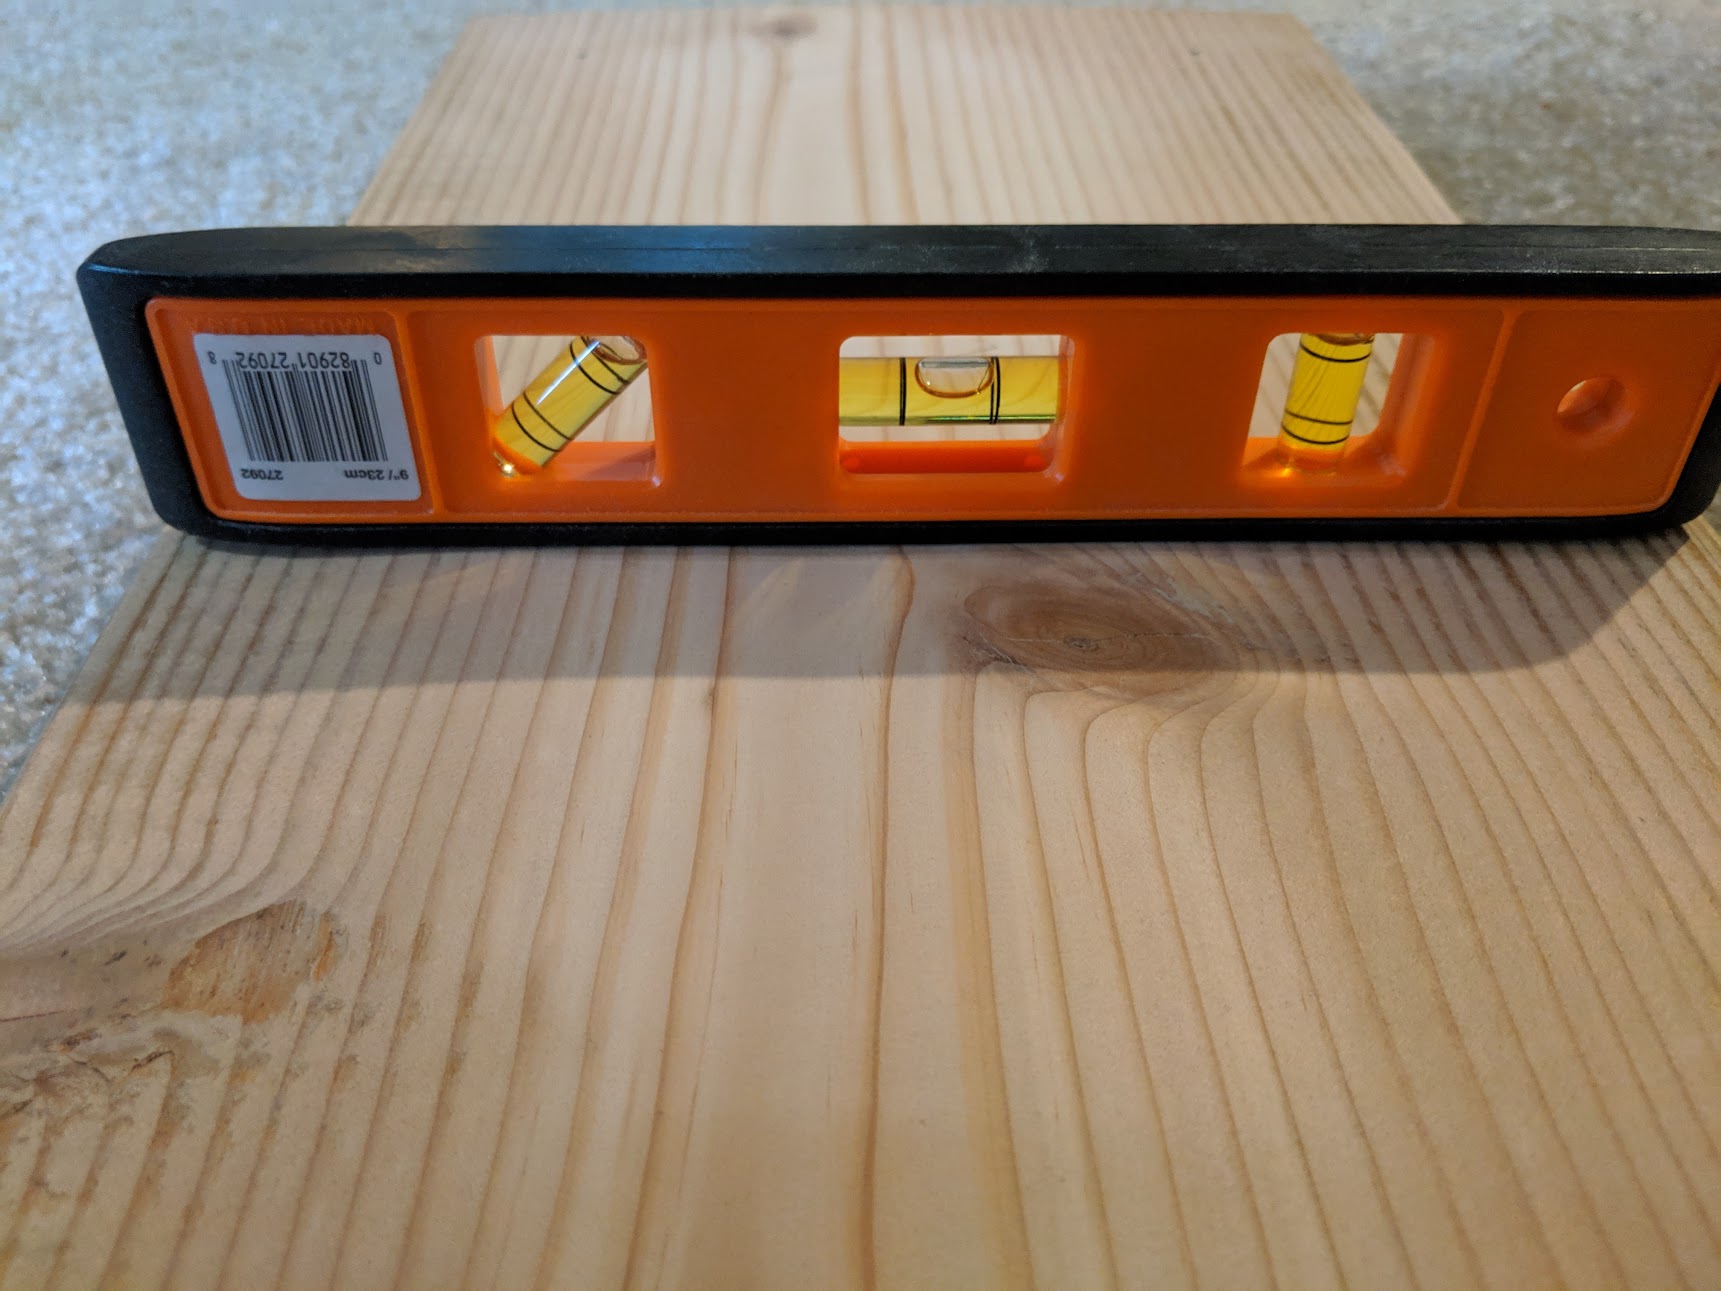
Using your leveler, confirm the two largest surfaces of your board are flat. This will ensure the holds mount flush with the board and the board mounts flush with the wall. If not flat, use the belt sander to level the board. Placing your hangboard holds on the board for reference, mark where to drill your six mounting holes. Use the 1/2" wood drill bit to drill six 1/2" diameter holes in your board.
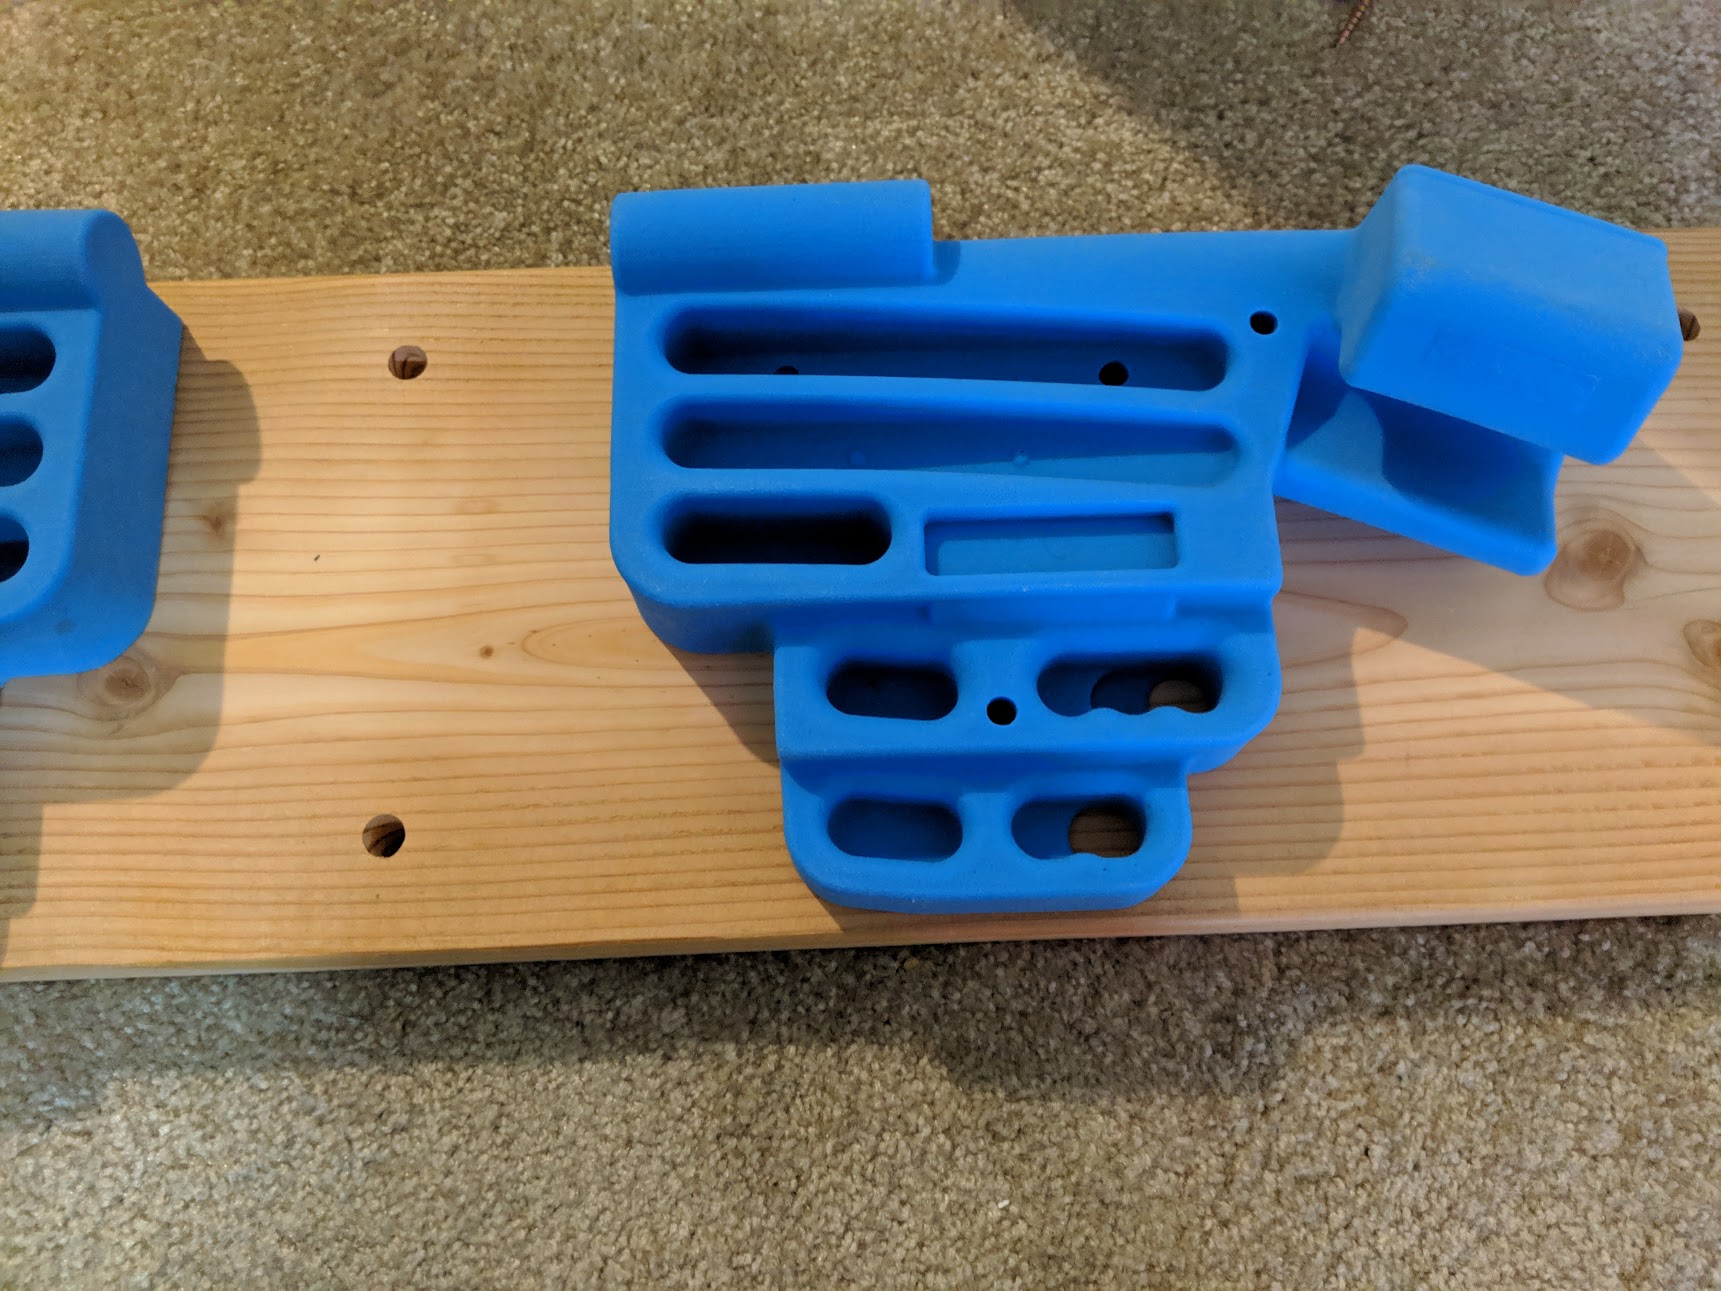
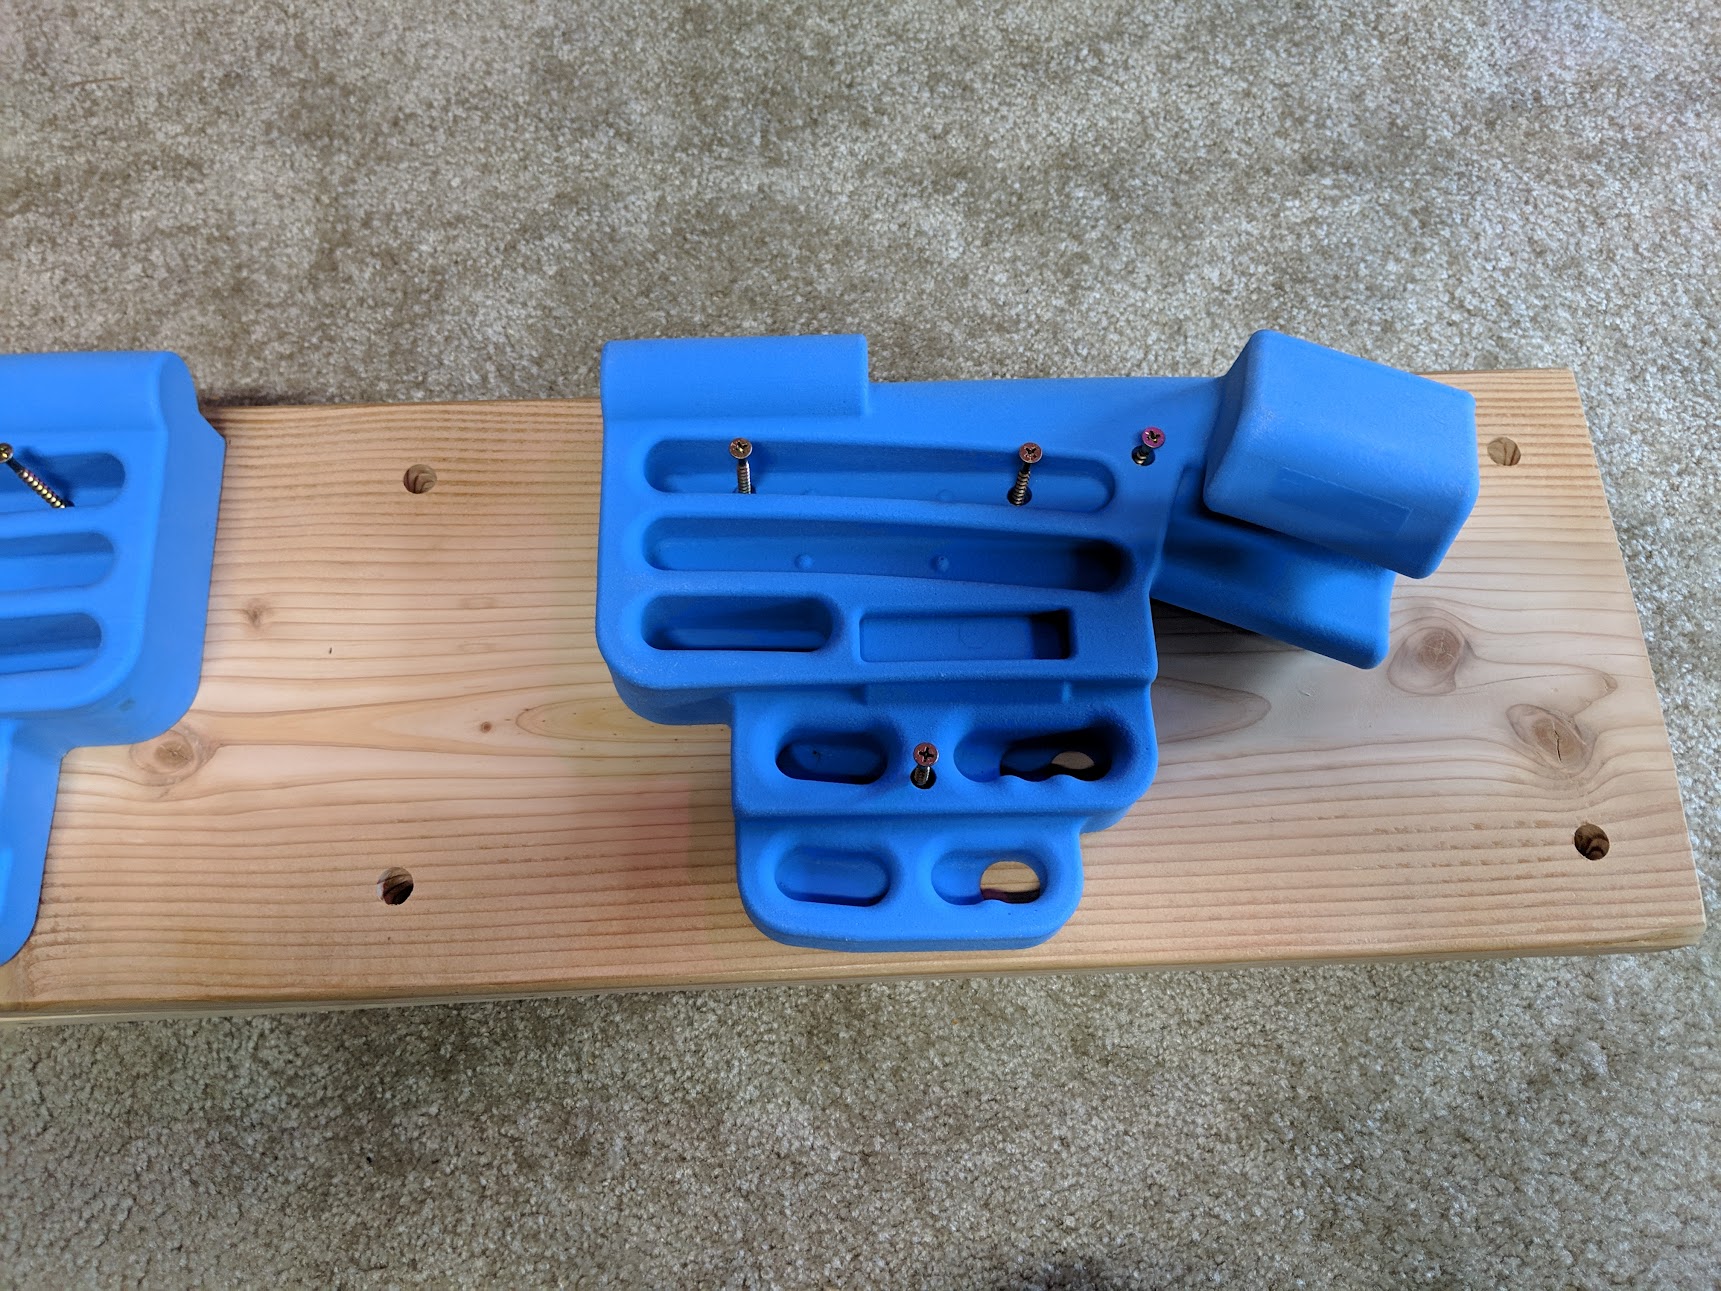
Step 5: Mount the Holds
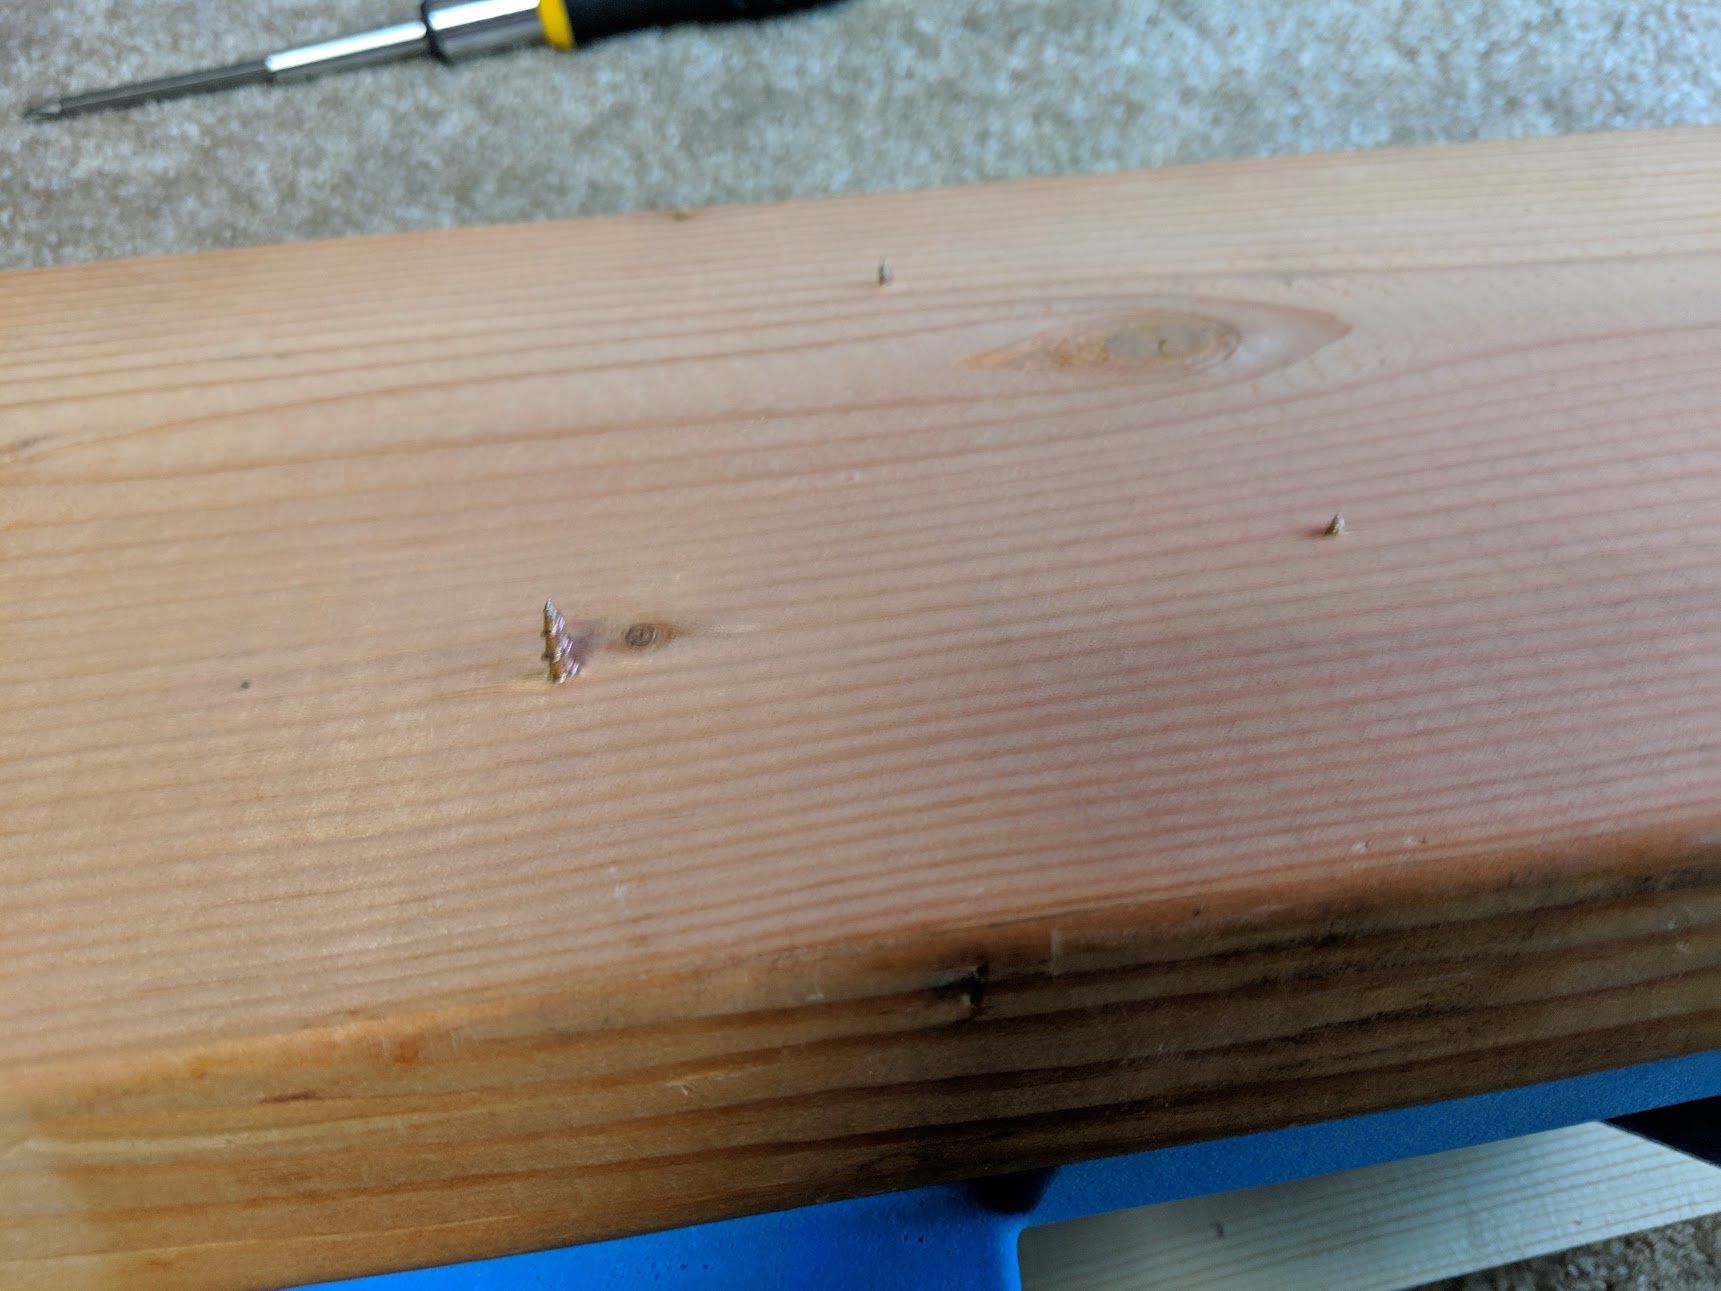
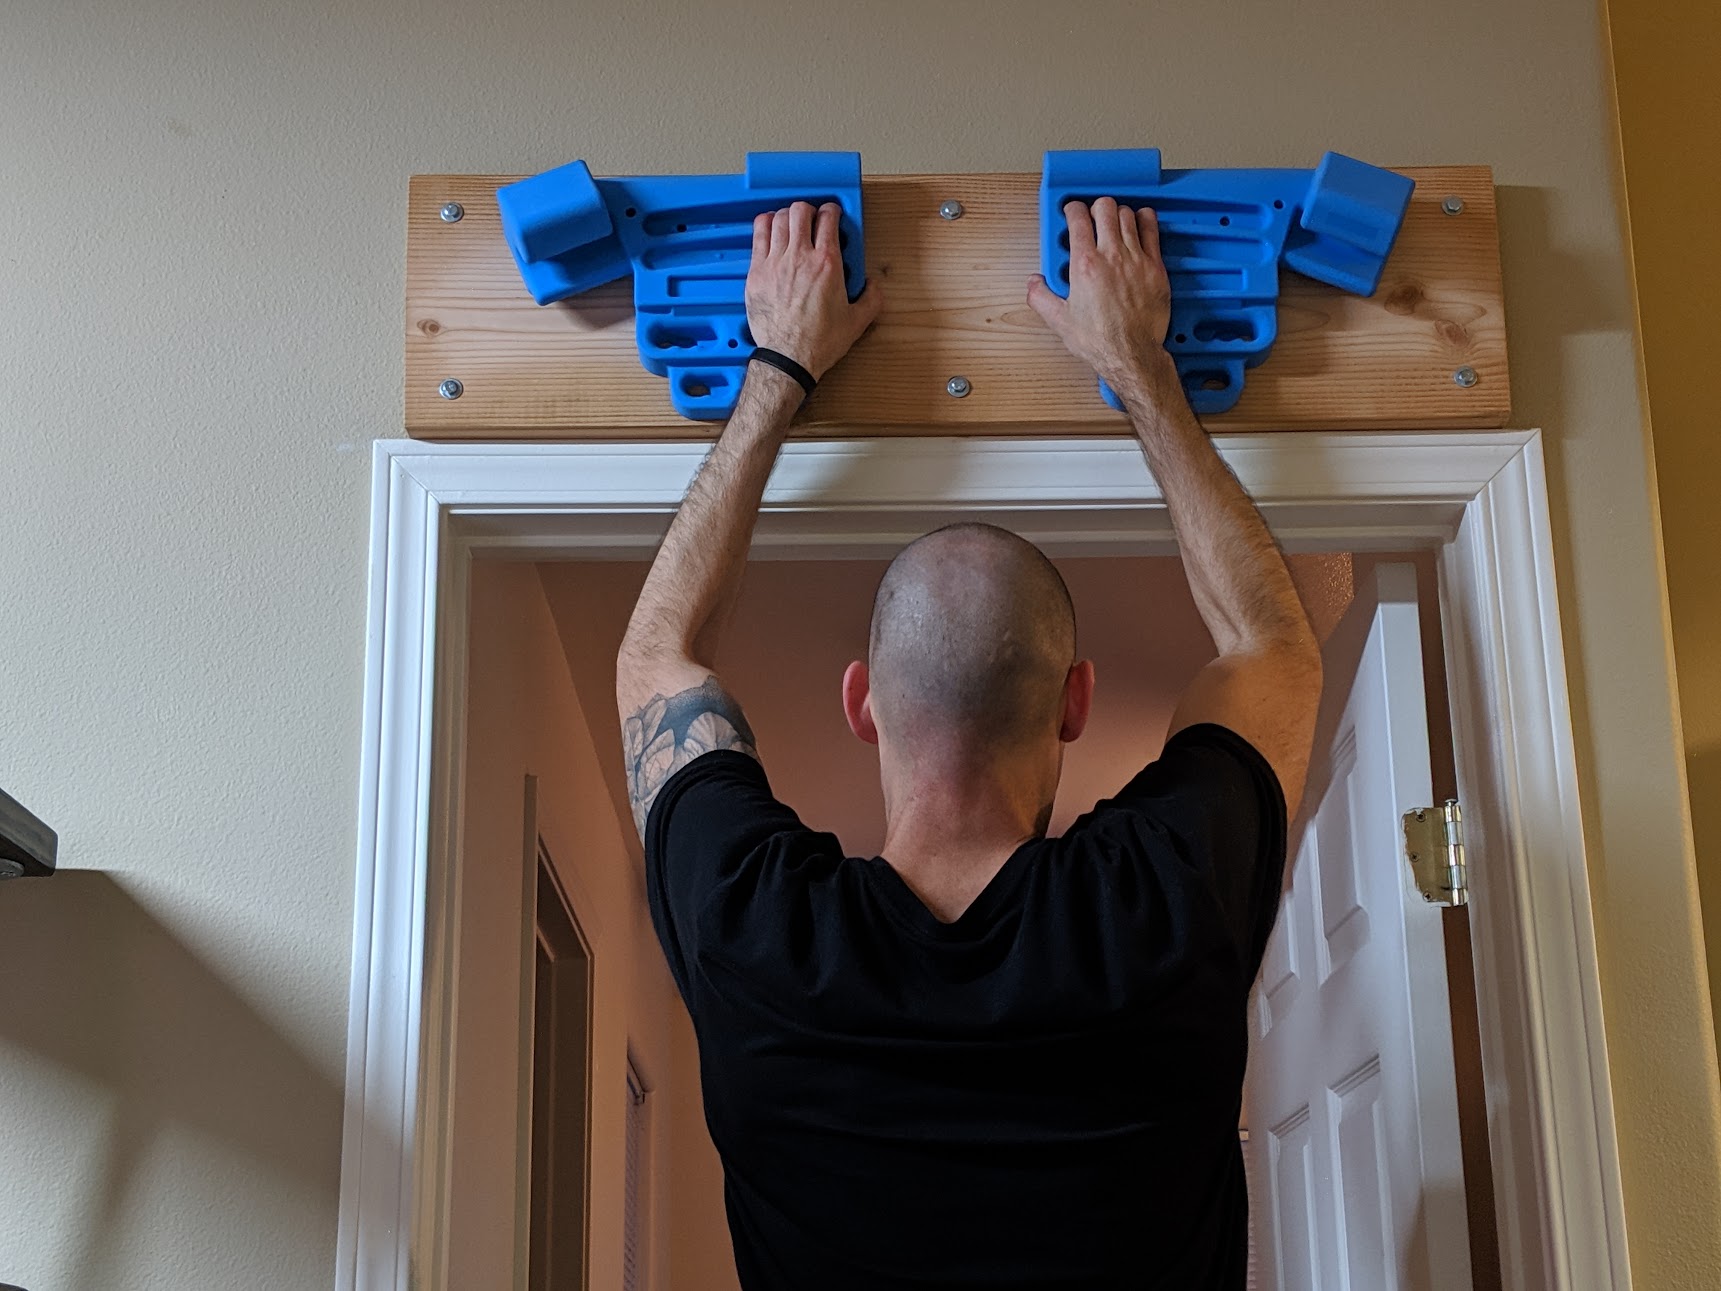
Use the hardware that came with the hangboard holds to fix the holds to the board. TRANGO recommends spacing the holds 4" apart. I felt more comfortable with 6" spacing. Henceforth, I will be referring to this hangboard-board combination as Hangboard. Turn the Hangboard over and file down any exposed screws. A Dremel makes quick work of this.
Step 6: Mount to Your Wall
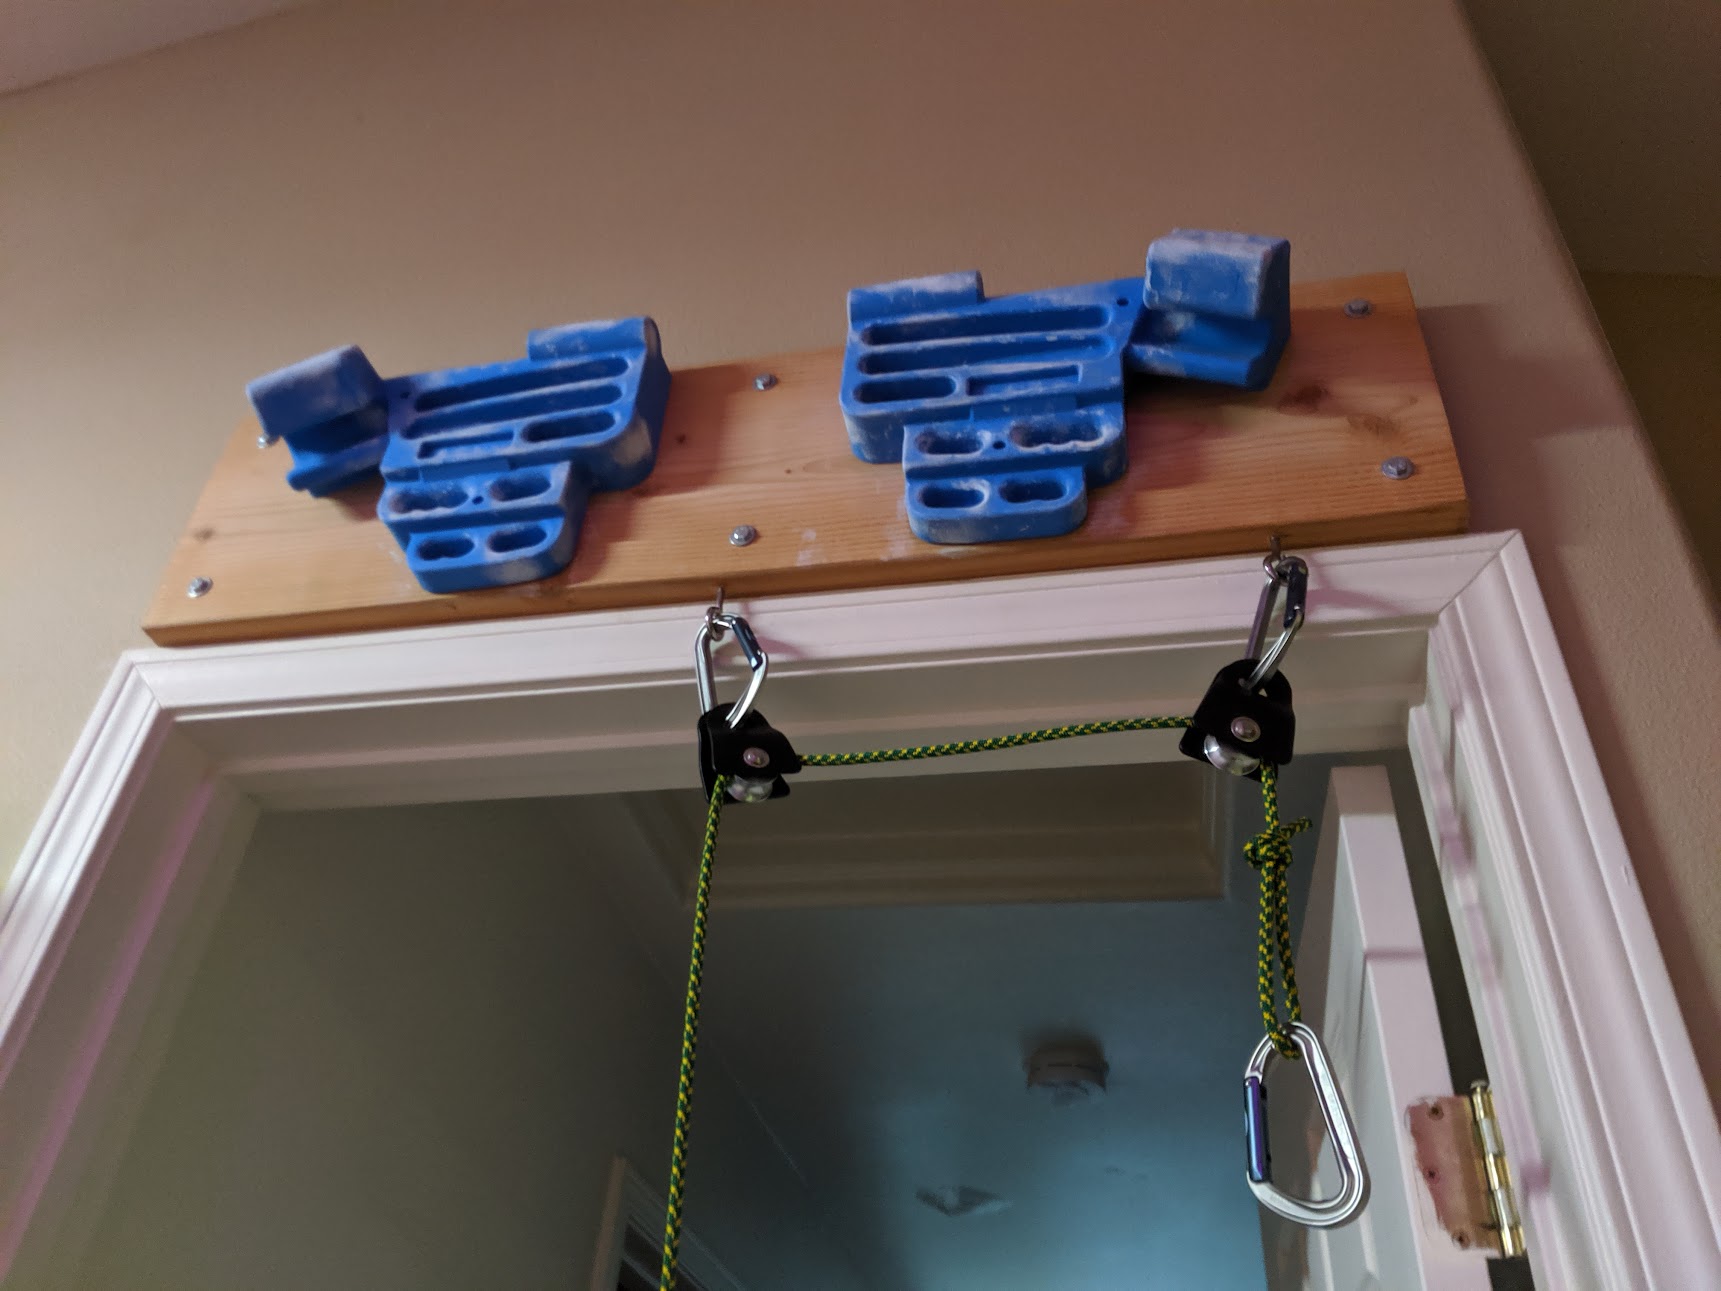
Do any pre-mount wall prep required by your hardware. I predrilled my wall and inserted the three anchors. This is where your friend comes in handy. Have them hold the hangboard in place while you fix it to your wall. I didn't want to bother my friends (I swear I have friends), so I cobbled together pipe mount that rested on top of my bookcase. Resting the Hangboard on the door molding and using the pipe mount to press the Hangboard against the wall, I fixed the Hangboard in place.
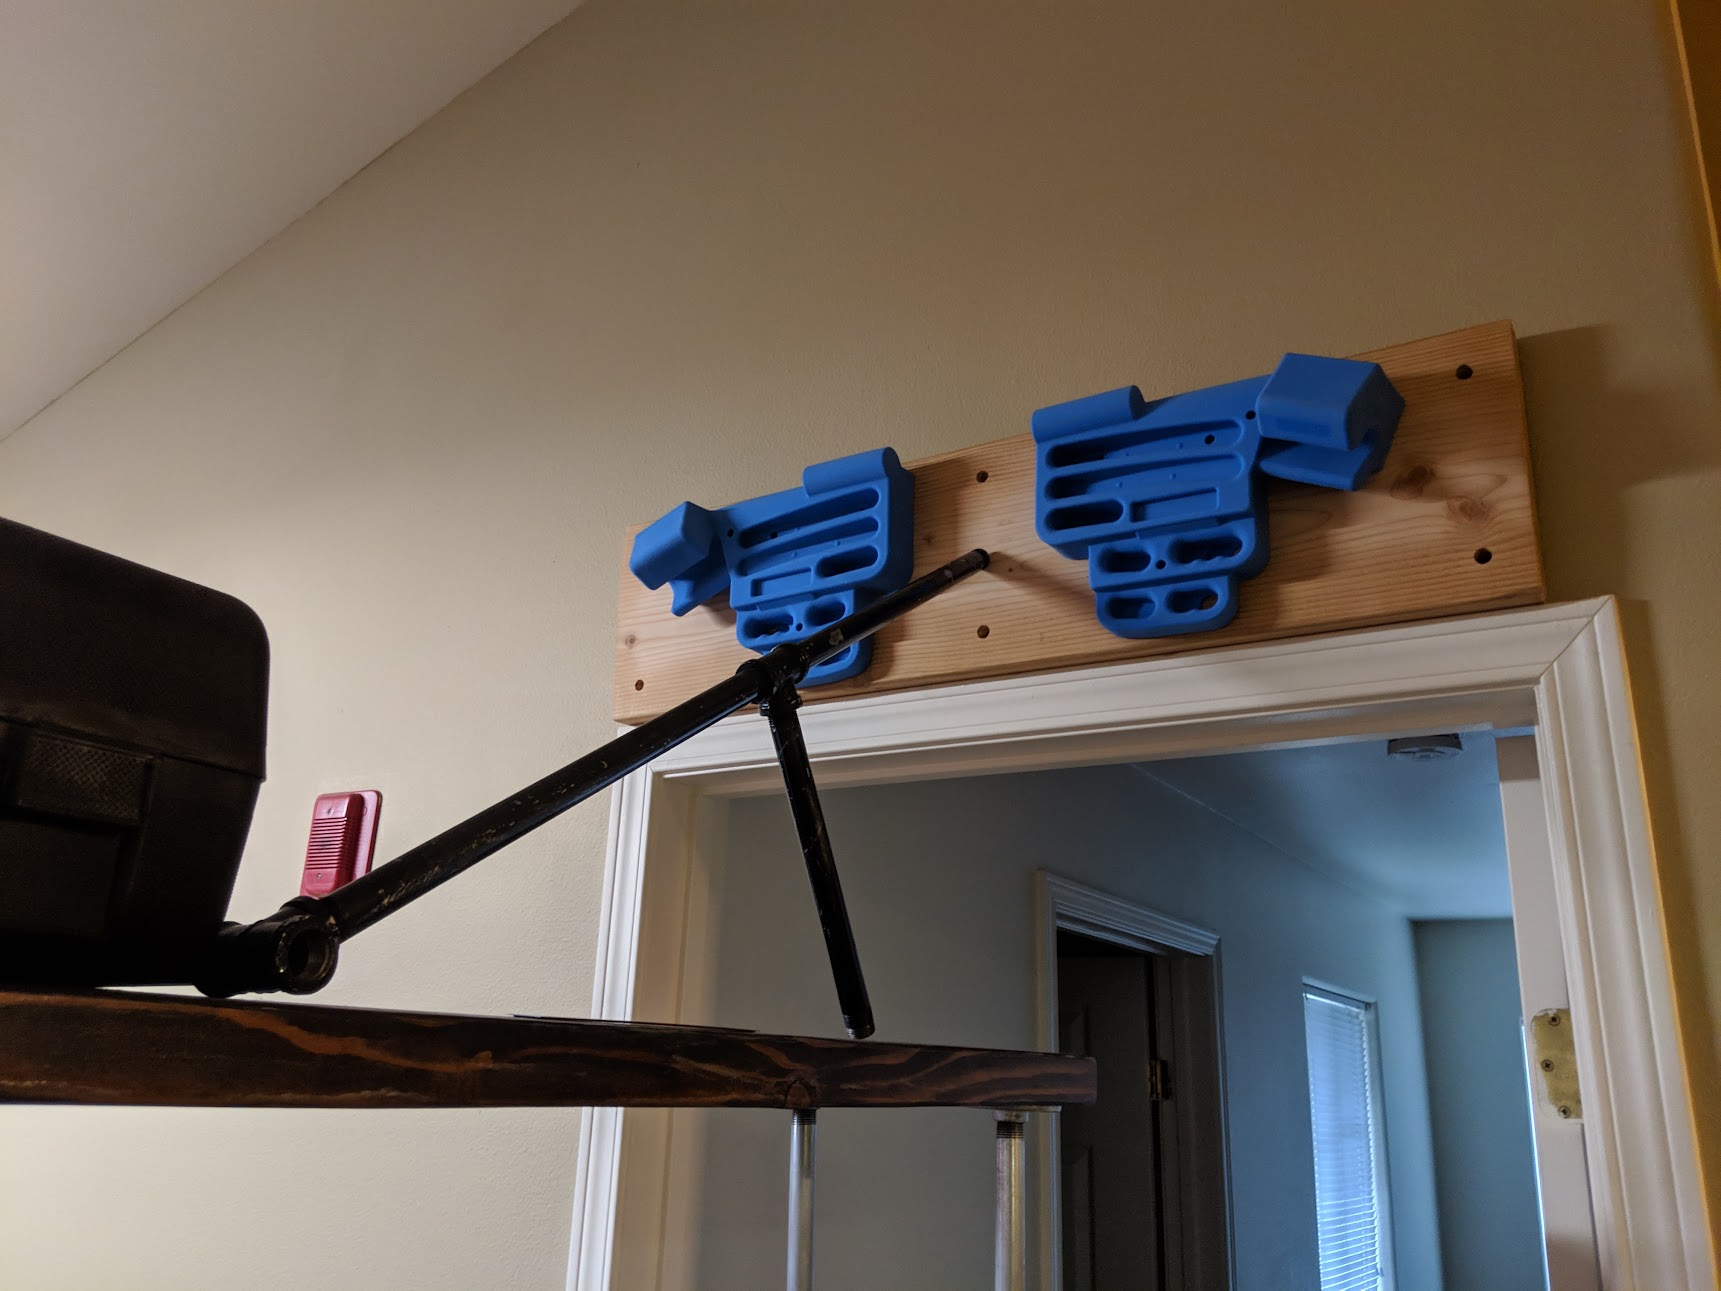
Step 7: Enjoy
Carefully! Test your Hangboard. Hear creeking? Hang and tighten as necessry. Now you have no excuse for lack of continuous improvement.
Next Step
Install a pulley system to counteract your body weight while hanging. This will lower the entry barrier to hangboarding.