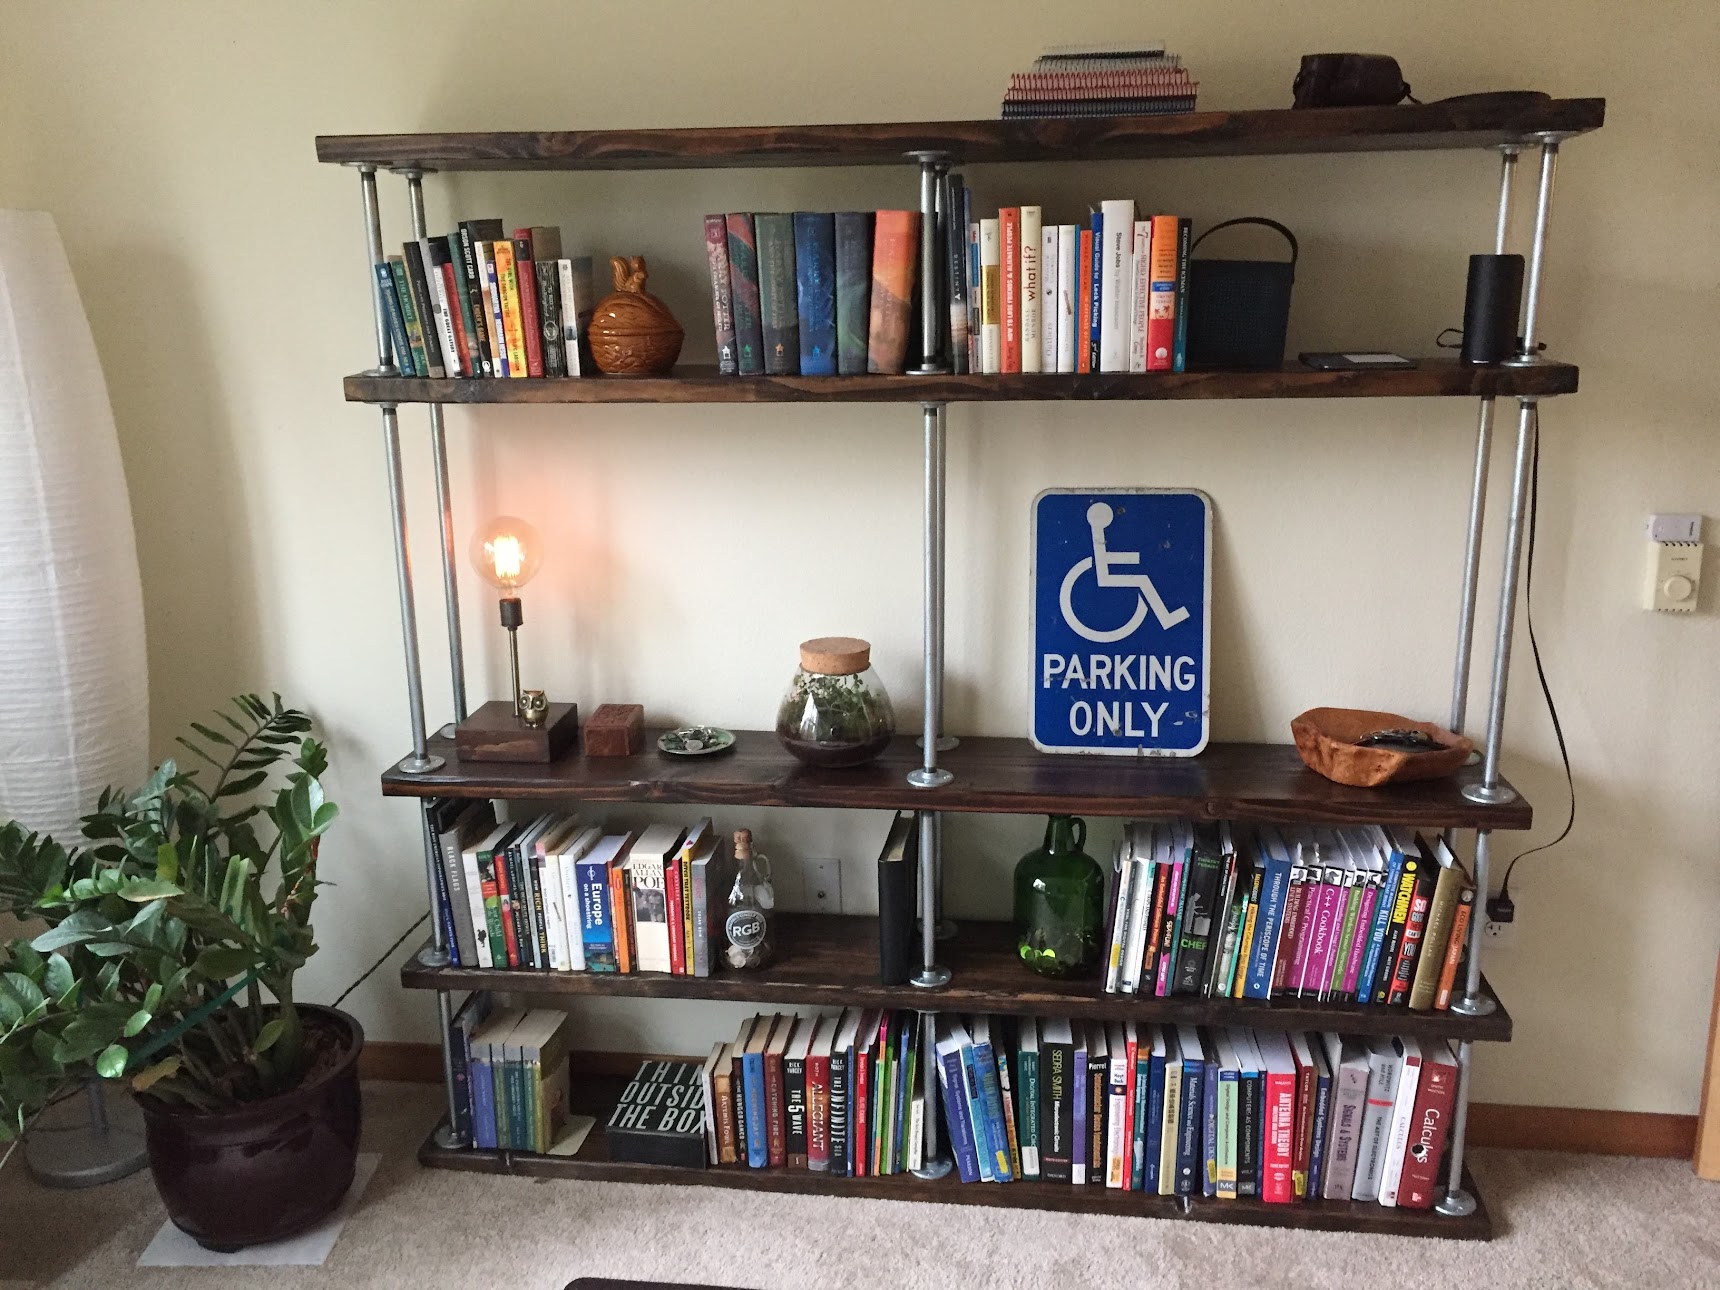
Pipe Bookcase
May 8, 2021 | Author: Nic La | Tags: project woodThe Pipe Bookcase is an industrial modern metal pipe and wooden board bookcase. I needed to make more room without relocating and the best way to do that was to build vertically. The Pipe Bookcase was built to be big and sturdy. I fear the day should I ever need to relocate.
Step 1: Materials + Tools
Materials: All pipe is 1/2" from Home Depot
- (x1) mineral spirits
- (x1) trisodium phosphate
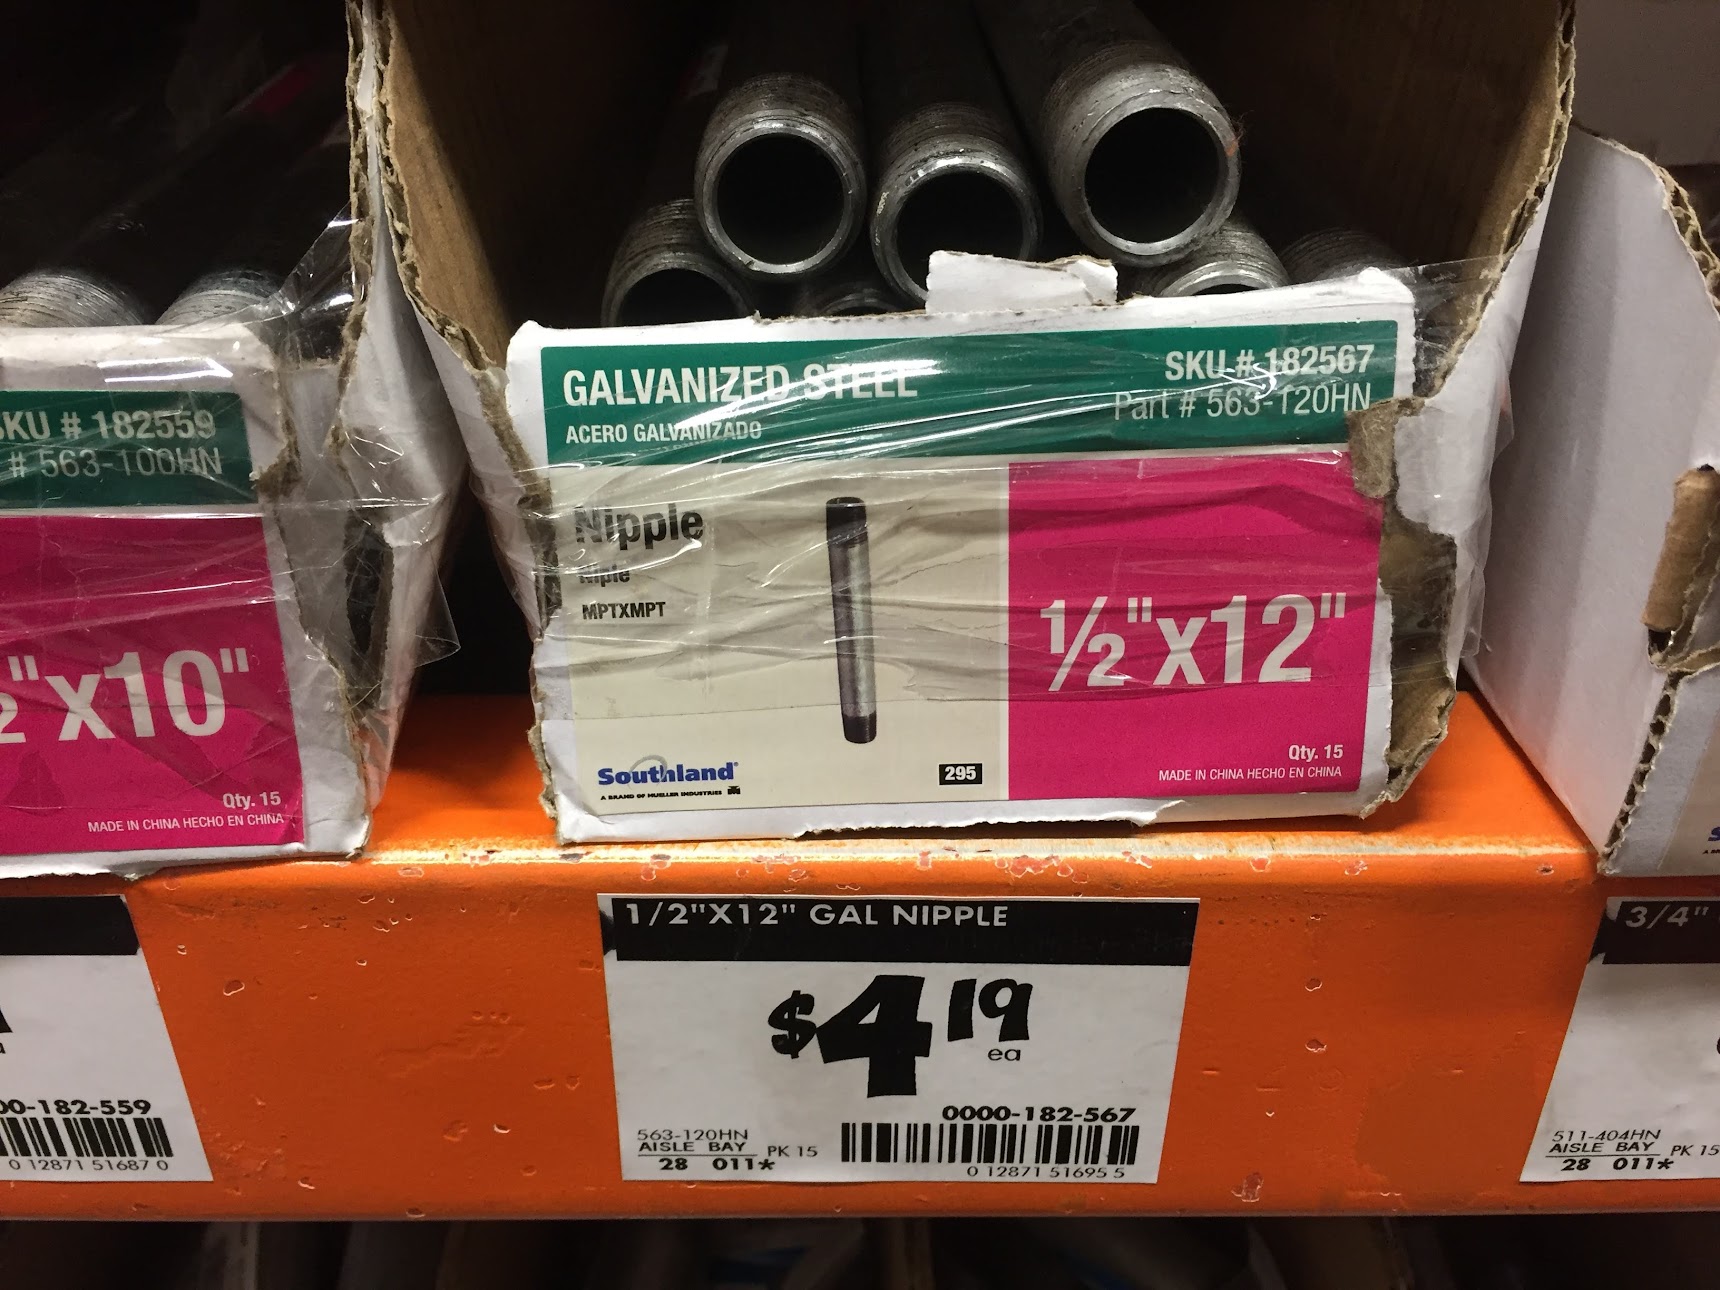
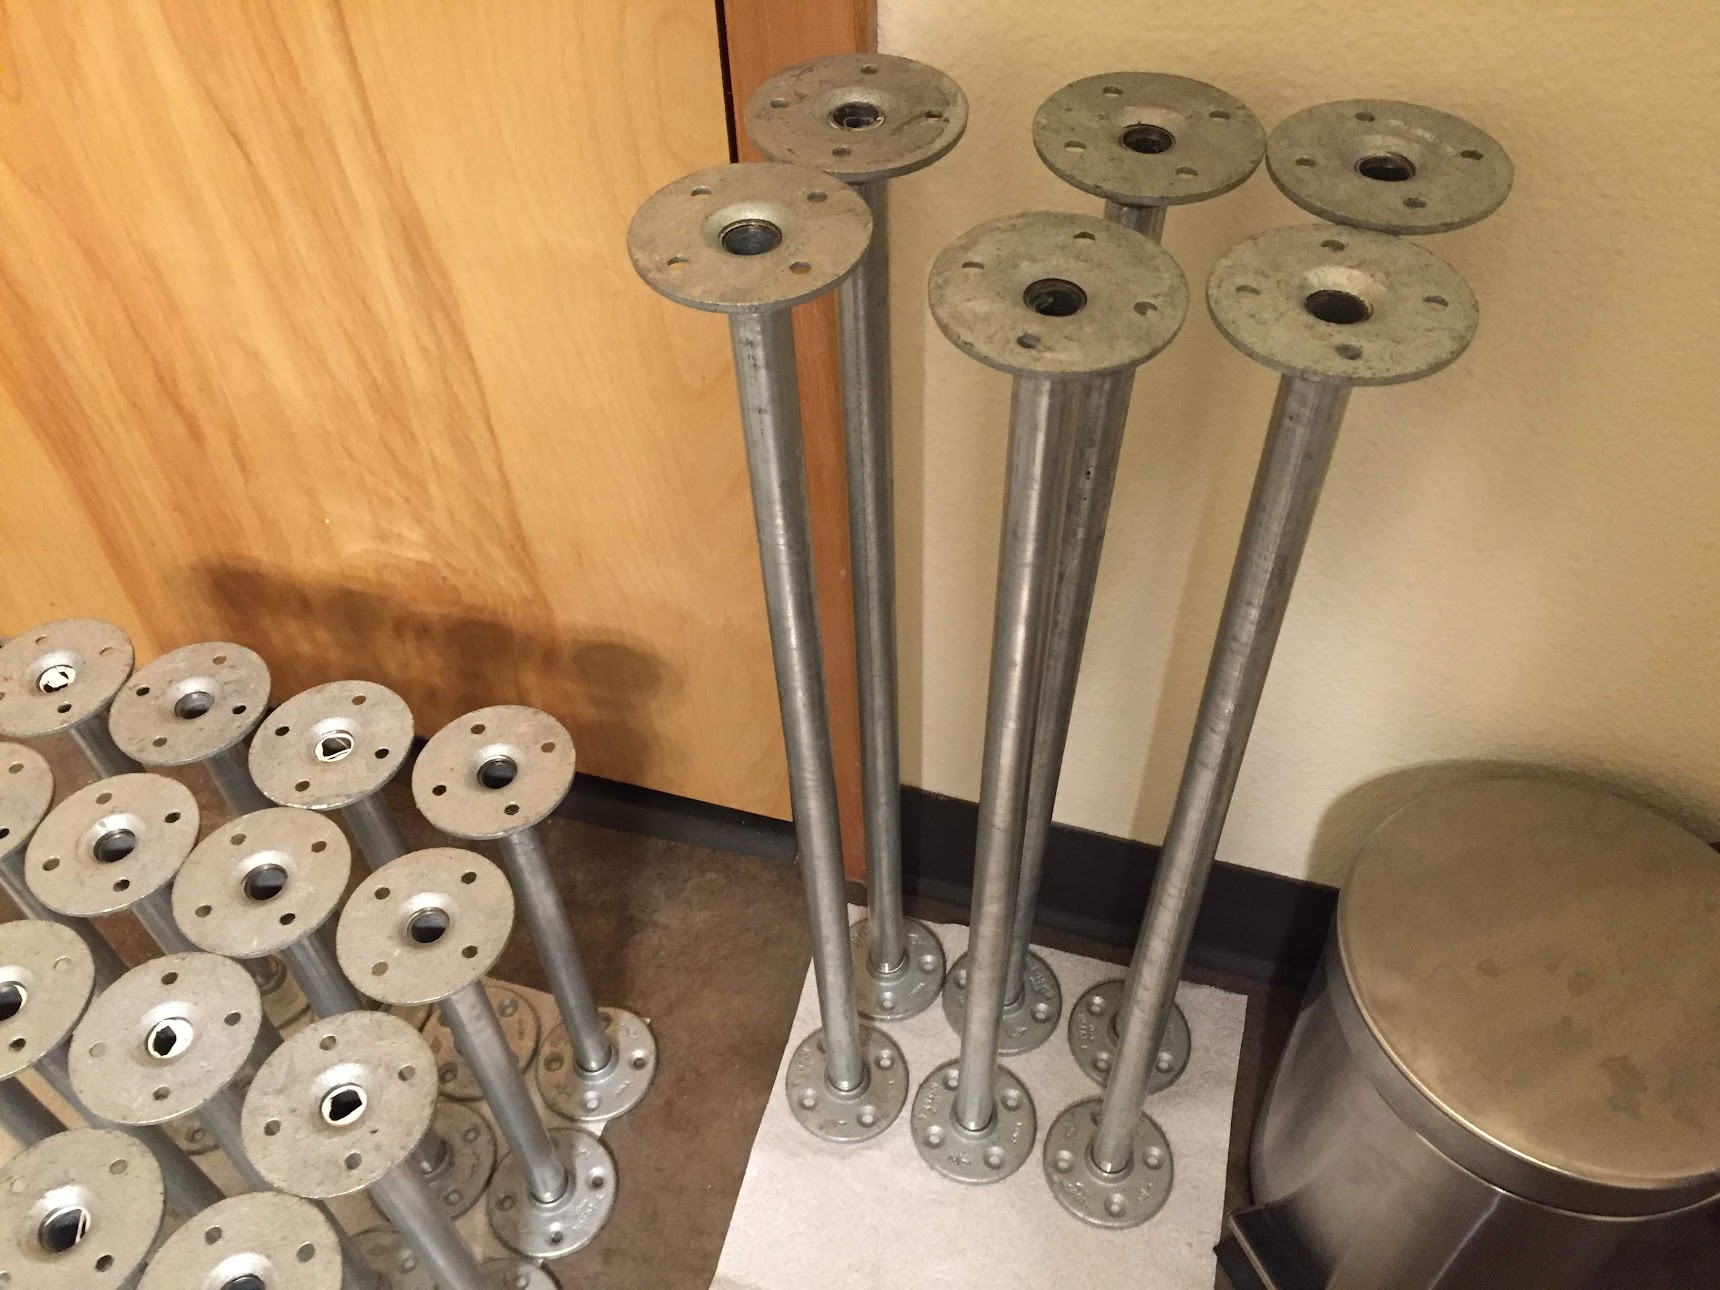
- (x18) 1/2" x 12" nipple (dimensions: .75" OD, .5625"ID, 12" L)
- (x6) 1/2" x 2' nipple
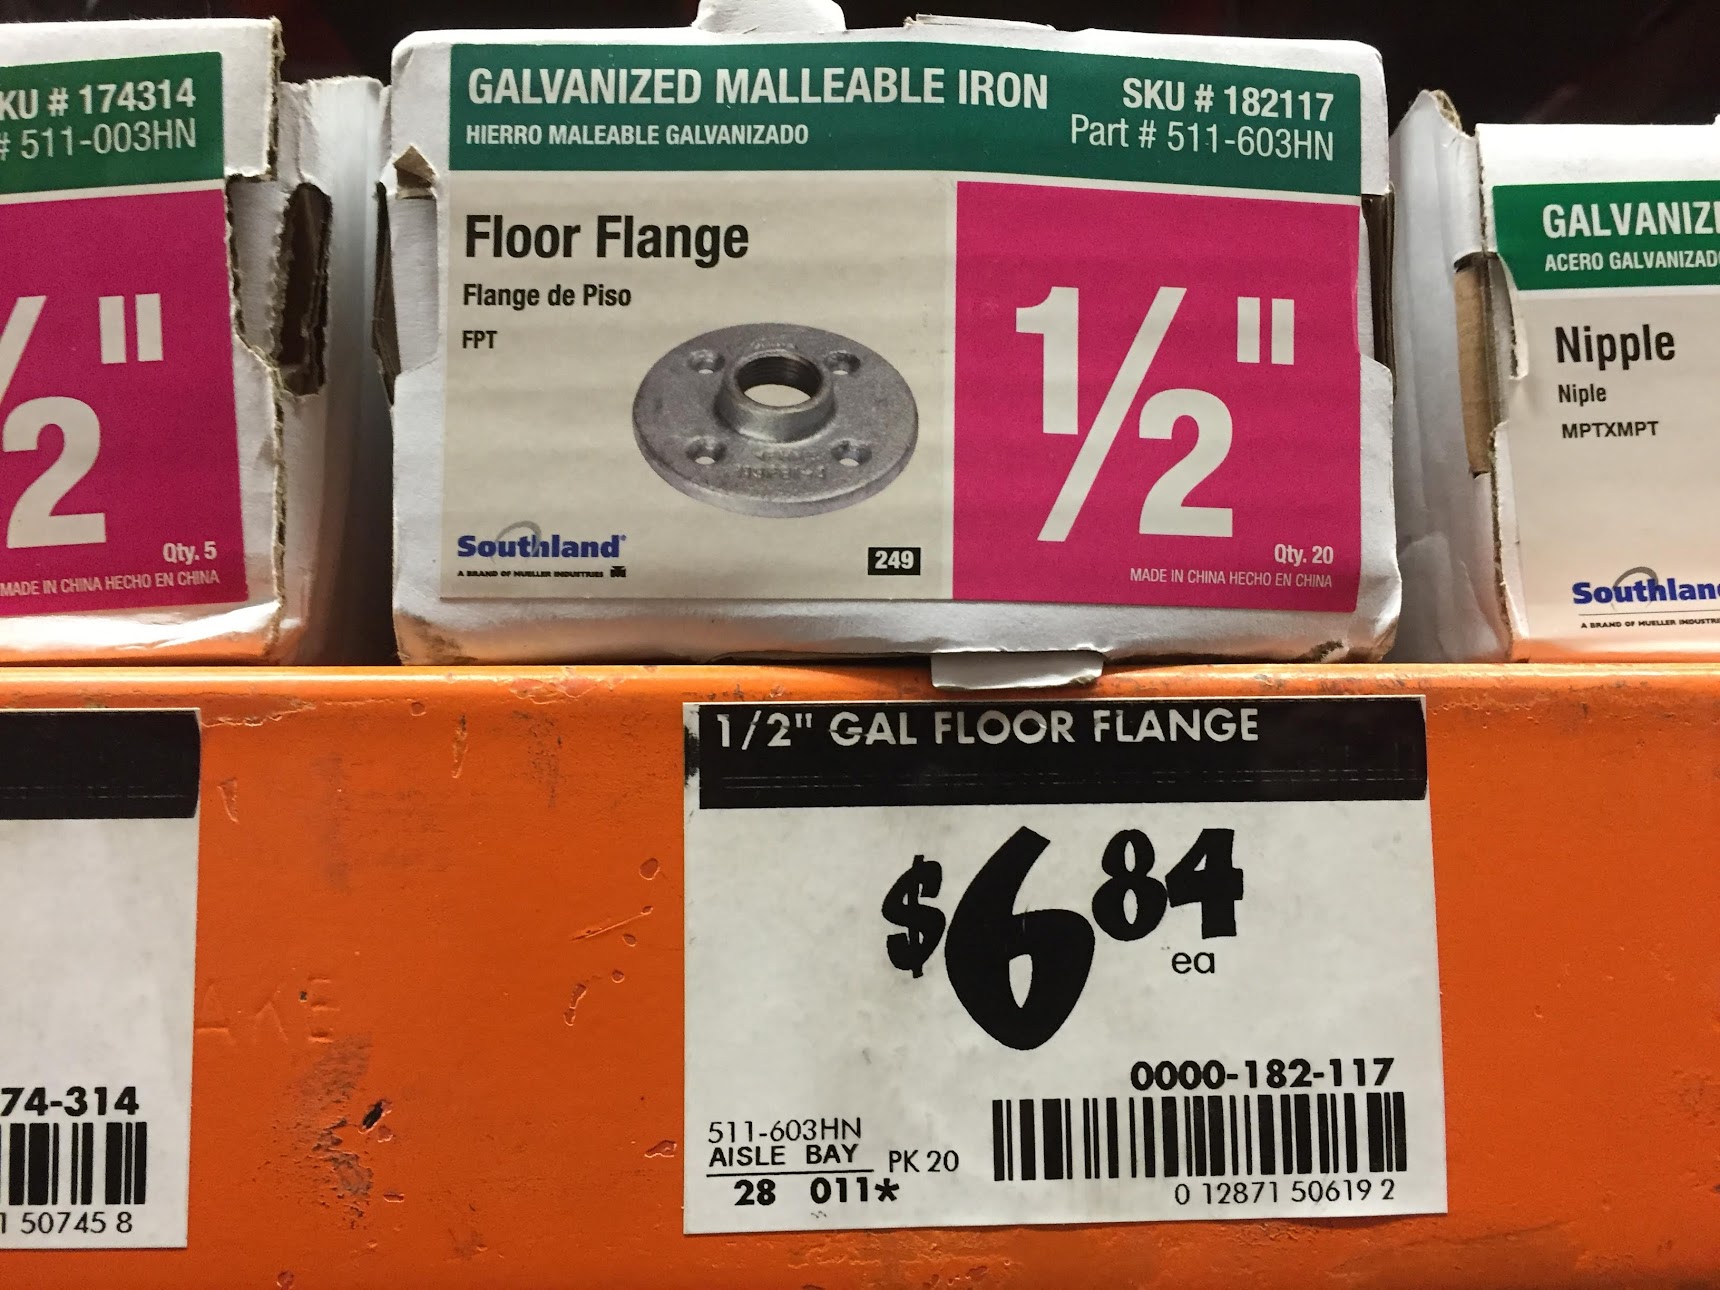
- (x48) 1/2" flange
- (x3) seal tape
- (x1) concrete sealer in a spray can
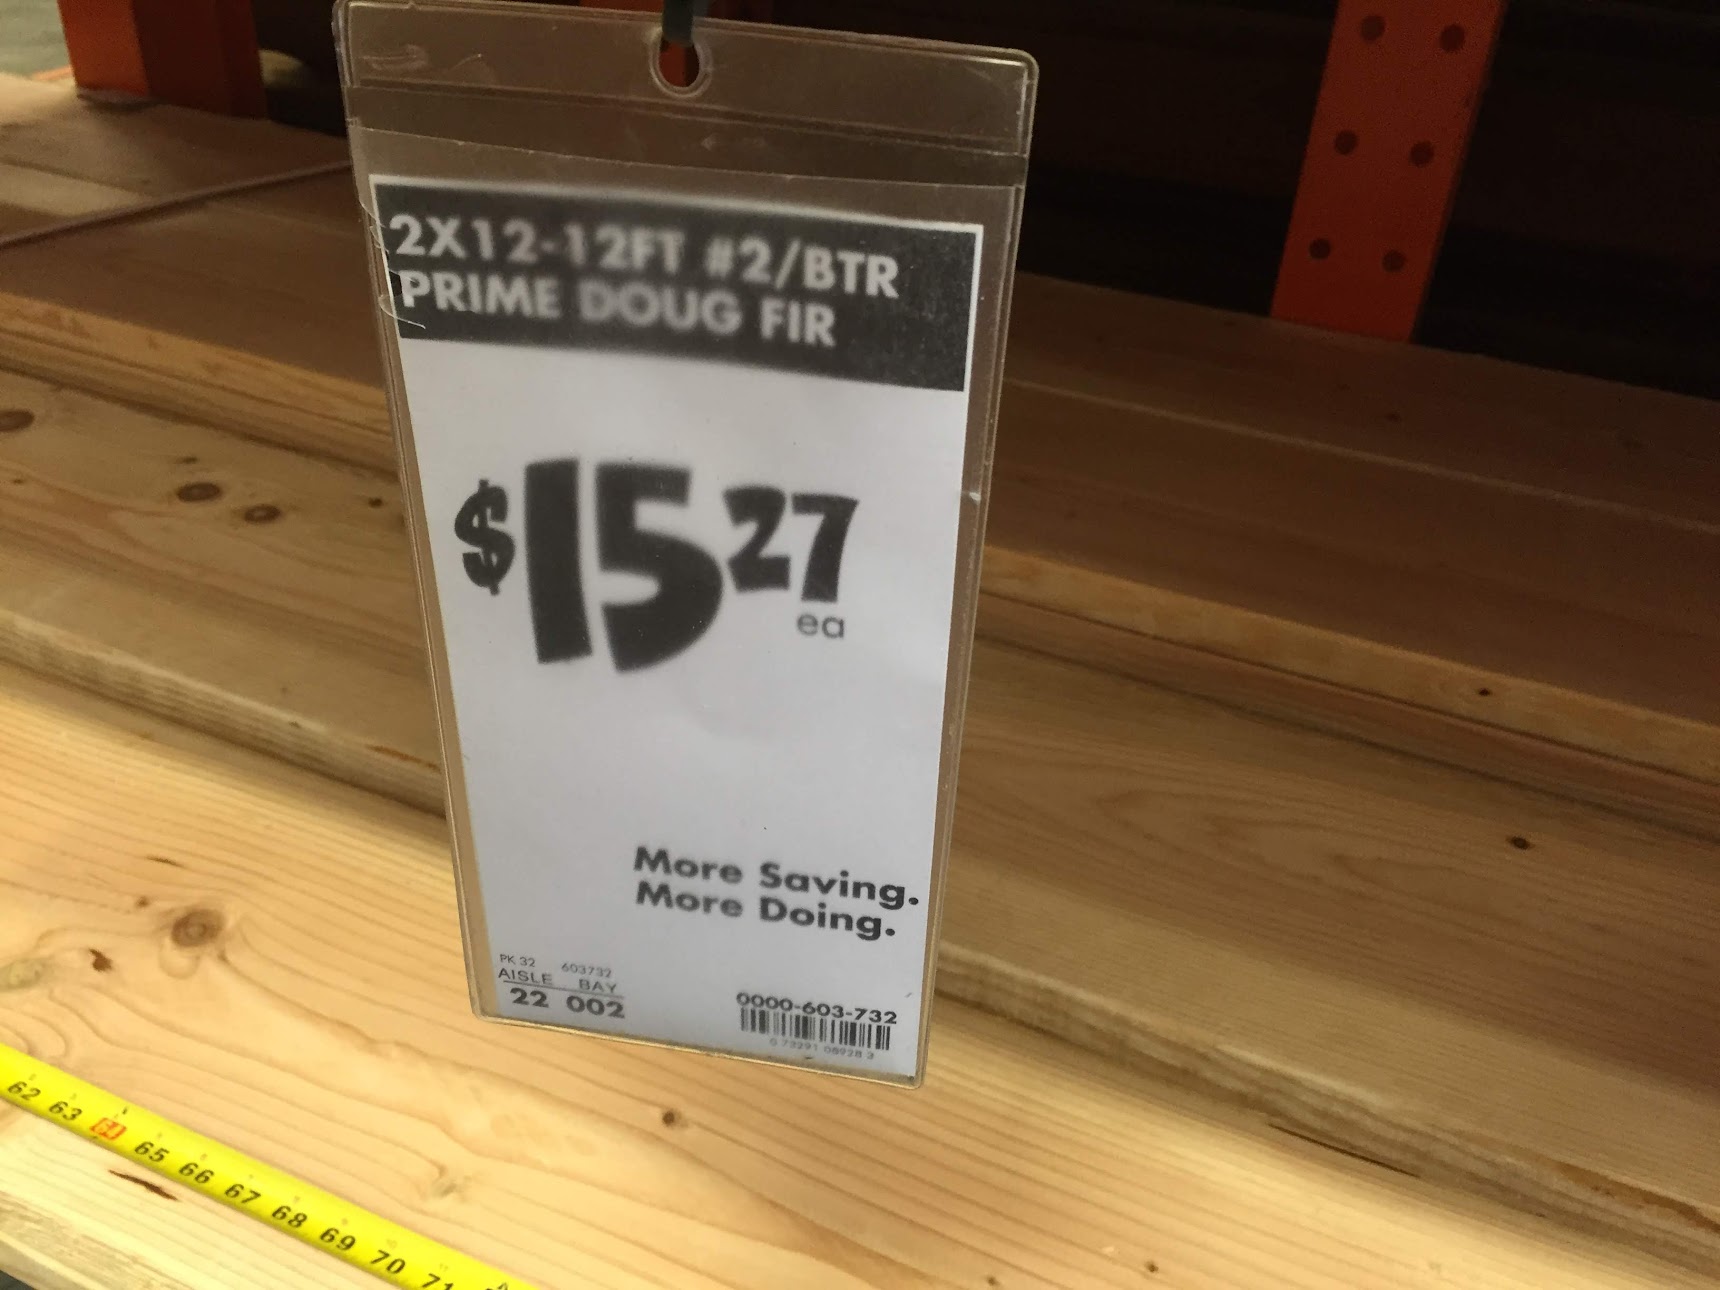
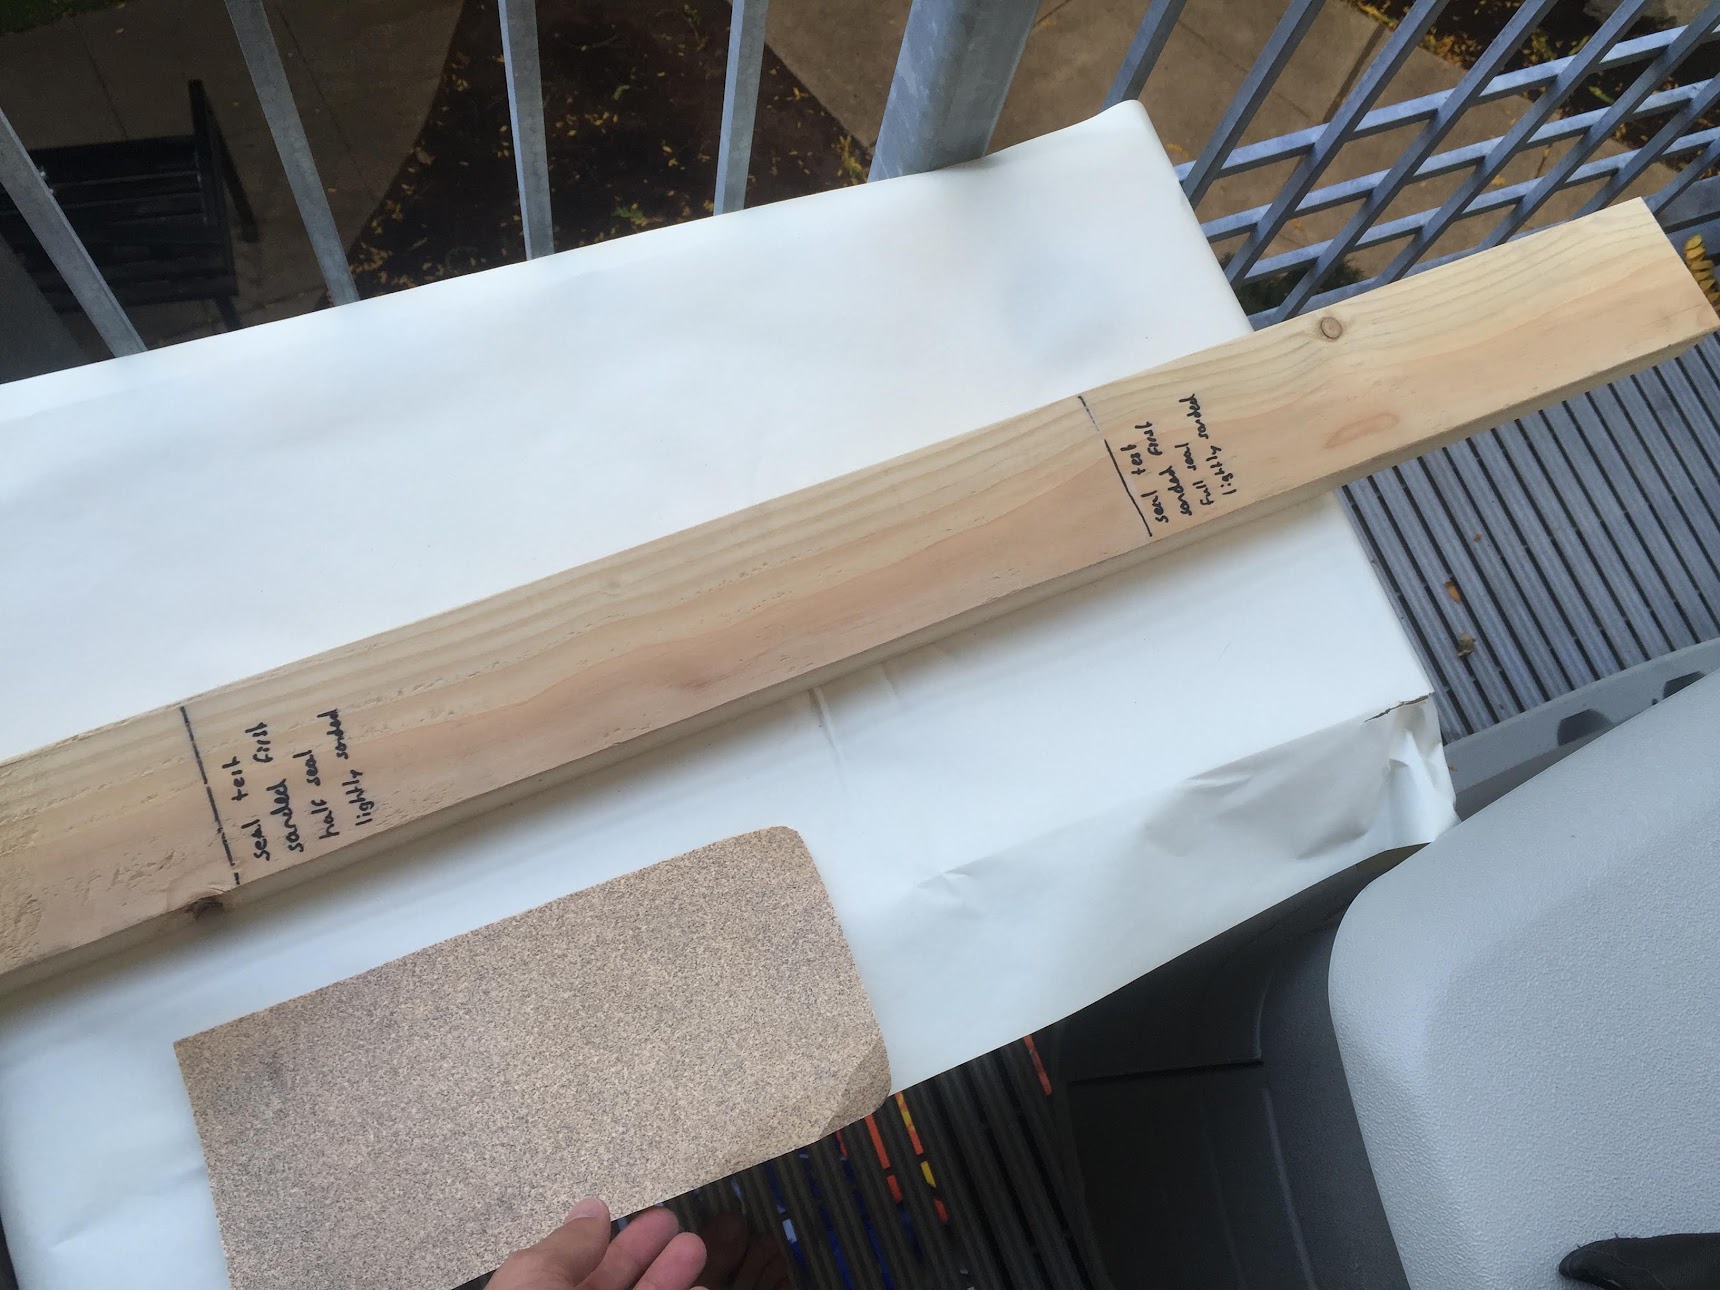
- (x3) Home Depot 2x12-12ft Prime Doug Fir (dimensions: 144.375" x 11.5" x 1.75"). These can be cut into two 72.1825" boards at Home Depot. This will leave you with one extra board. Pick your ugliest board. This will be your test board.
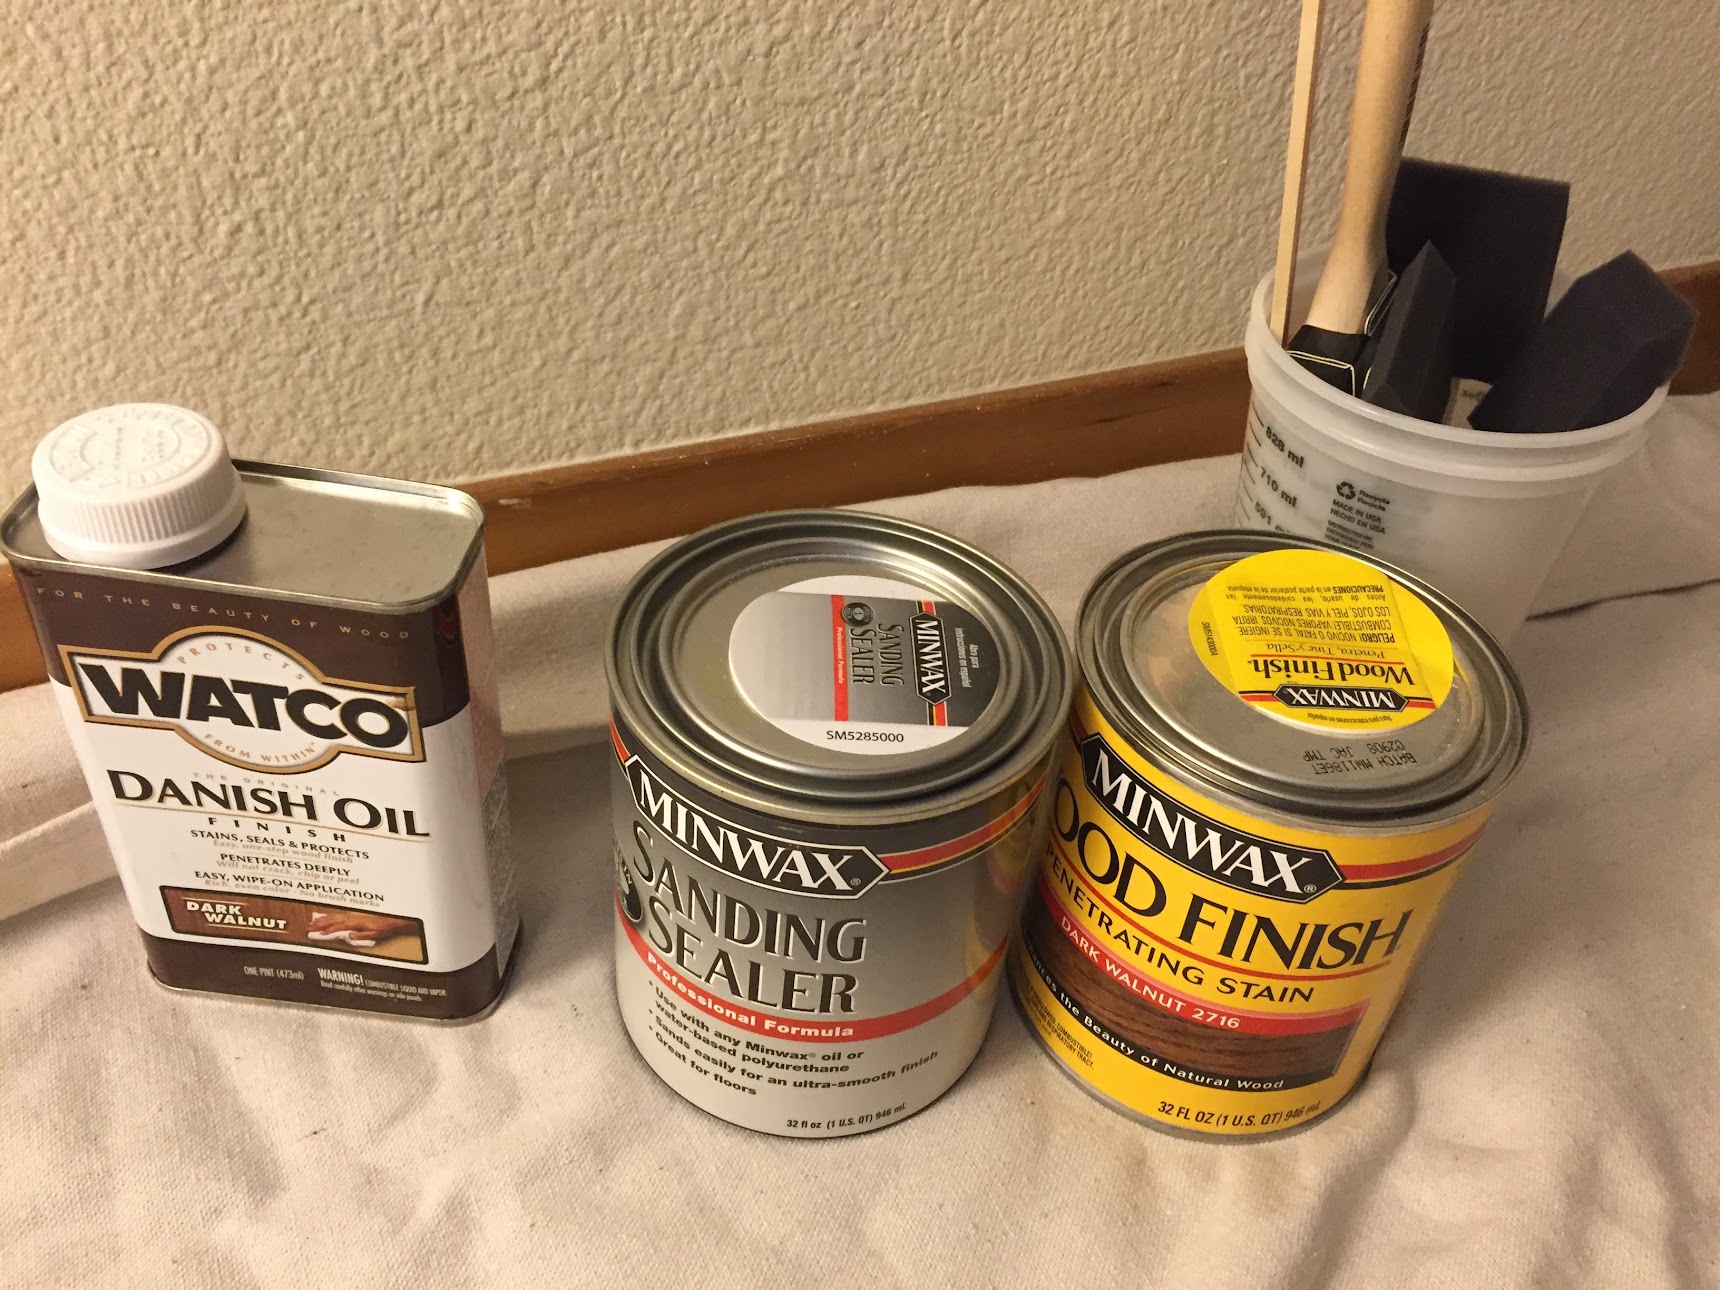
- (x1) dark walnut wood stain
- (x1) 3x coating polyurethane
- (x1) sanding sealer (optional)
- (x1) dark walnut wood oil (optional)
- (x192) wood screws size 12 x 1
Tools:
- (x1) scrubber pad (sponge)
- (x1) 5 gallon bucket
- (x1) thick rubber gloves
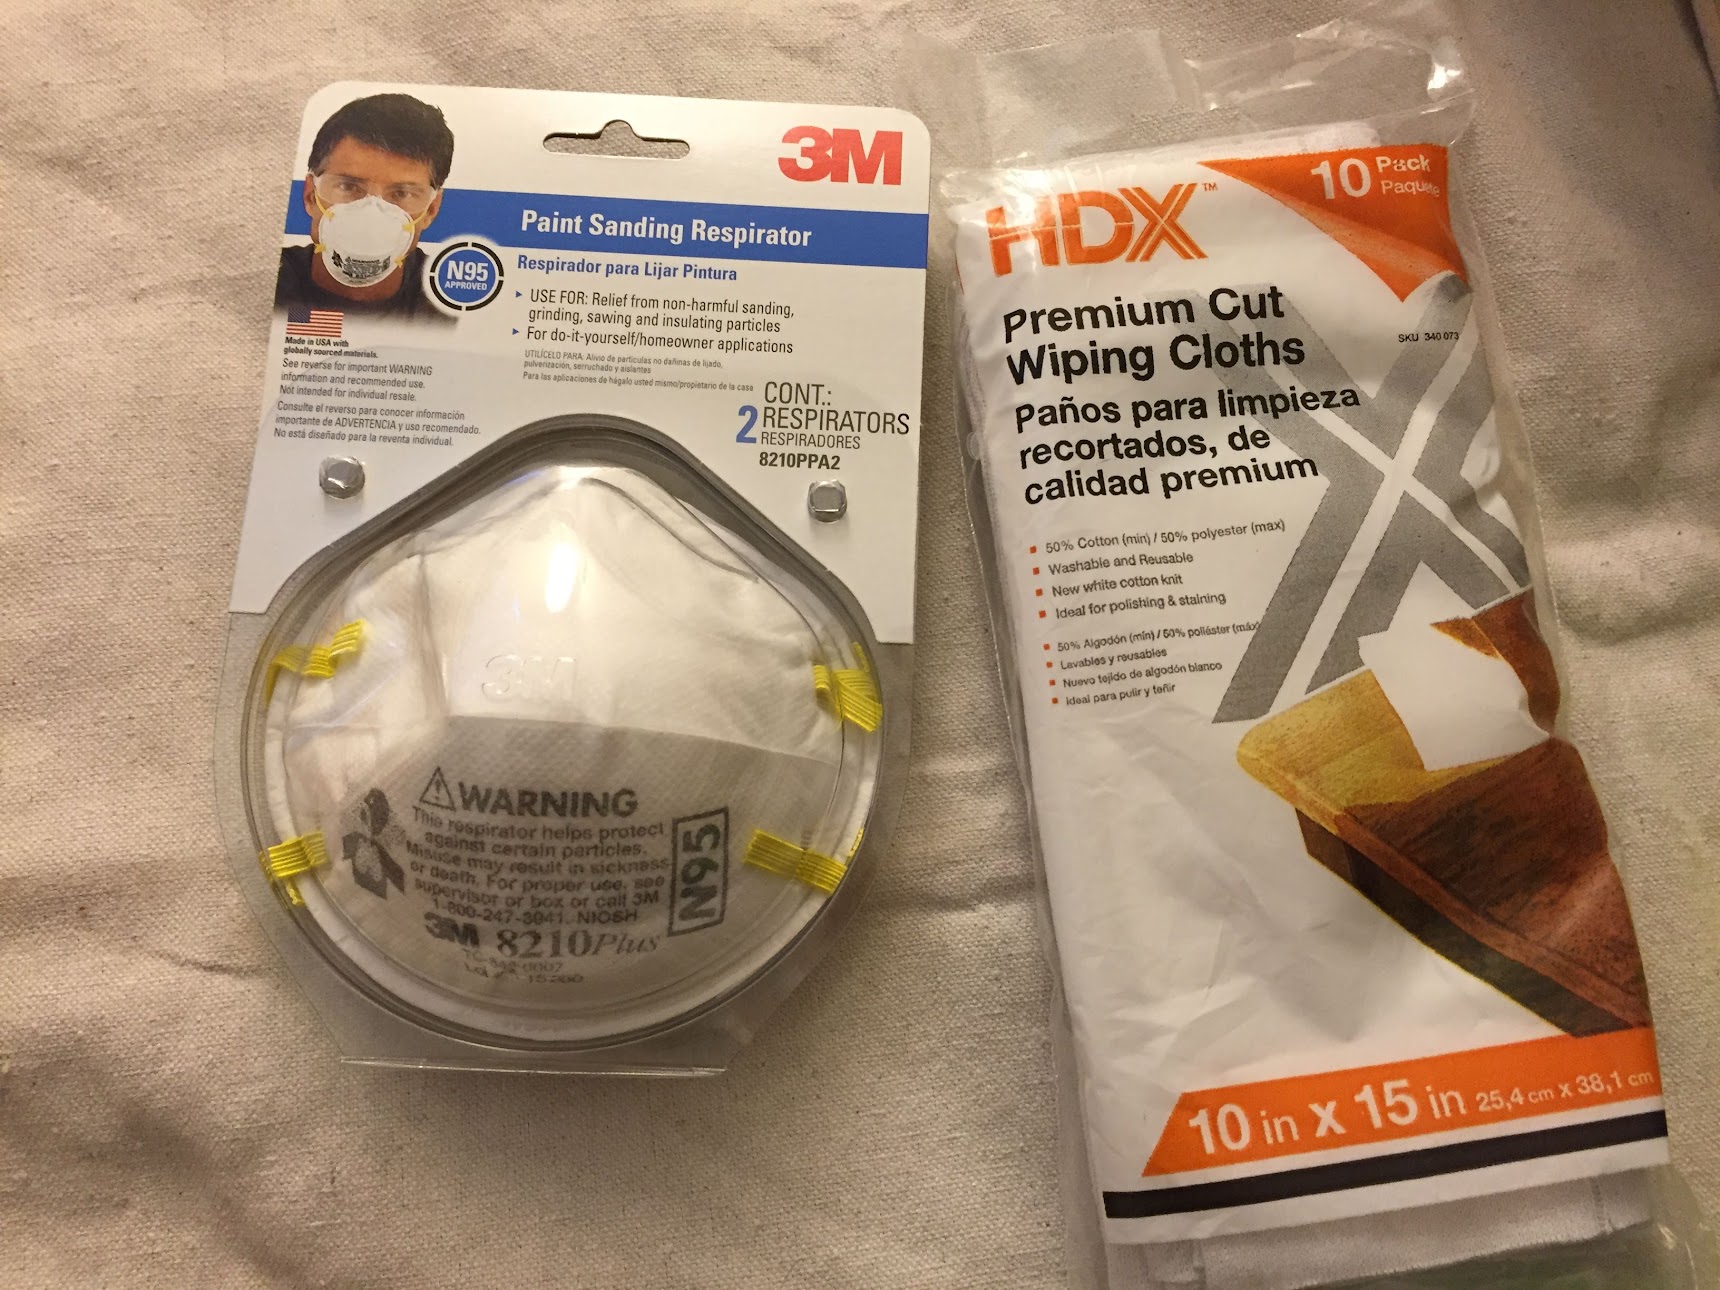
- (x1) N95 respirator
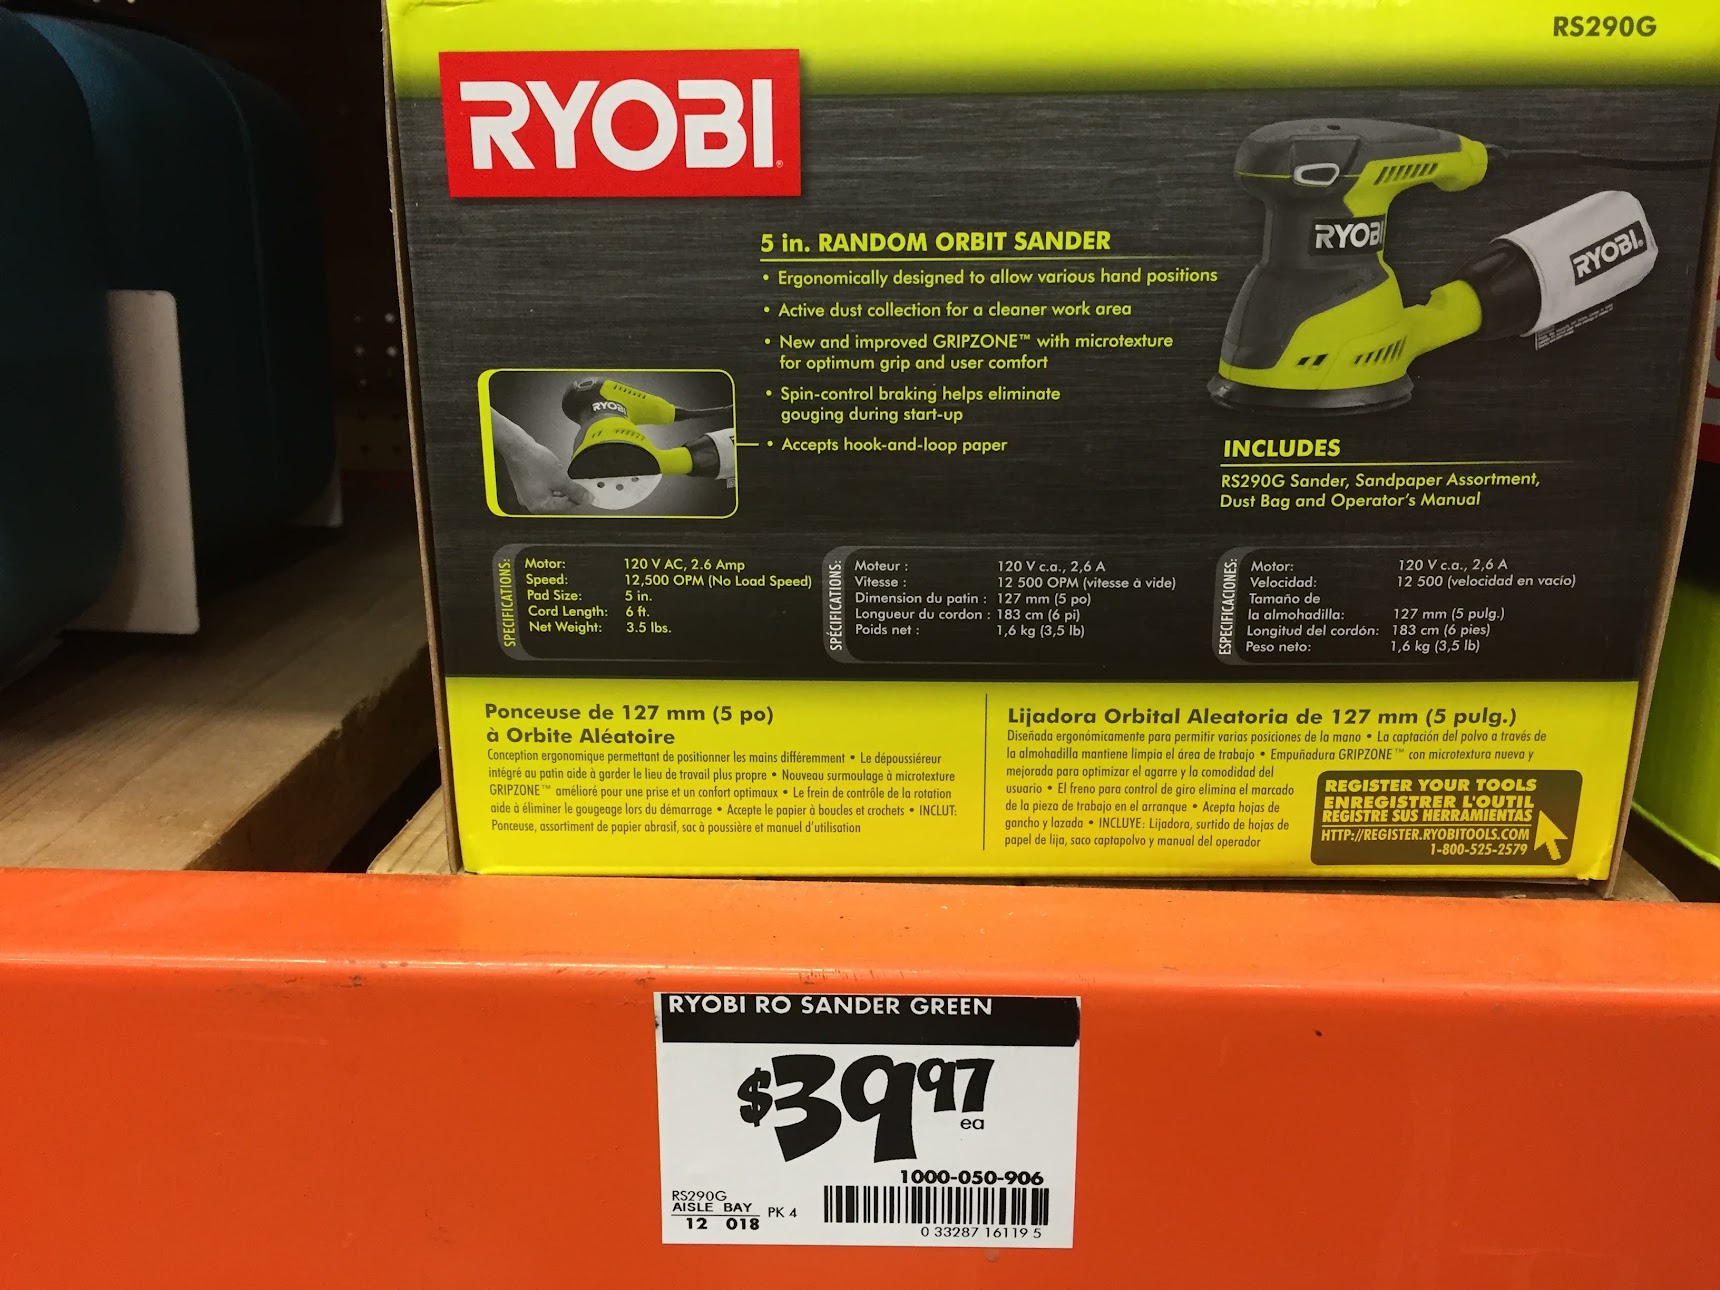
- (x1) orbit sander
- (x1) 220-grit sand paper
- (x1) putty knife
- (x2) sponge brush
- (x1) bristle brush
- (x1) electric drill
- (x1) screw driver
- (x1) ruler
- (x1) tape measurer
- (x1) Phillips bit
- (x10) wiping cloths
- (x1) stepping stool (optional)
- (x1) canvas (optional)
Step 2: Clean the Pipes
Follow Lowe's Instructional Video below on how to clean your metal pipes. Begin by donning thick rubber gloves.
- Use the putty knife to remove any stickers.
- Use mineral spirits and scrub sponge to remove sticker residue.
- Use the 5 gallon bucket to soak your pipes in ~0.5 cup trisodium phosphate / 2 gallons of water. Then scrub with scrubber pad to remove grease.
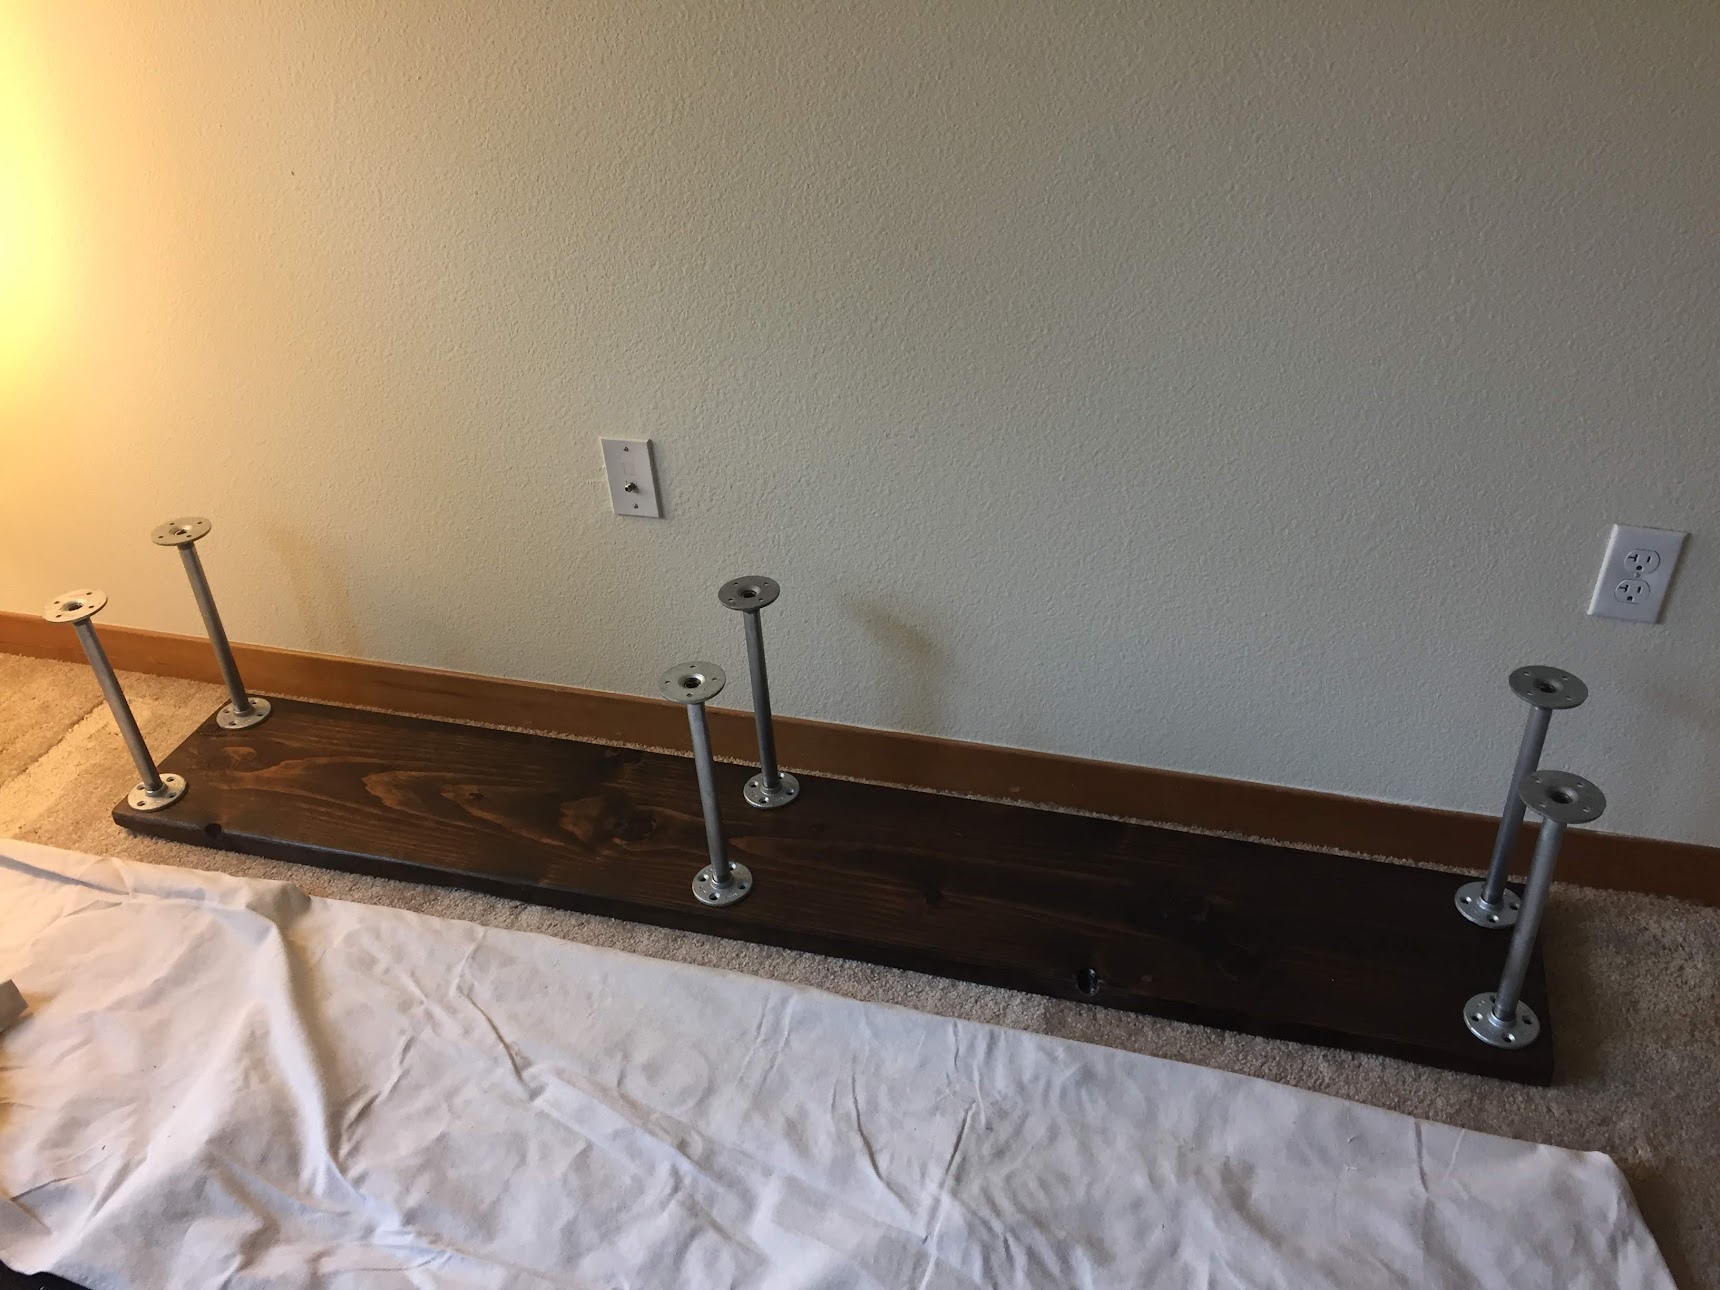
Step 3: Connect the Pipes
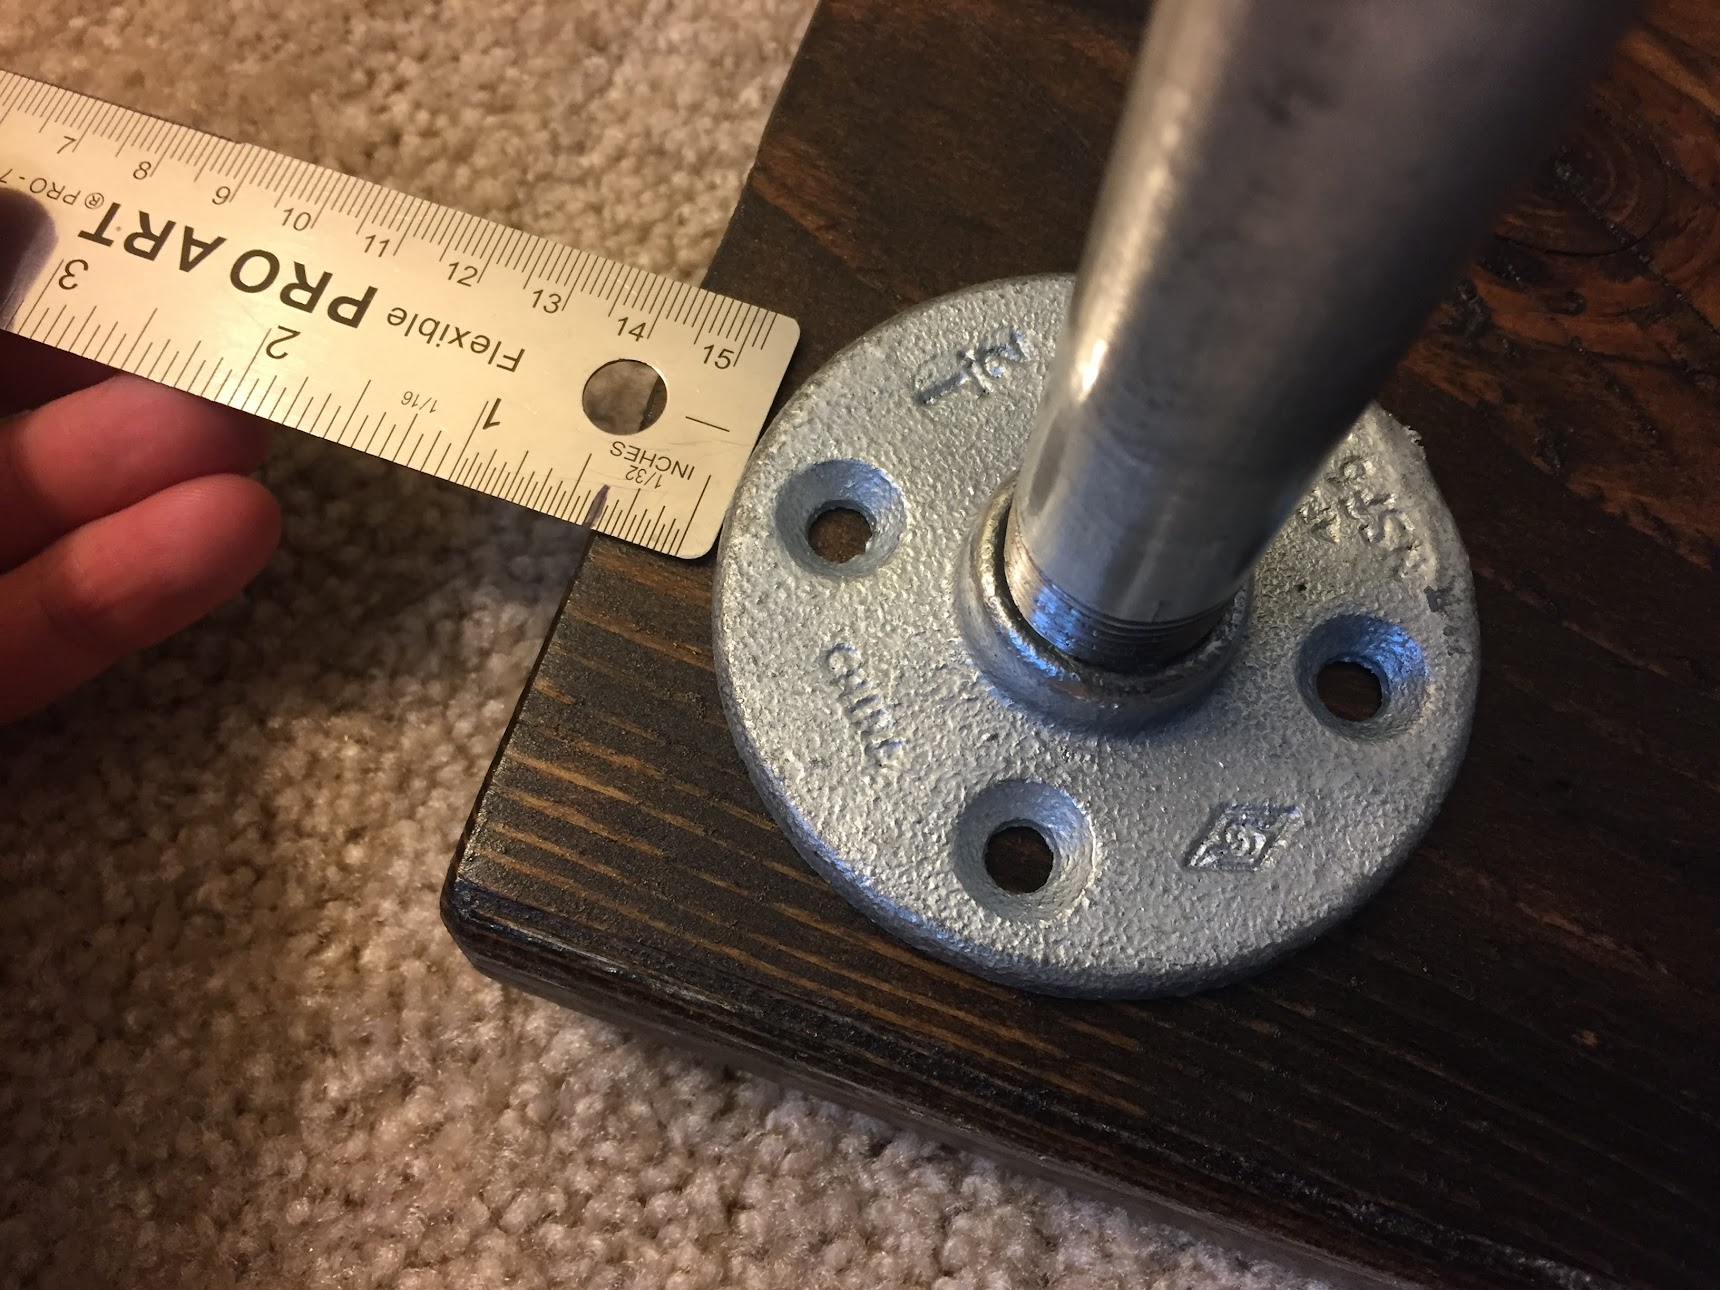
Each pipe gets two flanges. For a level shelf you want each flange-pipe-flange stack to be as close as possible in length. I made a few loosely connected stacks and measured their lengths to find an agreeable length of 12.4375" for the short stacks and 24.3125" for the long stacks. With lengths determined, connect the flanges using seal tape for a tight fit. Measure, adjust, repeat.
I left my pipe unfinished for greater contrast with the dark wood. Still, to help protect against the elements, I sprayed my pipes with concrete sealer.
Step 4: Decide on Style
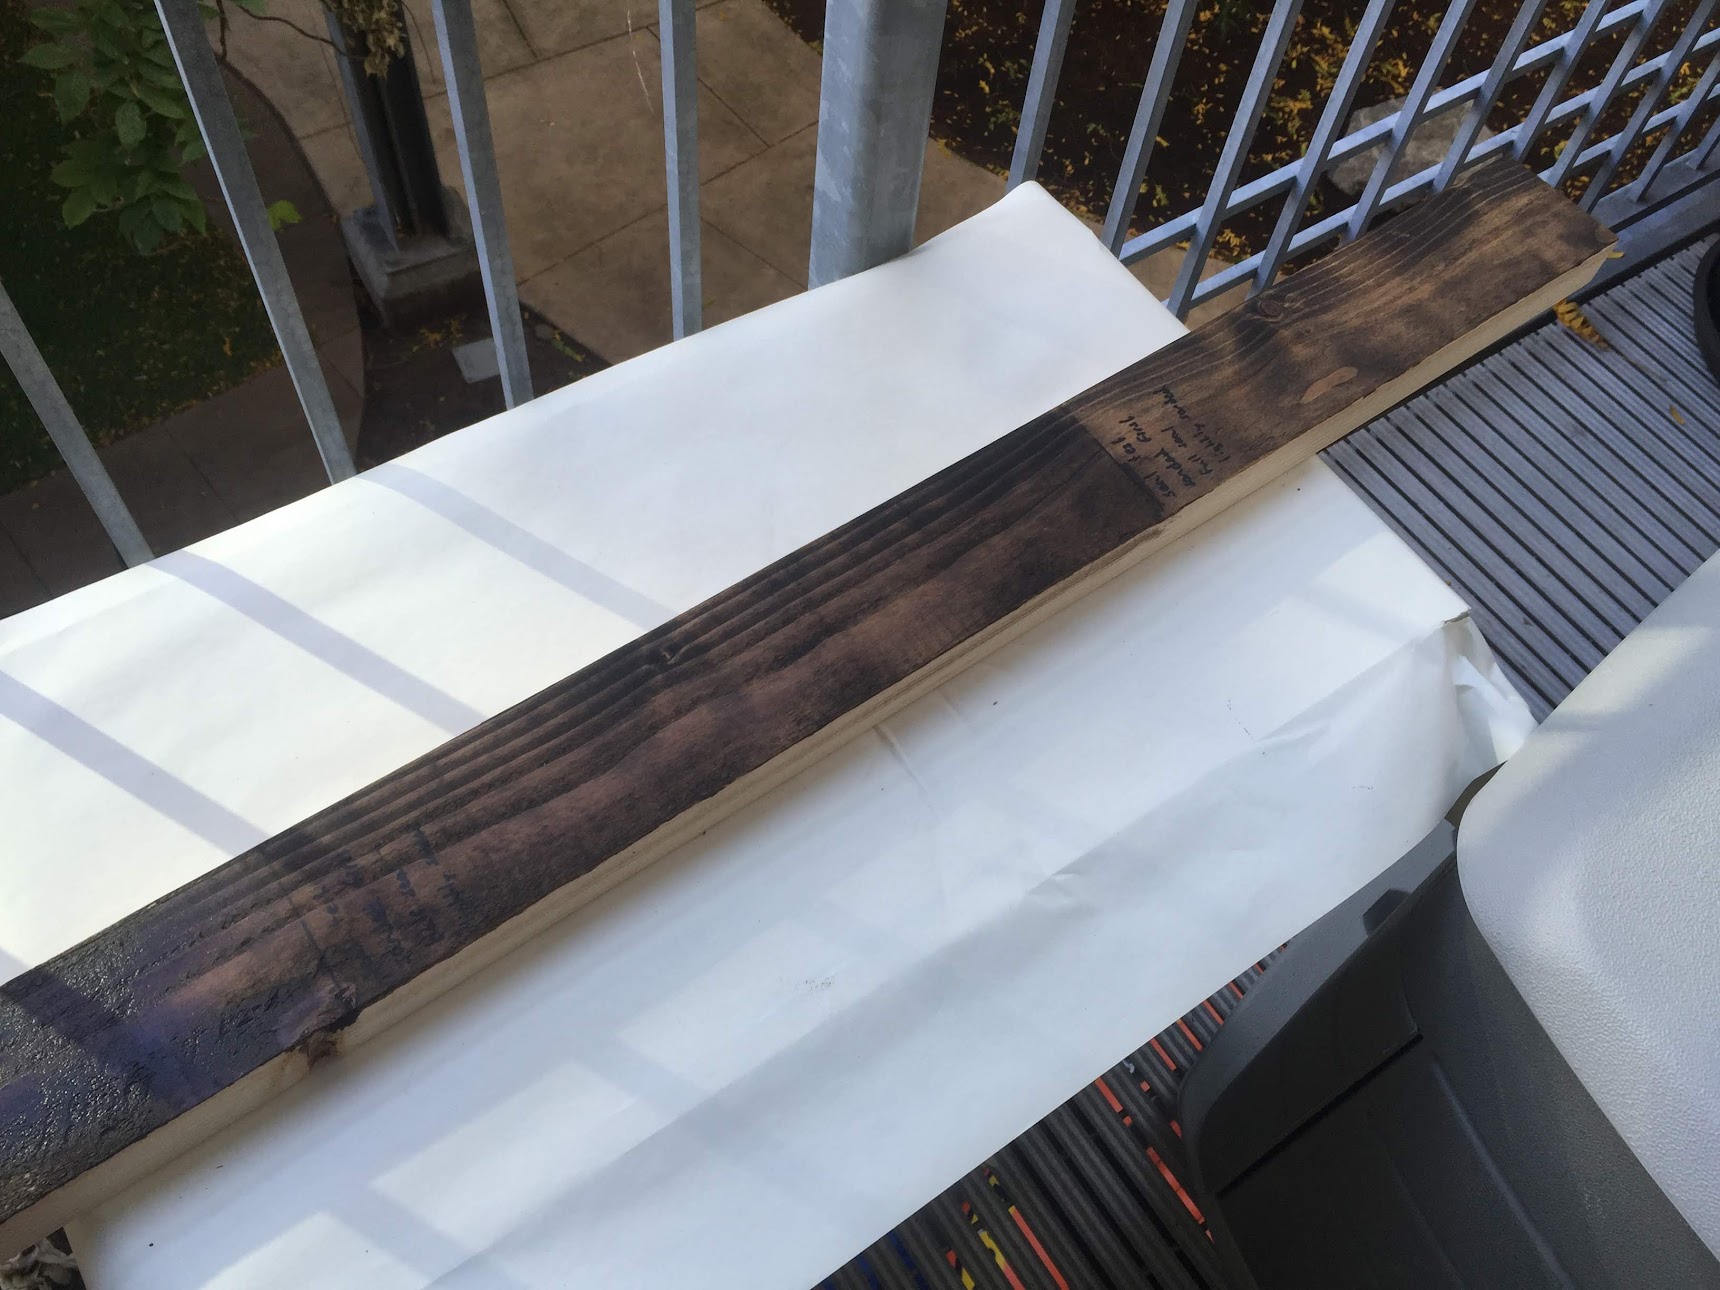
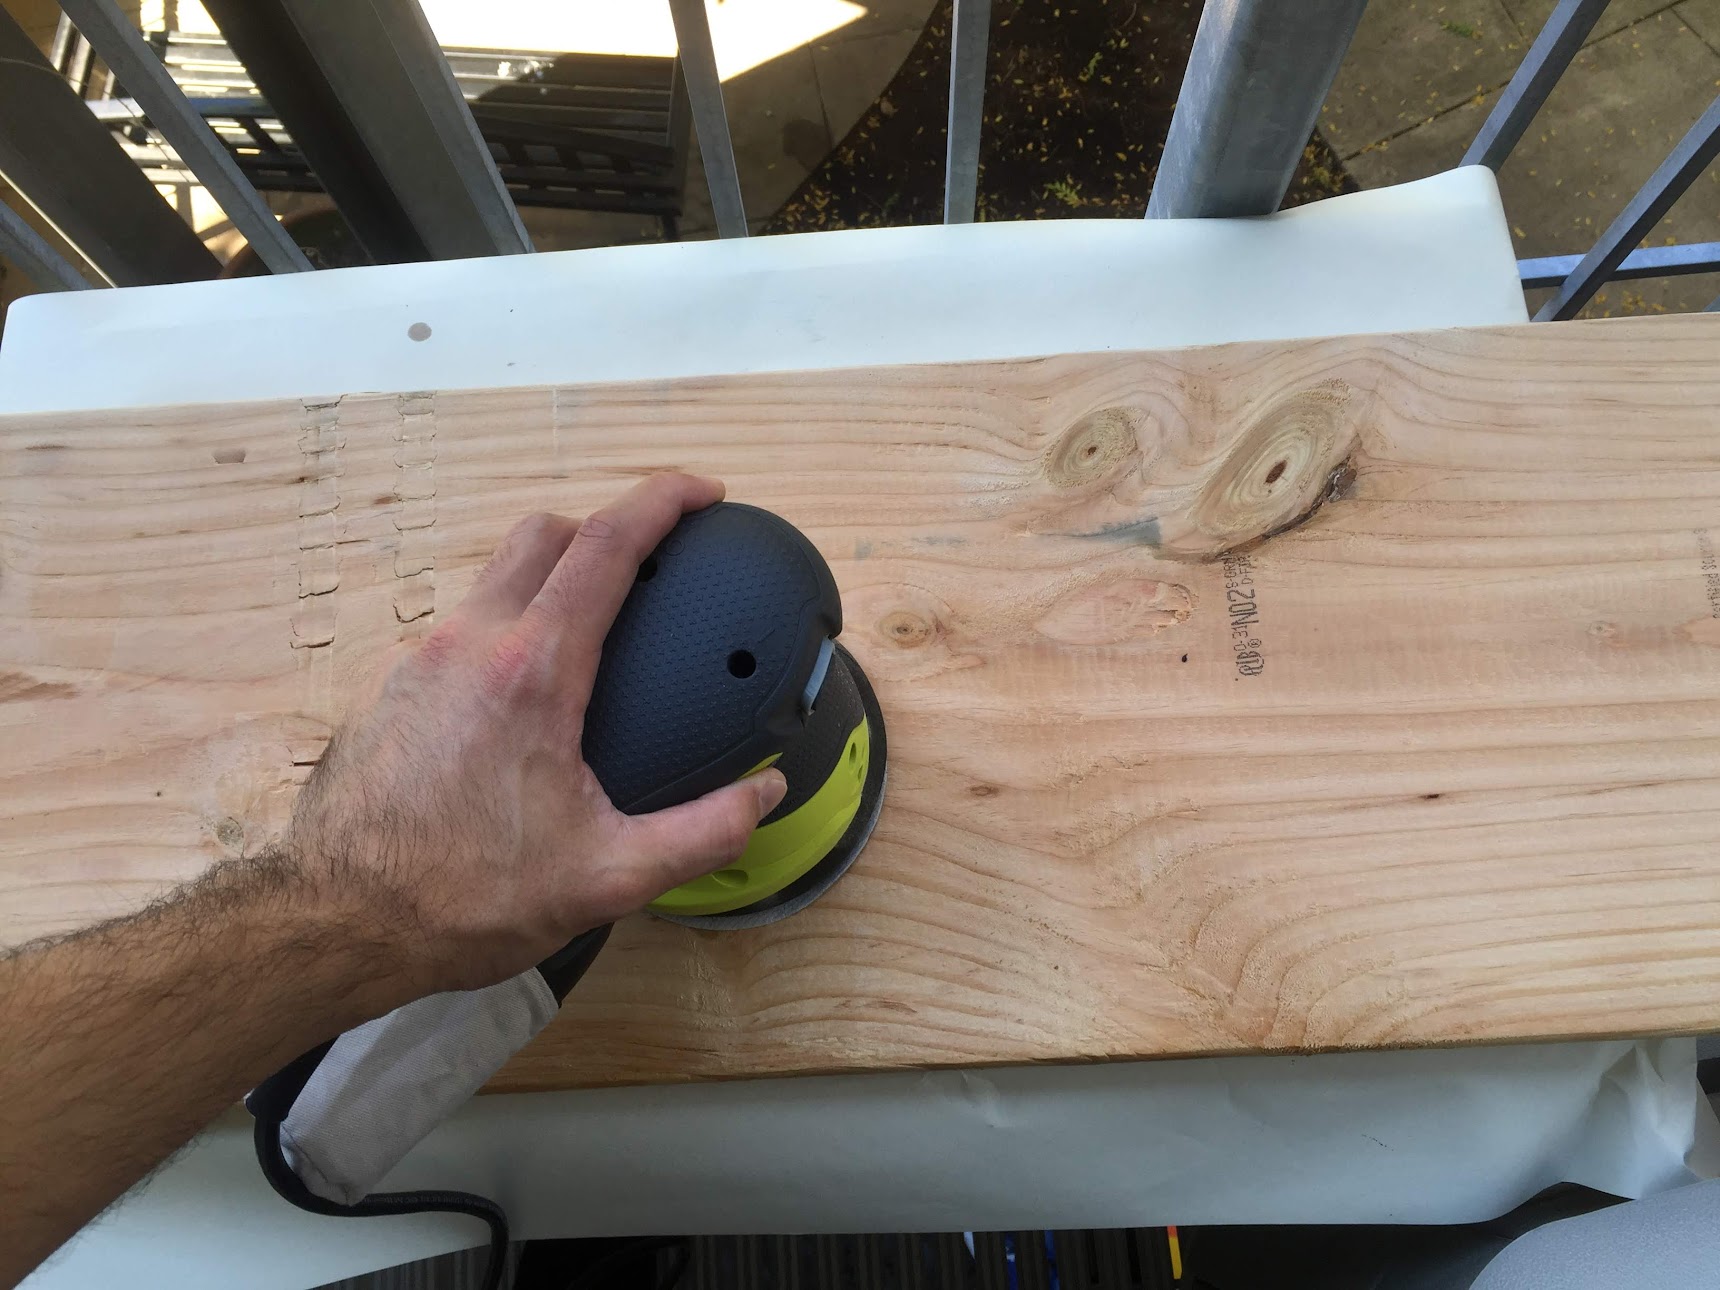
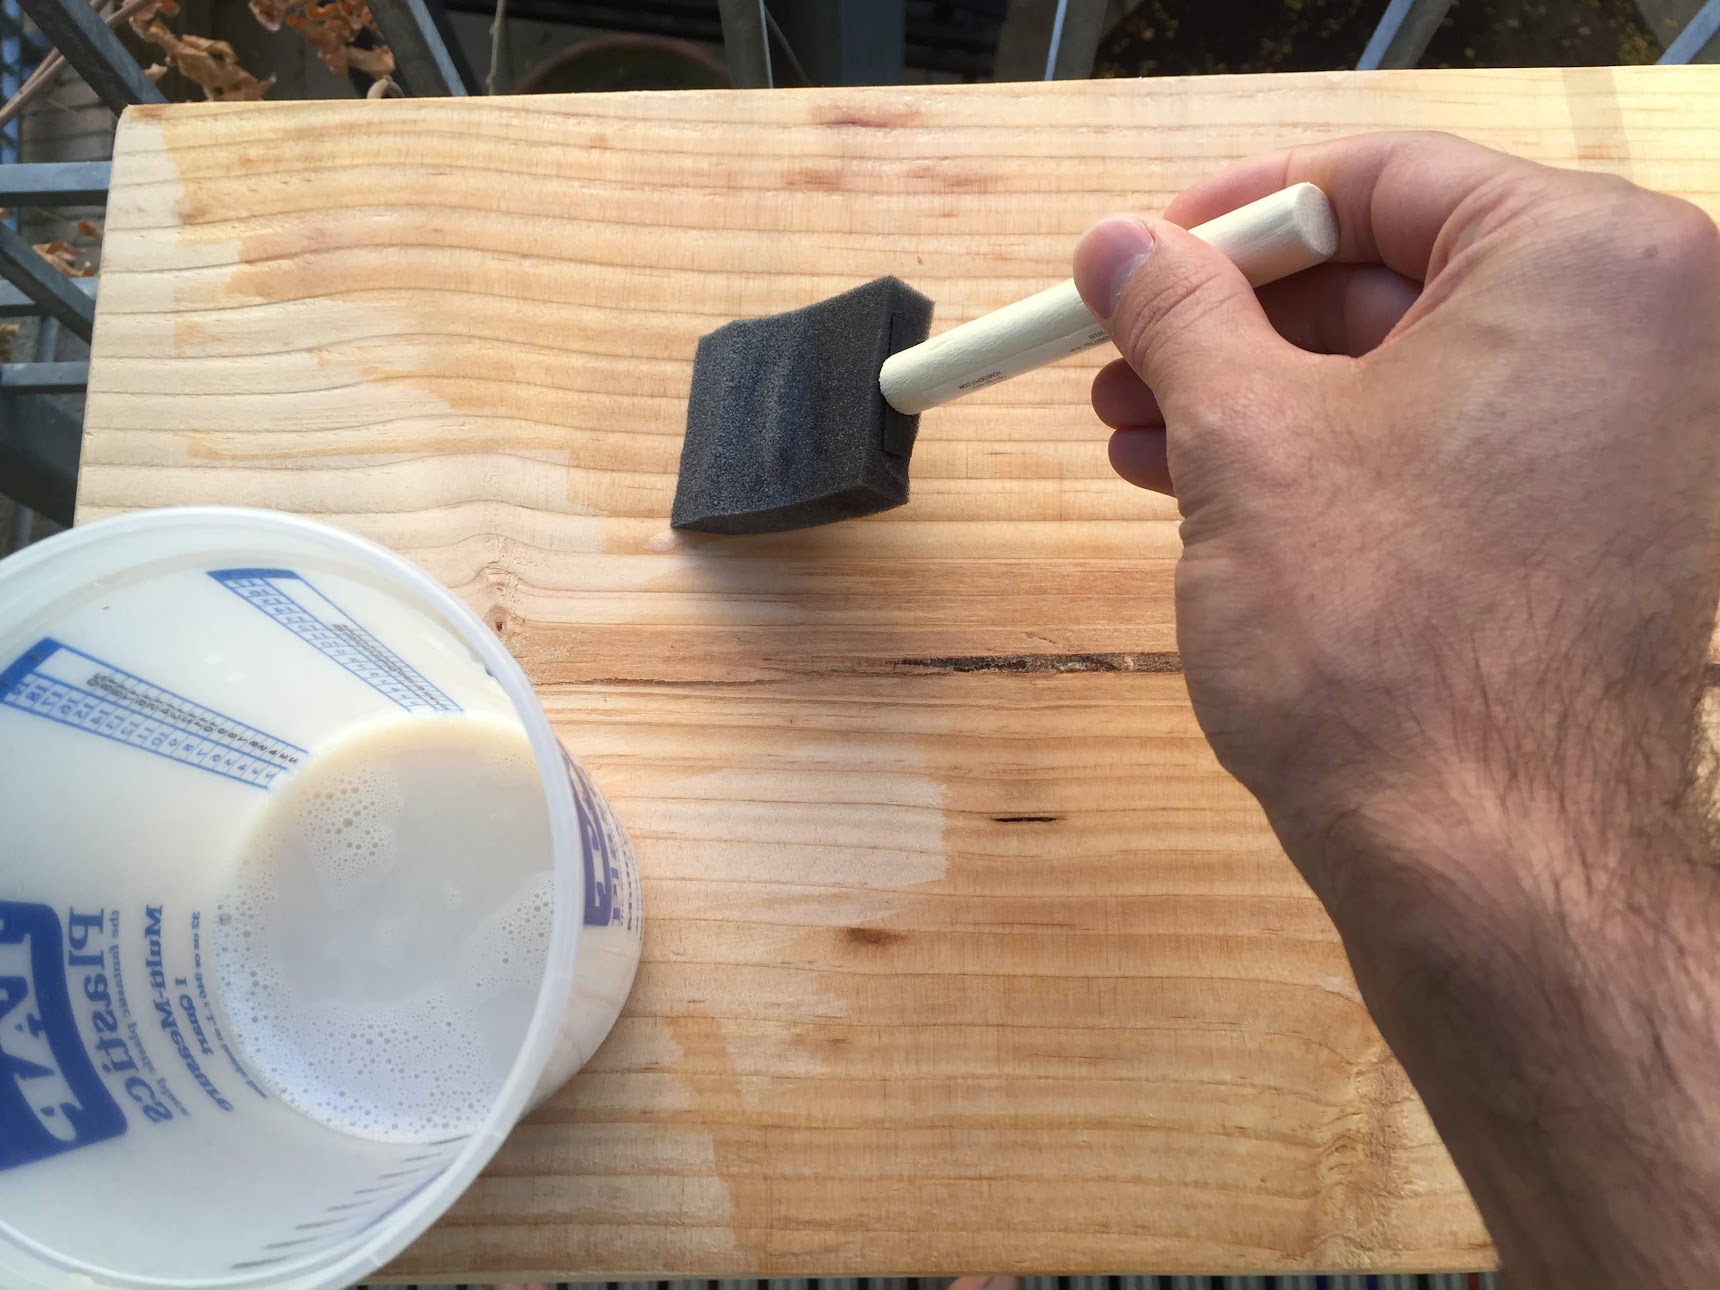
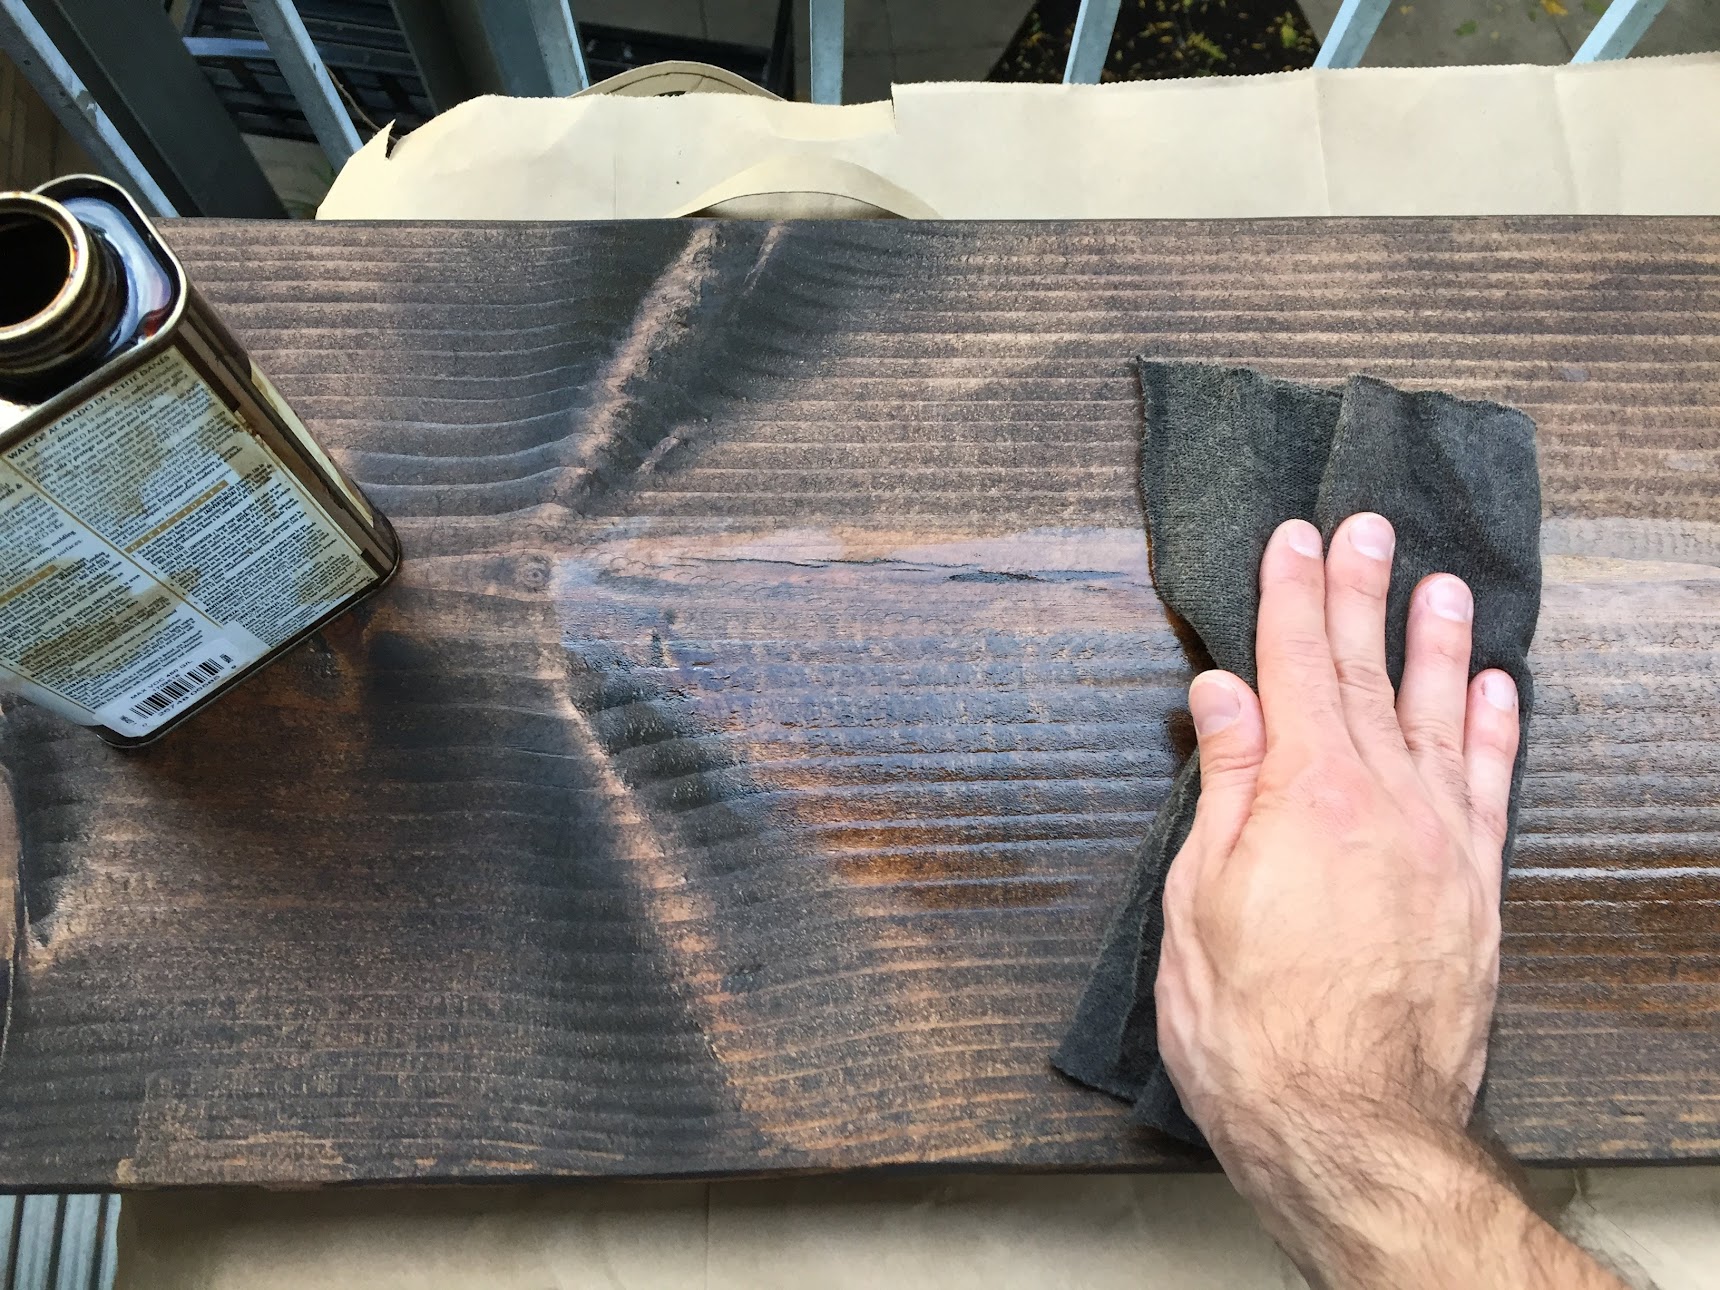
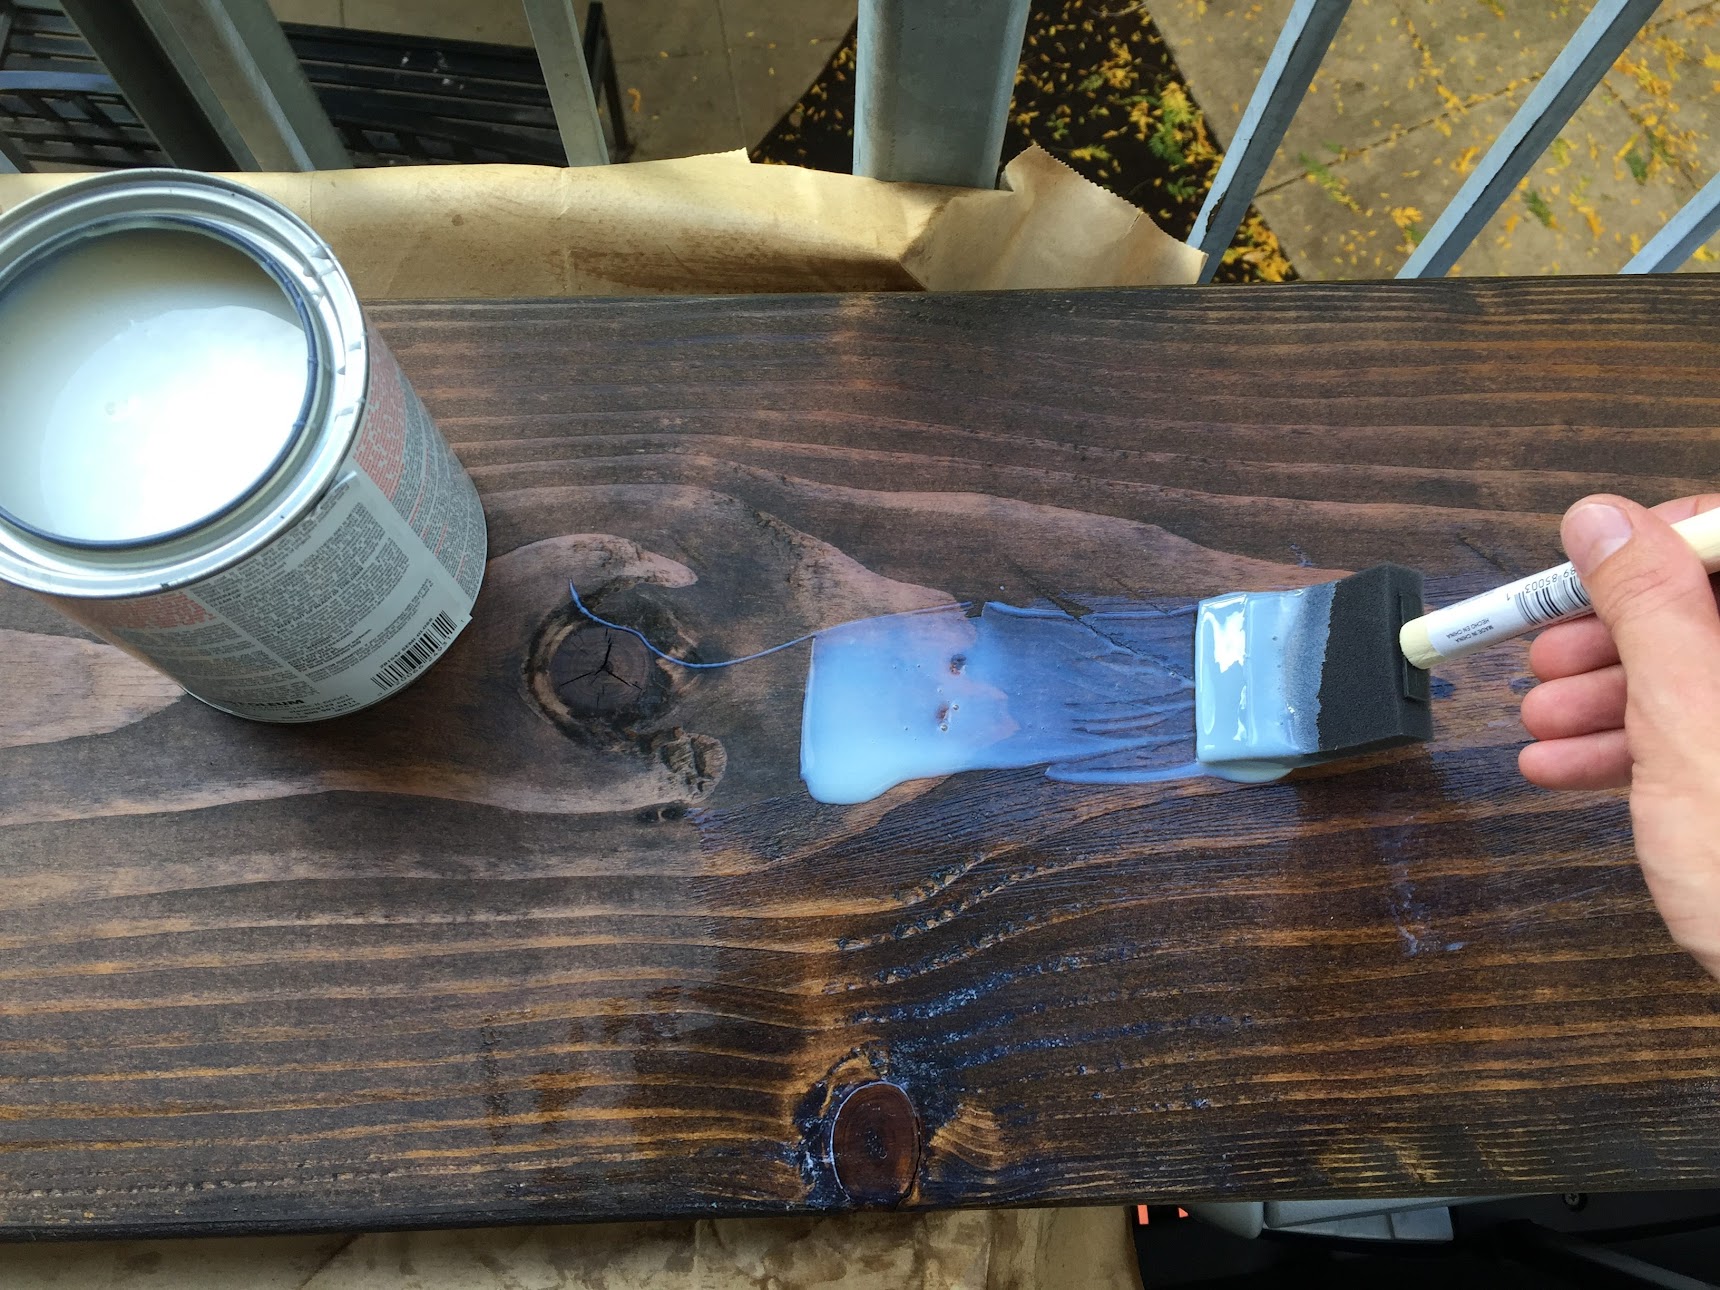
Follow the instructions on Handyman and divide the test board into different sections. Each section receives a different style combination. I wanted a dark walnut style to contrast with the bright metal pipes. I decided on the following: orbital sander, 1 part seal mixed with 1 part water, lightly hand sanded with 220 grit sand paper, dark walnut stain, dark walnut oil, and polyurethane. The orbital sander smoothens the rough Doug Fir. The seal creates an even surface so the stain won't look blotchy. Lightly sanding by hand removes some of the seal for a deeper stain. Dark walnut oil adds a little color and shine. Polyurethane creates a protective coating.
Step 5: Style the Boards
With your style combination in mind, style your remaining boards accordingly.


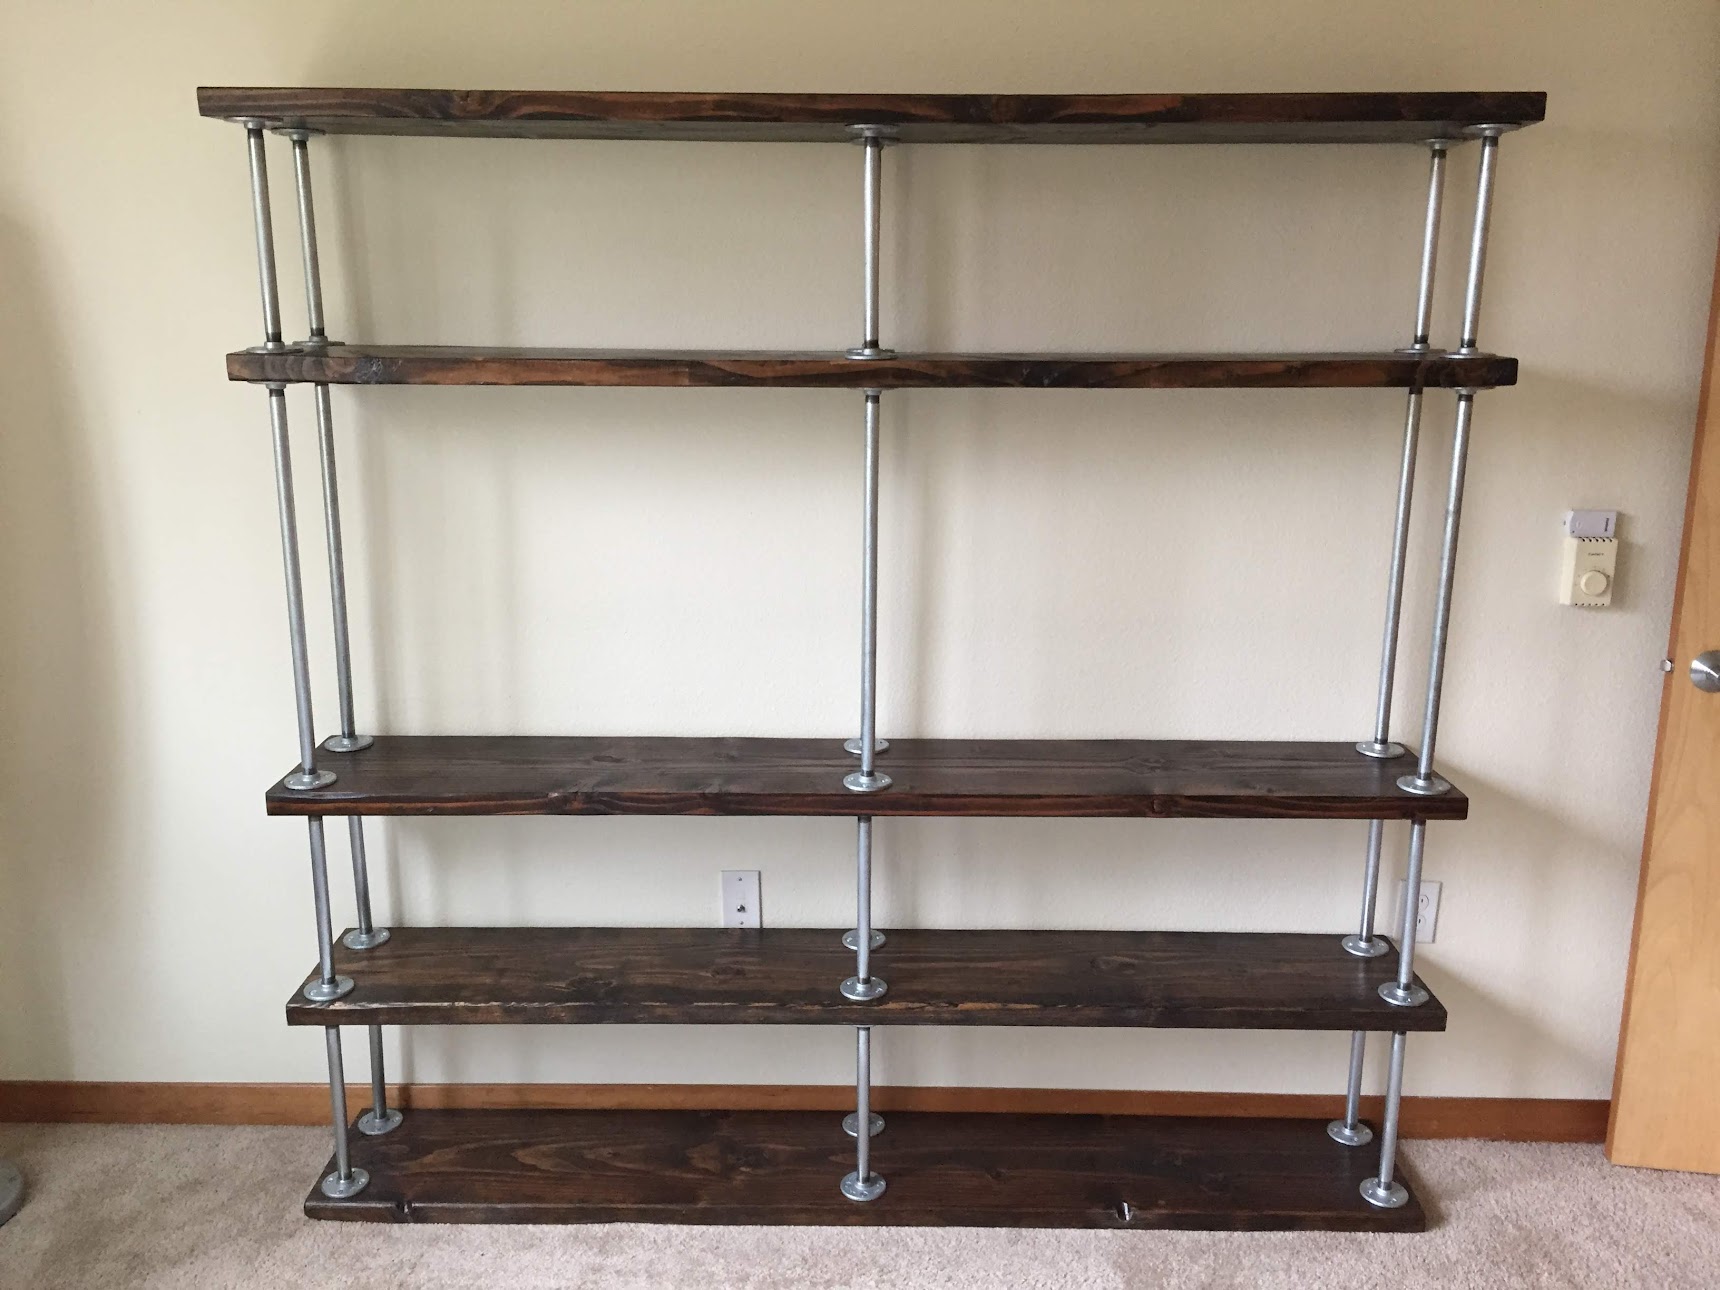
Step 6: Assemble the Bookcase
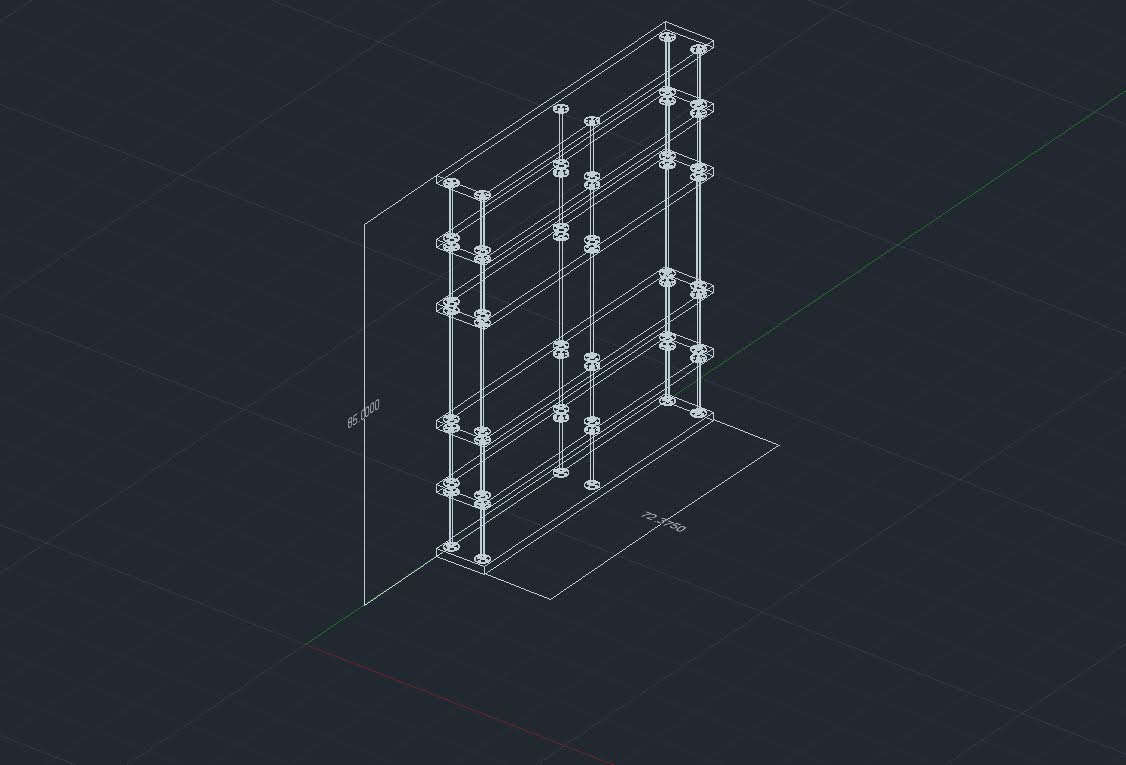
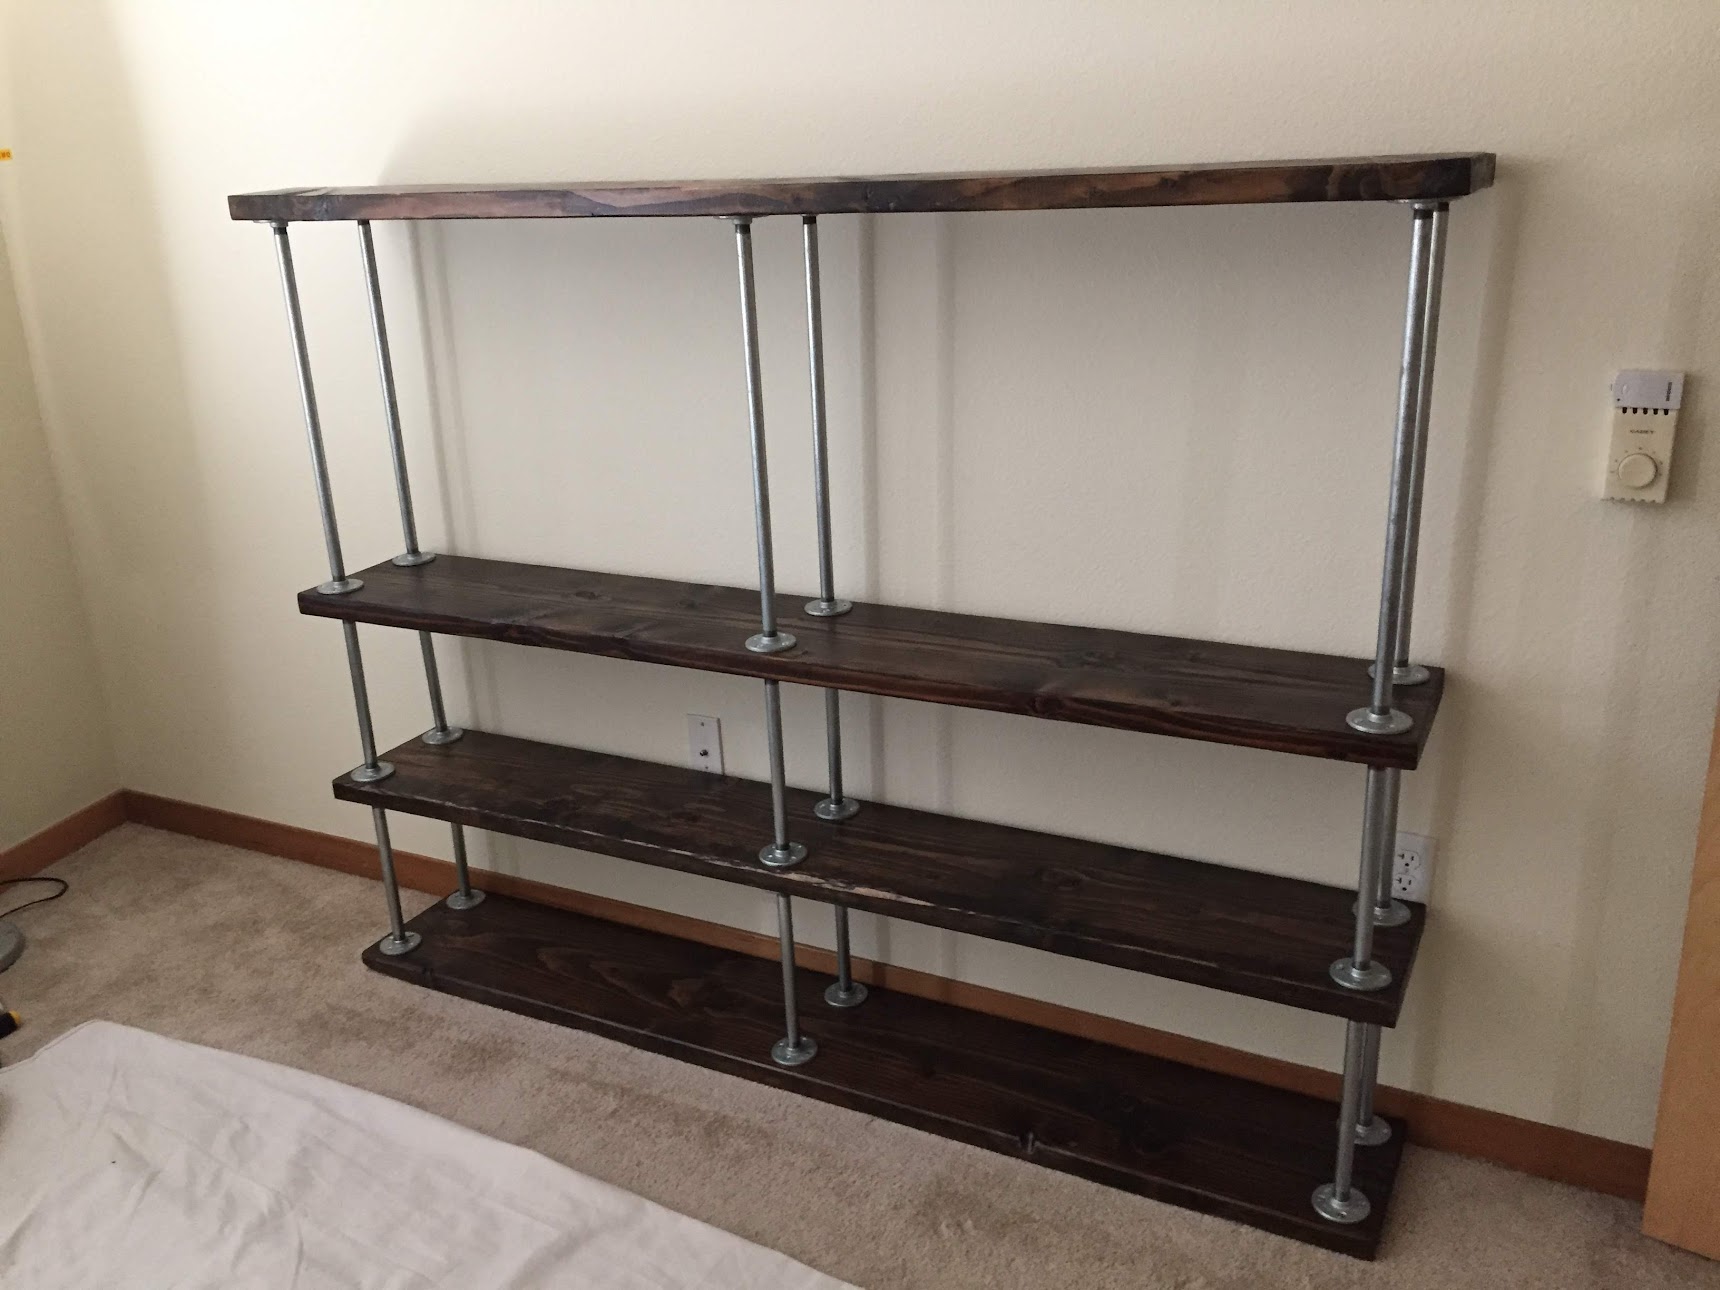
Follow the below AutoCAD drawing, minus the top shelf, to assemble your bookcase. The top shelf would have been too high. I placed each flange-pipe-flange stack 0.5" from the board edge. Use the screwdriver to set each screw. Once set, use the drill to finish fastening.
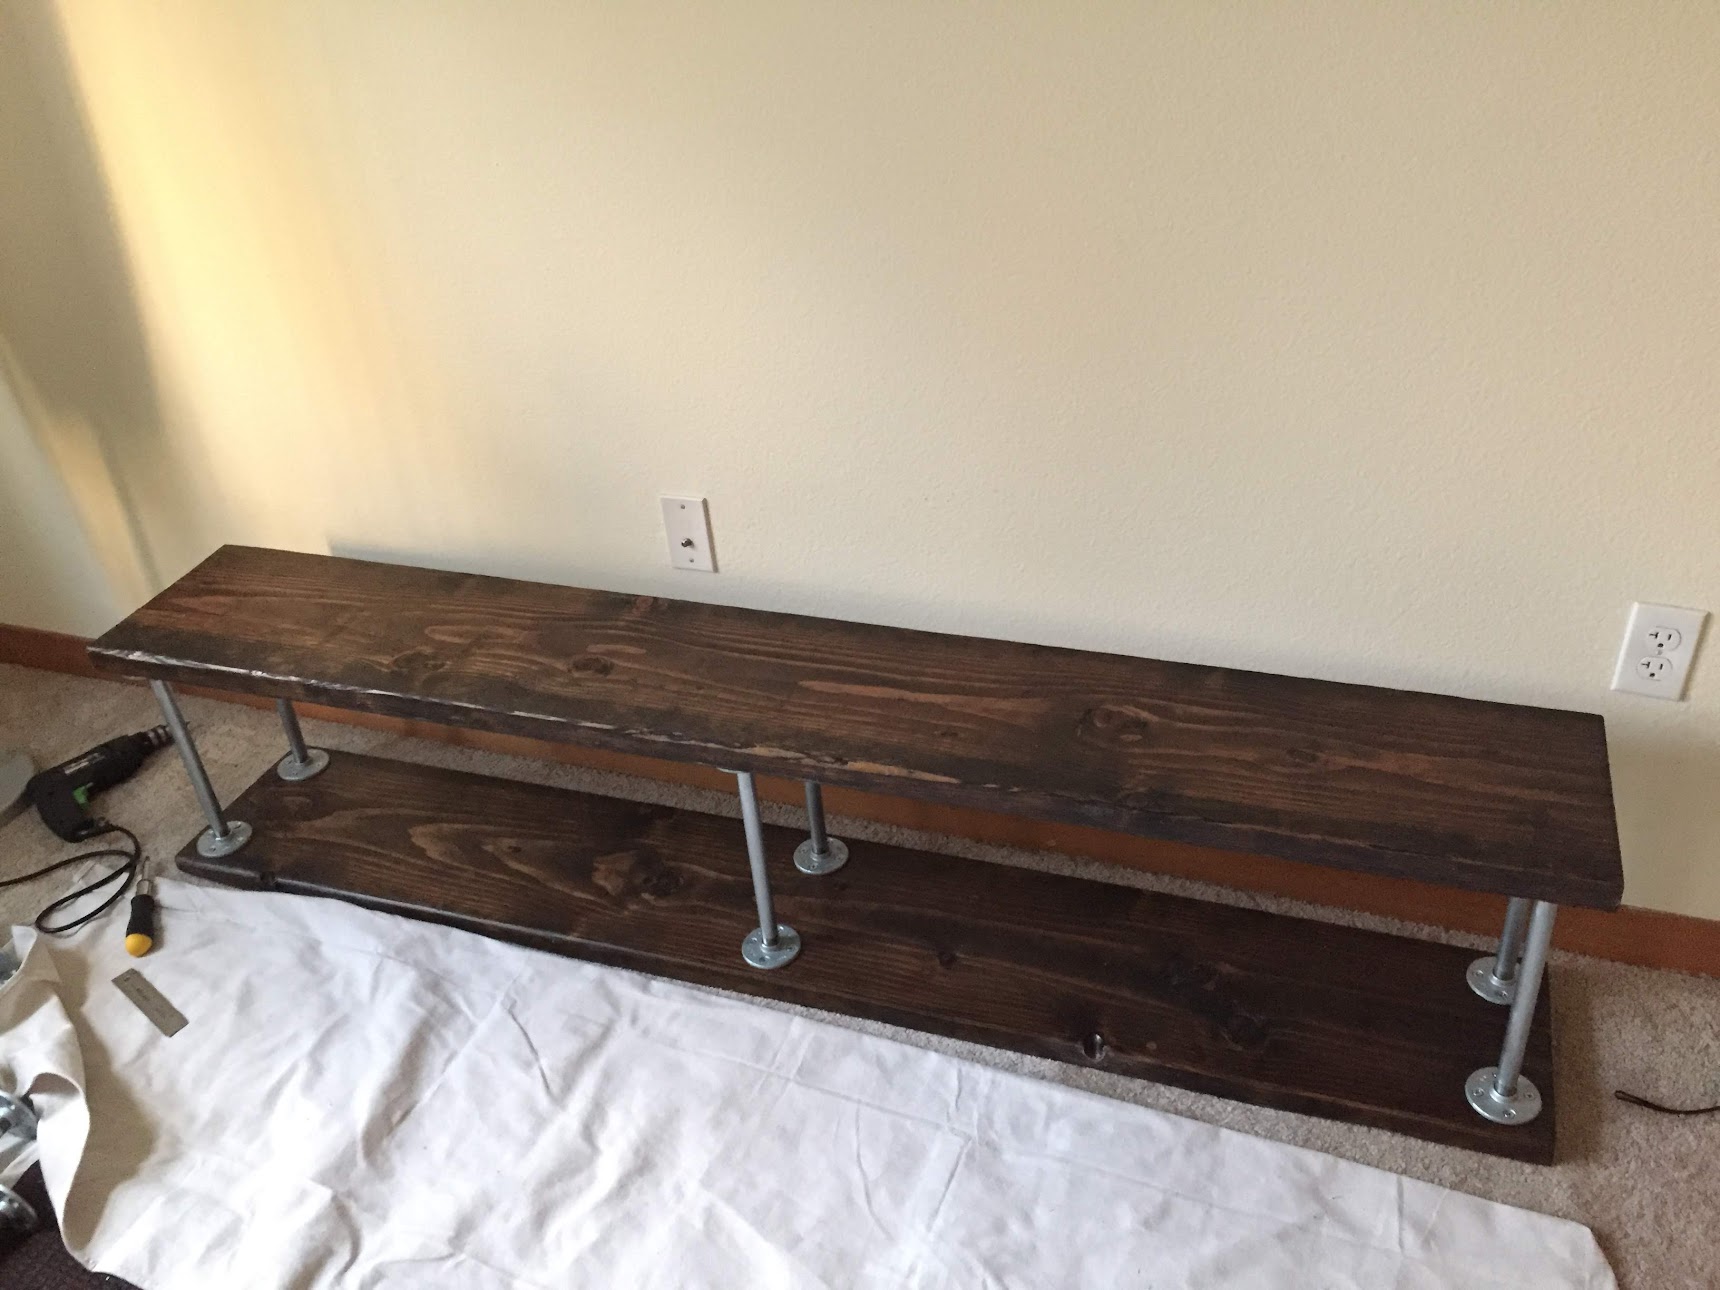
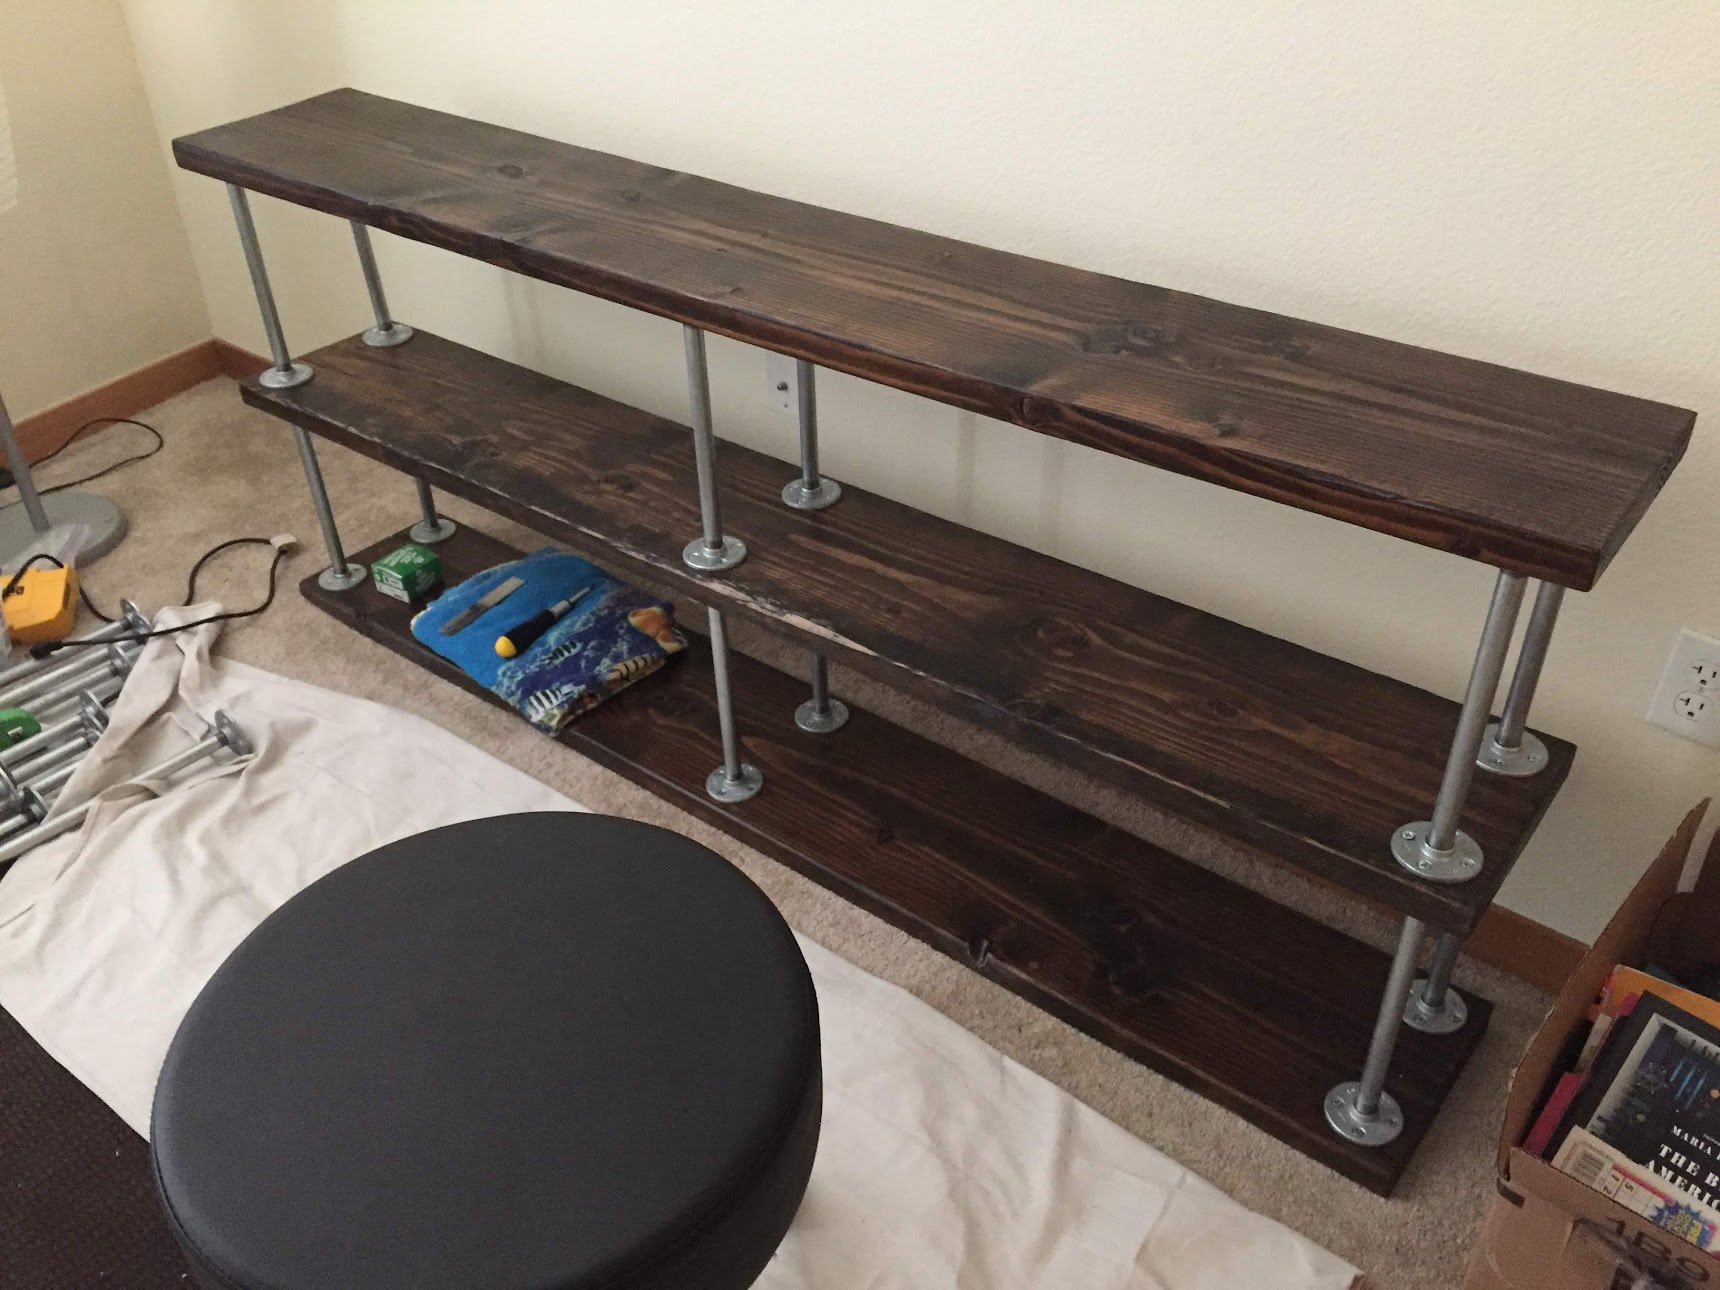
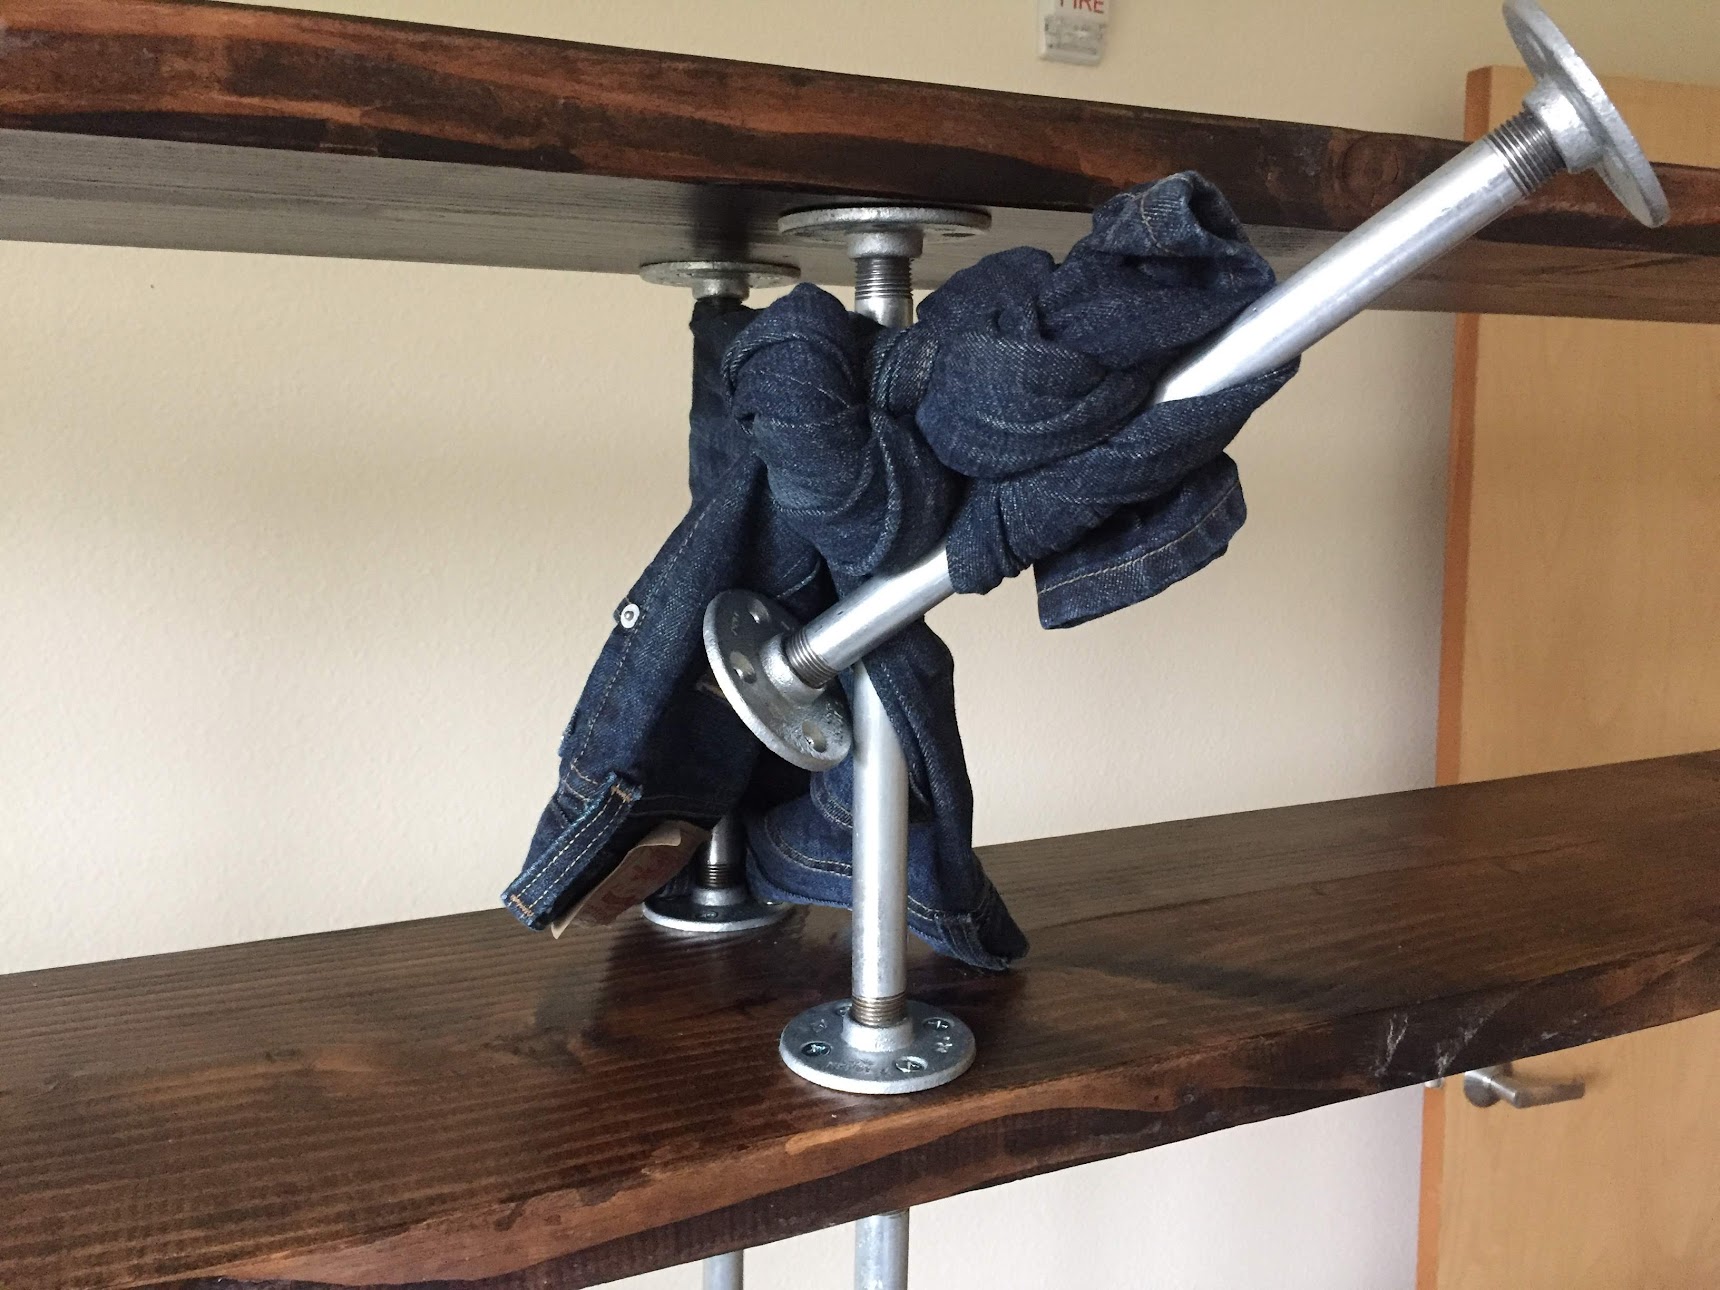
The second to last shelf, I came across a problem. The wooden board was warped. This was further amplified by the pipes. Using an old pair of jeans and another pipe, I slowly drew the pipes into alignment.
Step 7: Enjoy
Populate your bookcase with books and things.