Opinionated Tissue Box
Jun 12, 2022 | Author: Nic La | Tags: project code microcontroller boxA tissue box with no reservations about sharing its opinion. Inspired by Tom Haverford's Talking Tissue from Parks and Recreation. The Opinionated Tissue Box plays a preloaded soundbite with each tissue draw. It also makes an excellent gift for a friend, complete with personalized messages.
Step 1: Materials + Tools
Materials:
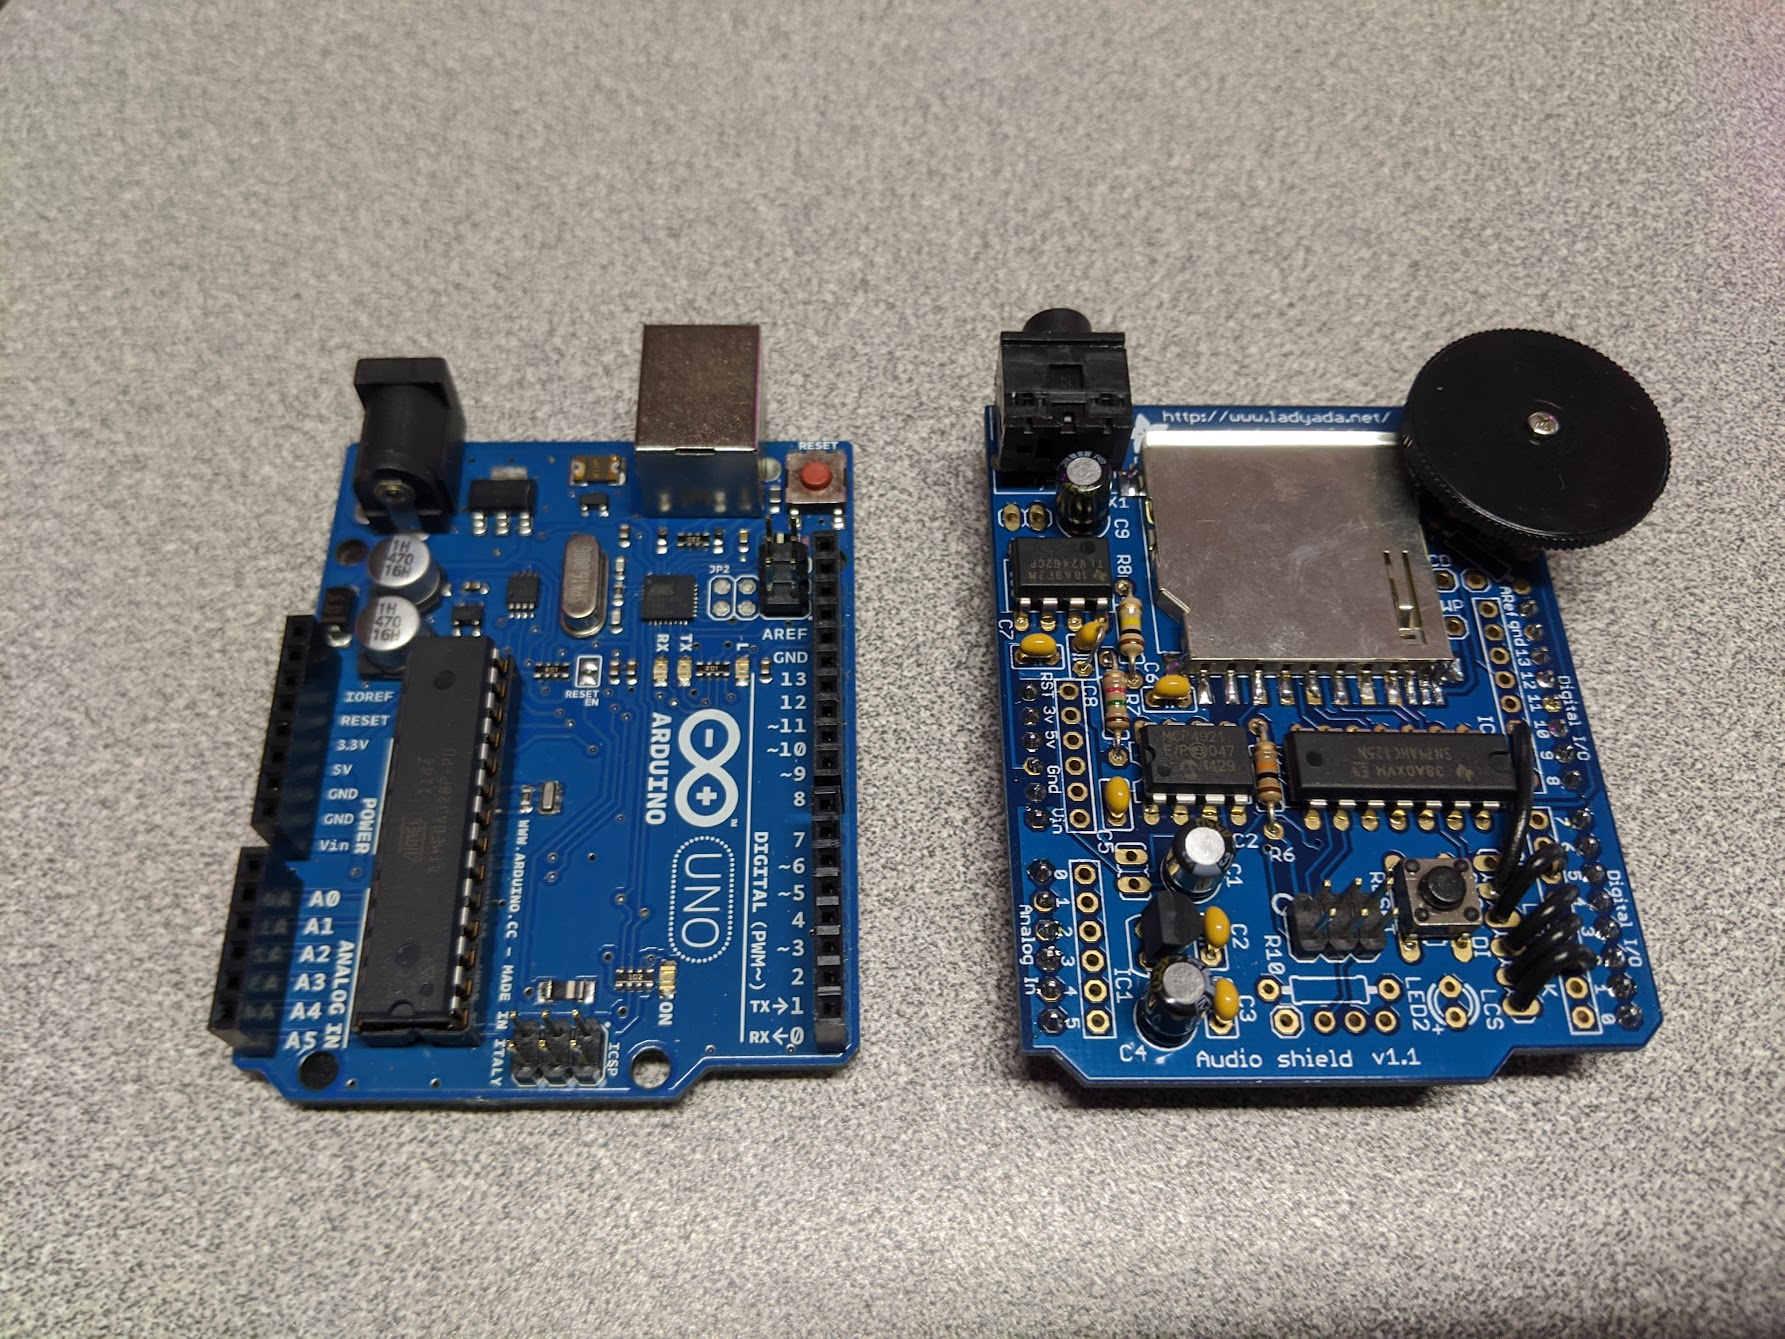
- (x1) Music & sound add-on pack for Arduino - v1.1
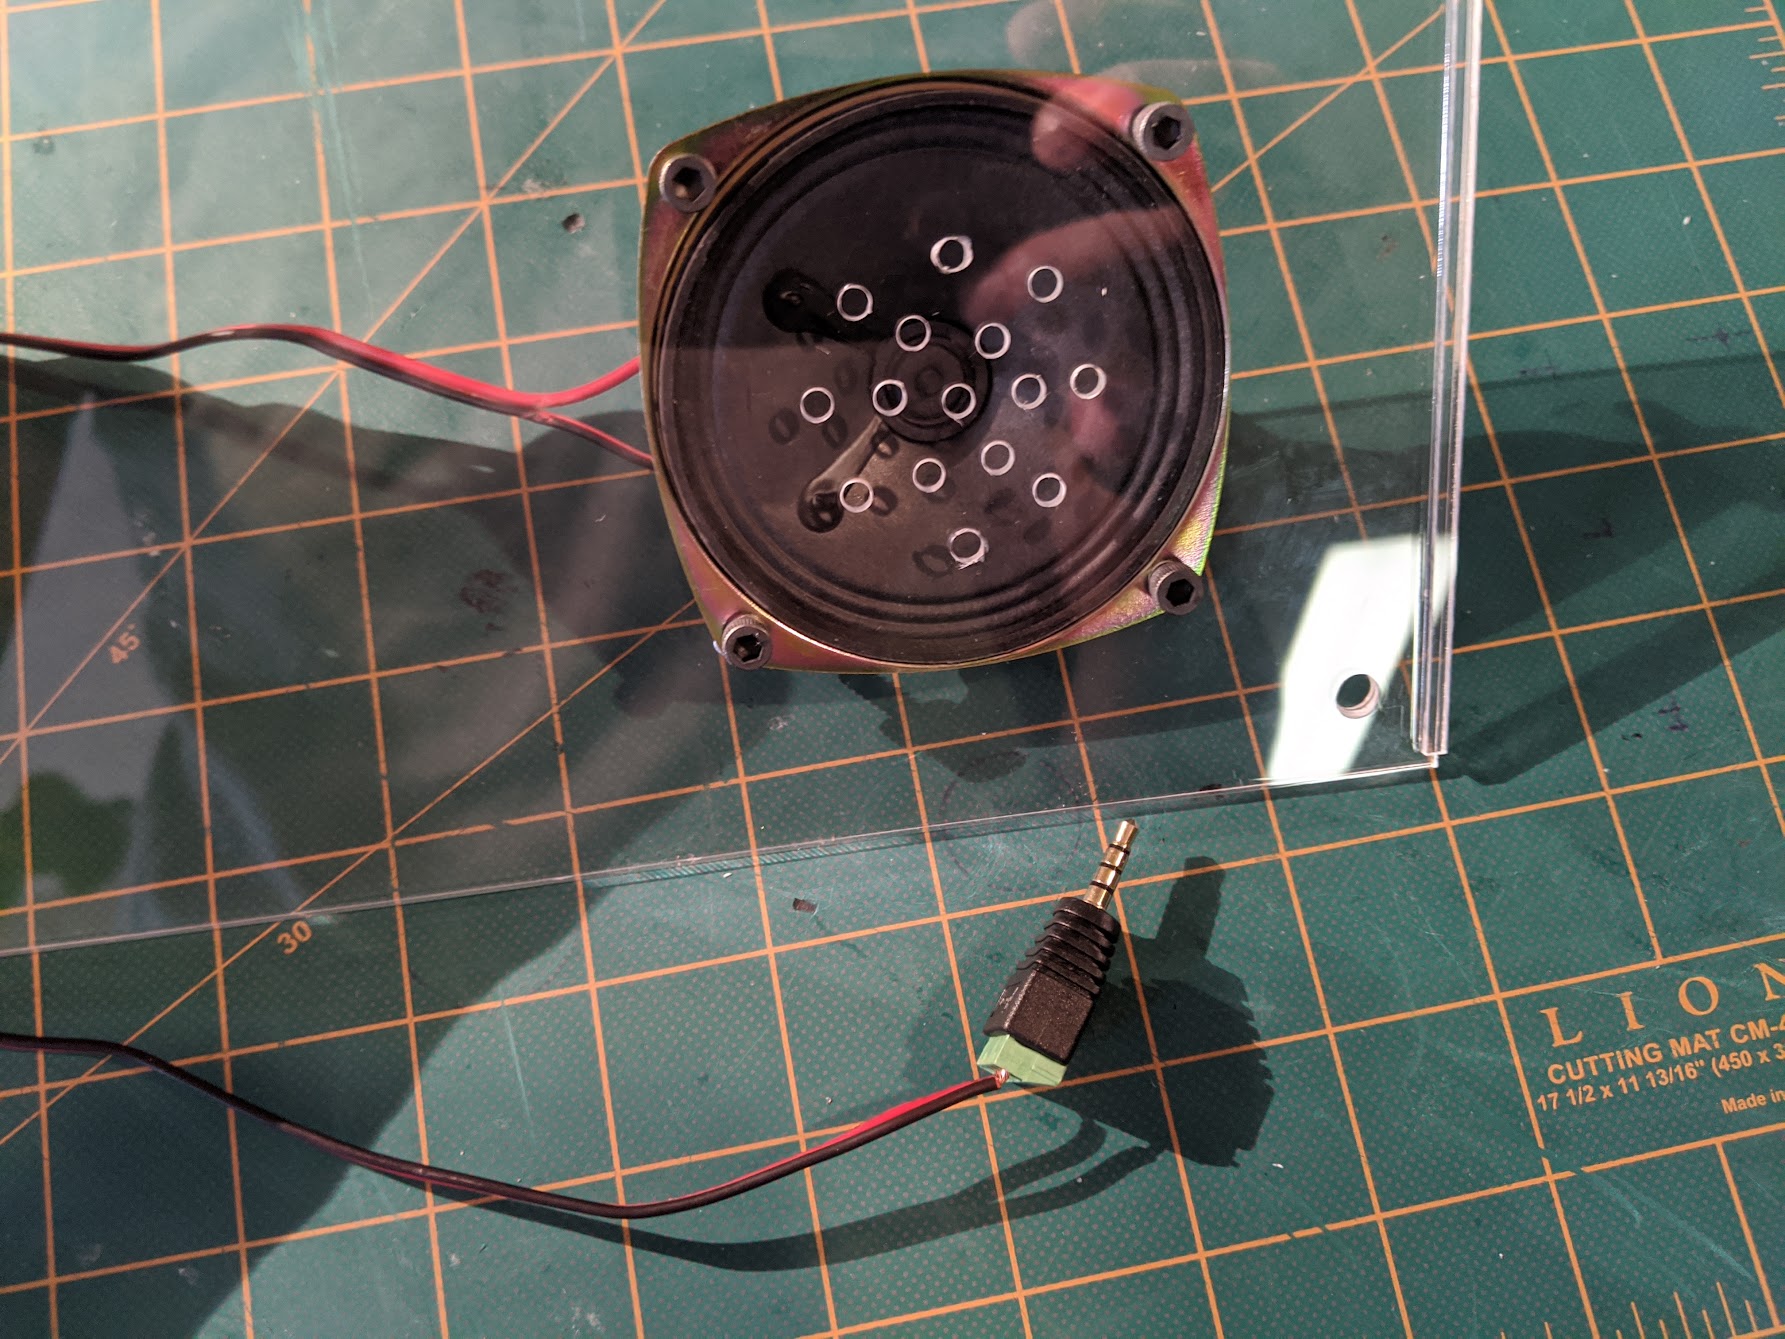
- (x1) 3.5mm (1/8") 4-Pole (TRRS) Audio Plug Terminal Block
- (x1) Arduino Uno
- (x1) Fast Vibration Sensor Switch (Easy to trigger)
- (x1) 9 VDC 1000mA regulated switching power adapter - UL listed
- (x1) Acrylic Tissue Dispenser
- (x1) 3D Printed Separator Plate
- (x2) speaker wire
- (x1) heat-shrink
- (x4) bolt
- (x8) nut
- (x50) tissue
- (x1) Arduino IDE
- (x1) Audacity
- (x1) soldering iron
- (x1) electric drill
- (x1) Sharpie
Step 2: Collect Soundbites
Decide on what soundbites to make. The more soundbites, the more unsolicited advice your tissue box will dispense. 30 soundbites was a solid goal for me.
- "You da man"
- "Do'h!"
- "Happy Birthday Vahan"
- "You go girl"
- "God bless you"
- "Gesundheit"
- "You got this"
- "Seize the day!"
- "Carpe diem"
- "You're very welcome"
- "Beware the ides of March"
- "Nic is awesome"
- "That Nic is so cool"
- "Nic is such a nice guy"
- "Apple sauce"
- "Don't get sick"
- "Tissue?"
- "Stop it that tickles"
- "Not cool"
- "Not again"
- "Getting close"
- "Just joking"
- "I got you"
- Mac boot up 1
- Mac boot up 2
- Mac crash 1
- Mac crash 2
- “Achu!"
- Toilet flush
- Wilhelm scream
Step 3: Configure Wave Shield
Our Wave Shield plays WAV files. Who'd have thought. Your phone may vary, however, my phone exported audio recordings in M4A format. Audacity requires the FFmpeg library to import M4A files. Instructions on how to update Audacity's library preferences can be found in your Audacity's help file (Help > Manual). From here, follow Adafruit's guide on how to convert sound files in Audacity.
Next, follow Adafruit's guide on preparing your Arduino to play WAV files off the Wave Shield. Be sure to download the test program and confirm your Wave Shield plays your WAV files. I received a "FAT partition not found" error and had to reformate the SD card as FAT3.
Success! Why is the audio so quiet? I went back to Audacity and increased the volume by 15dB on each soundbite. Any more dB and the audio quality was distractingly degraded.
Step 4: Program Arduino
Download the Arduino program from GitHub. The program has been adapted from the previous test program to continuously monitor the vibration sensor for a tissue event and play a soundbite after each event.
Step 5: Assemble
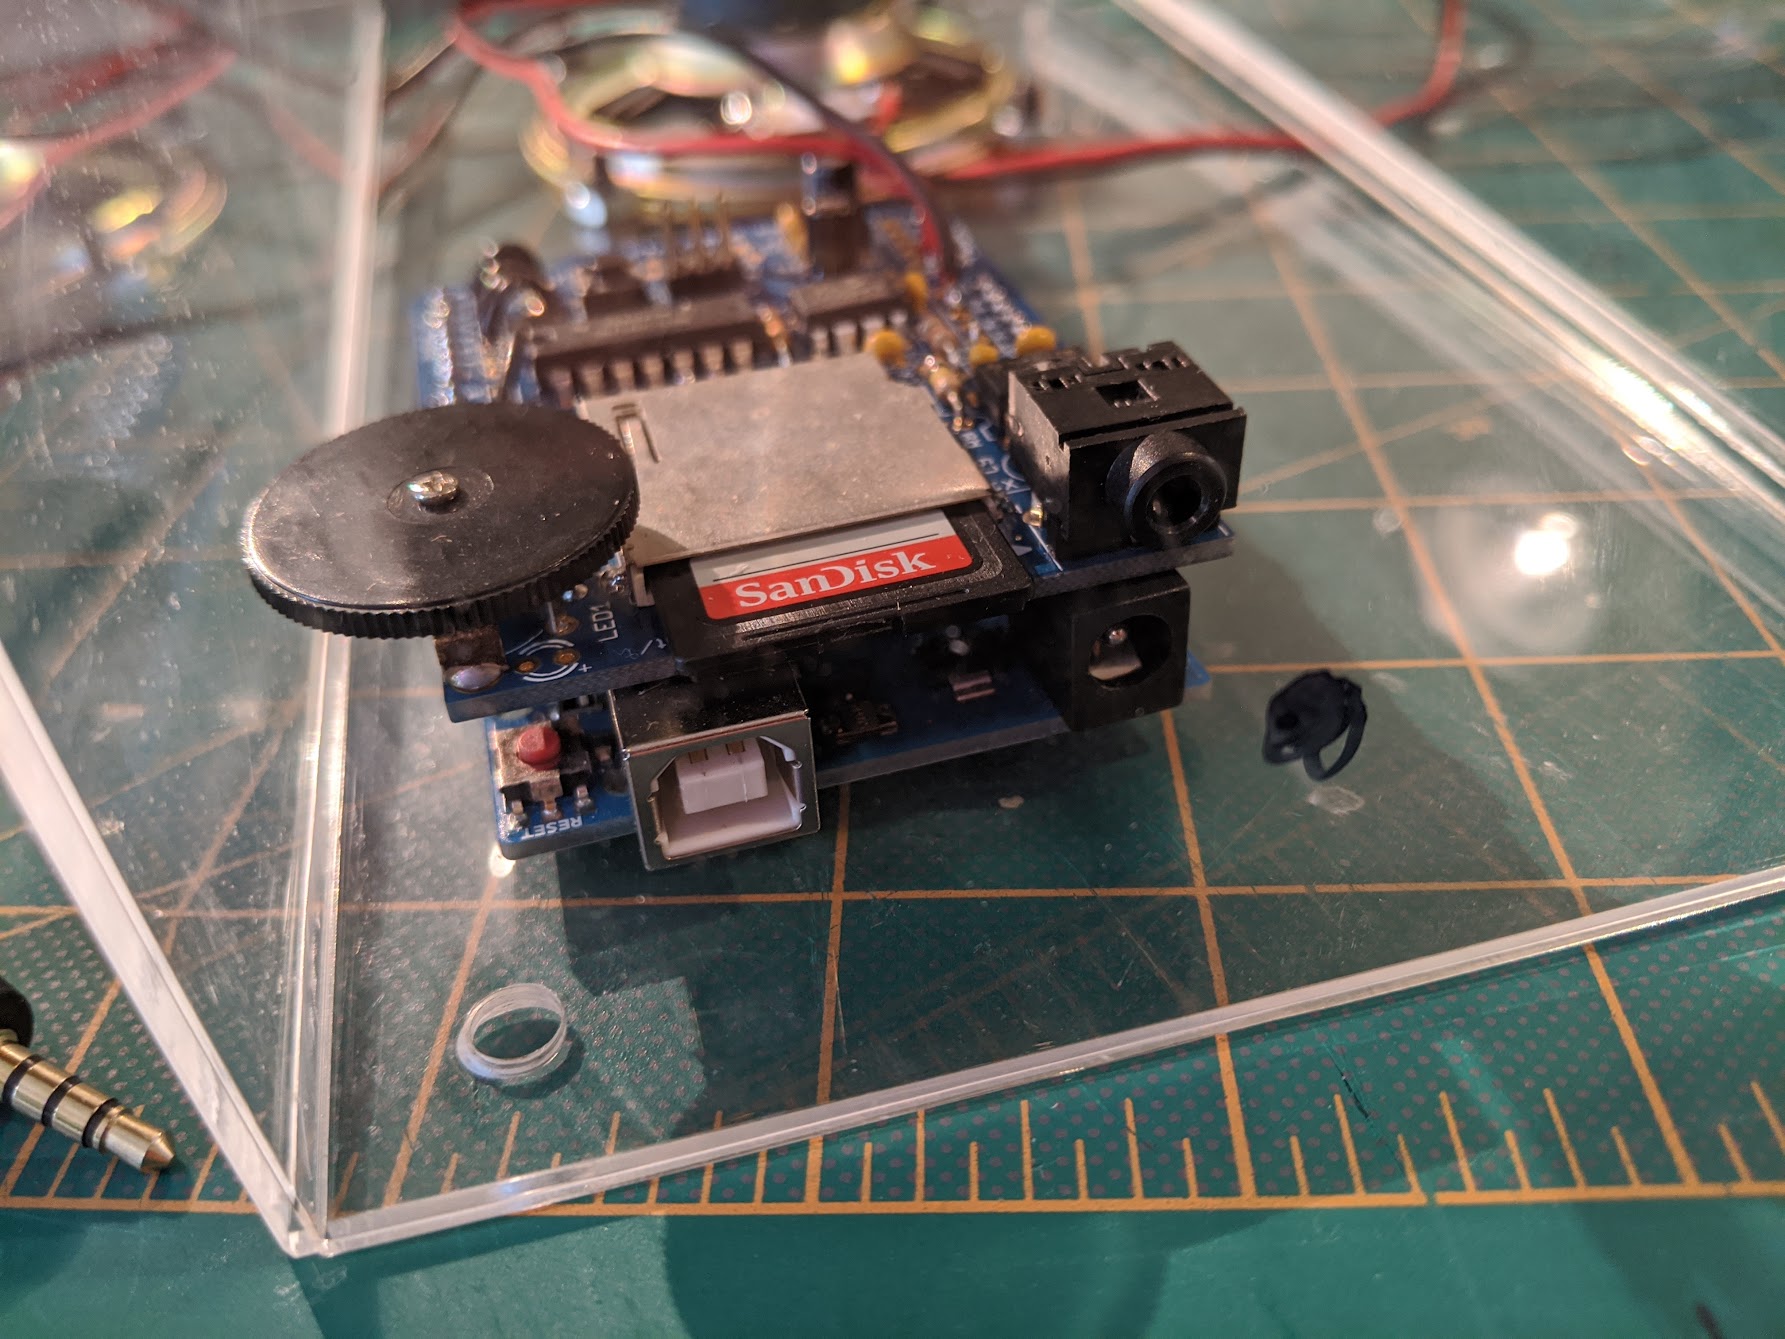
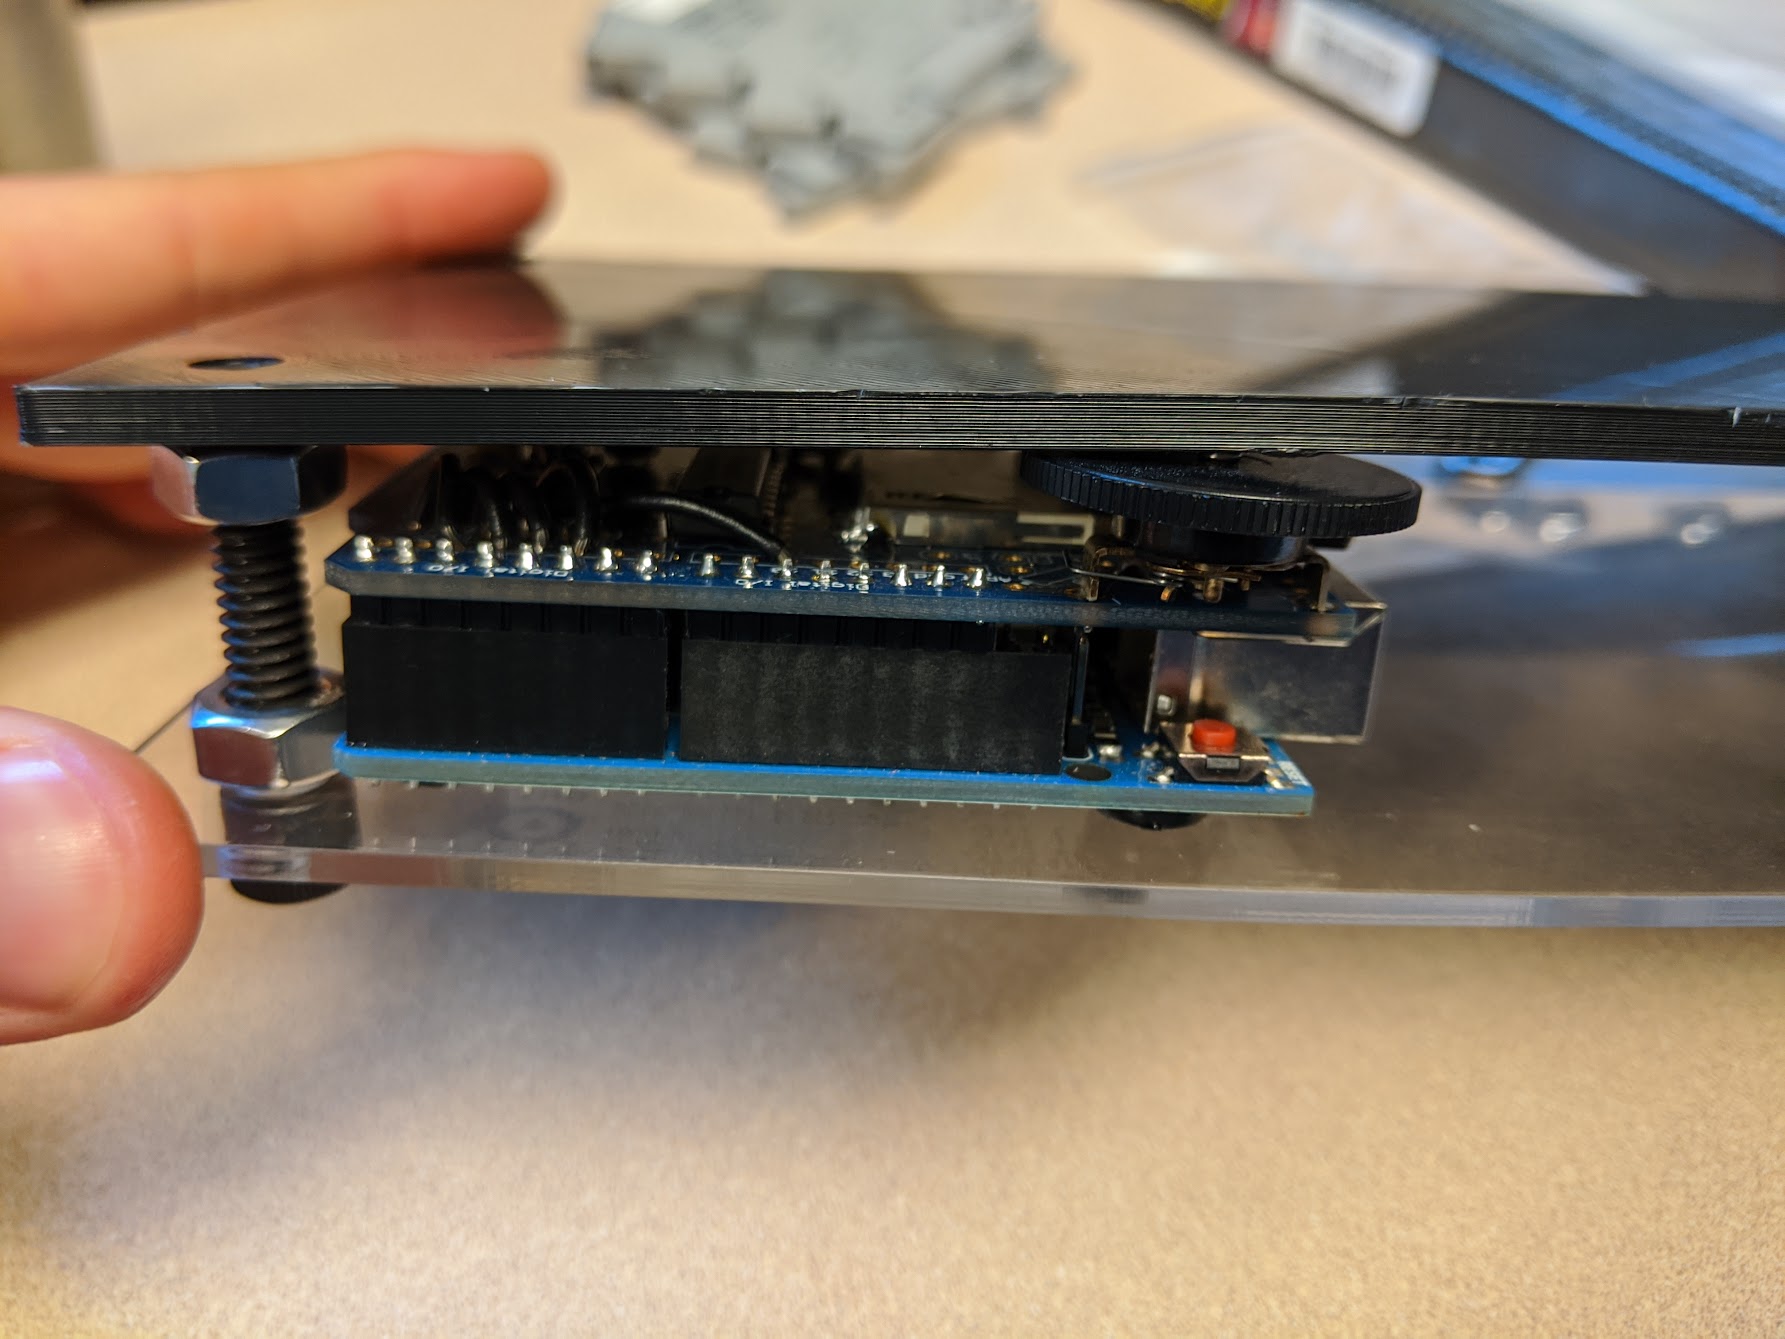
Stage the devices in the acrylic enclosure and mark with a Sharpie. I decided on facing the speaker down and raising the enclosure up, to reflect the sound off whatever surface the enclosure was placed on. I oriented the Arduino with its power connector facing out so I could connect the external power supply. The separator plate will sandwich the Arduino in place, but the speaker might require its own fasteners. Super glue counts as a fastener. The bolts sandwiching the Arduino serve the dual purpose of elevating the enclosure. Drill the acrylic enclosure appropriately. Don't forget speaker holes.
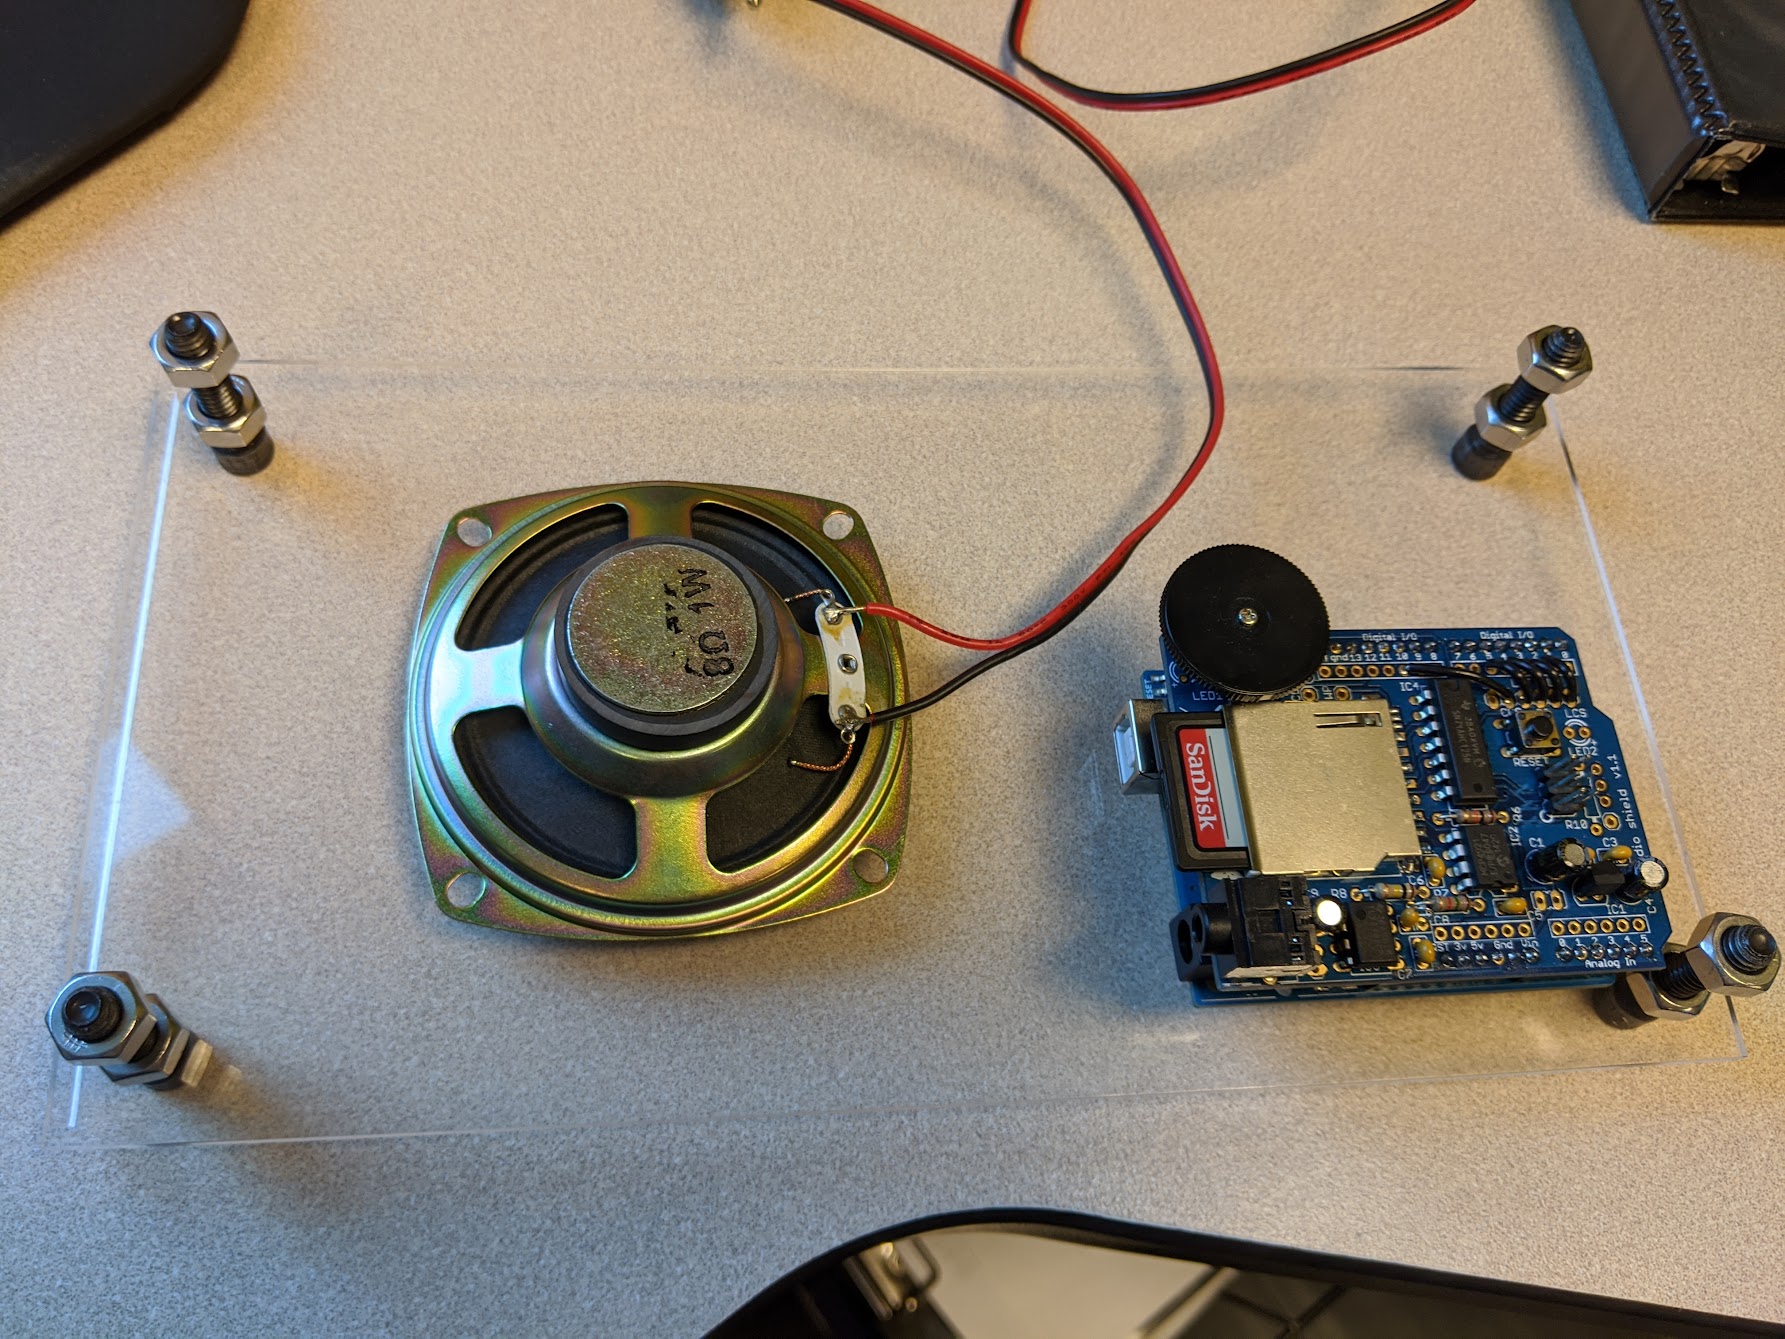
Solder a foot of speaker wire to the speaker. Connect the other end to Audio Plug L and ' '. Polarity doesn't matter.
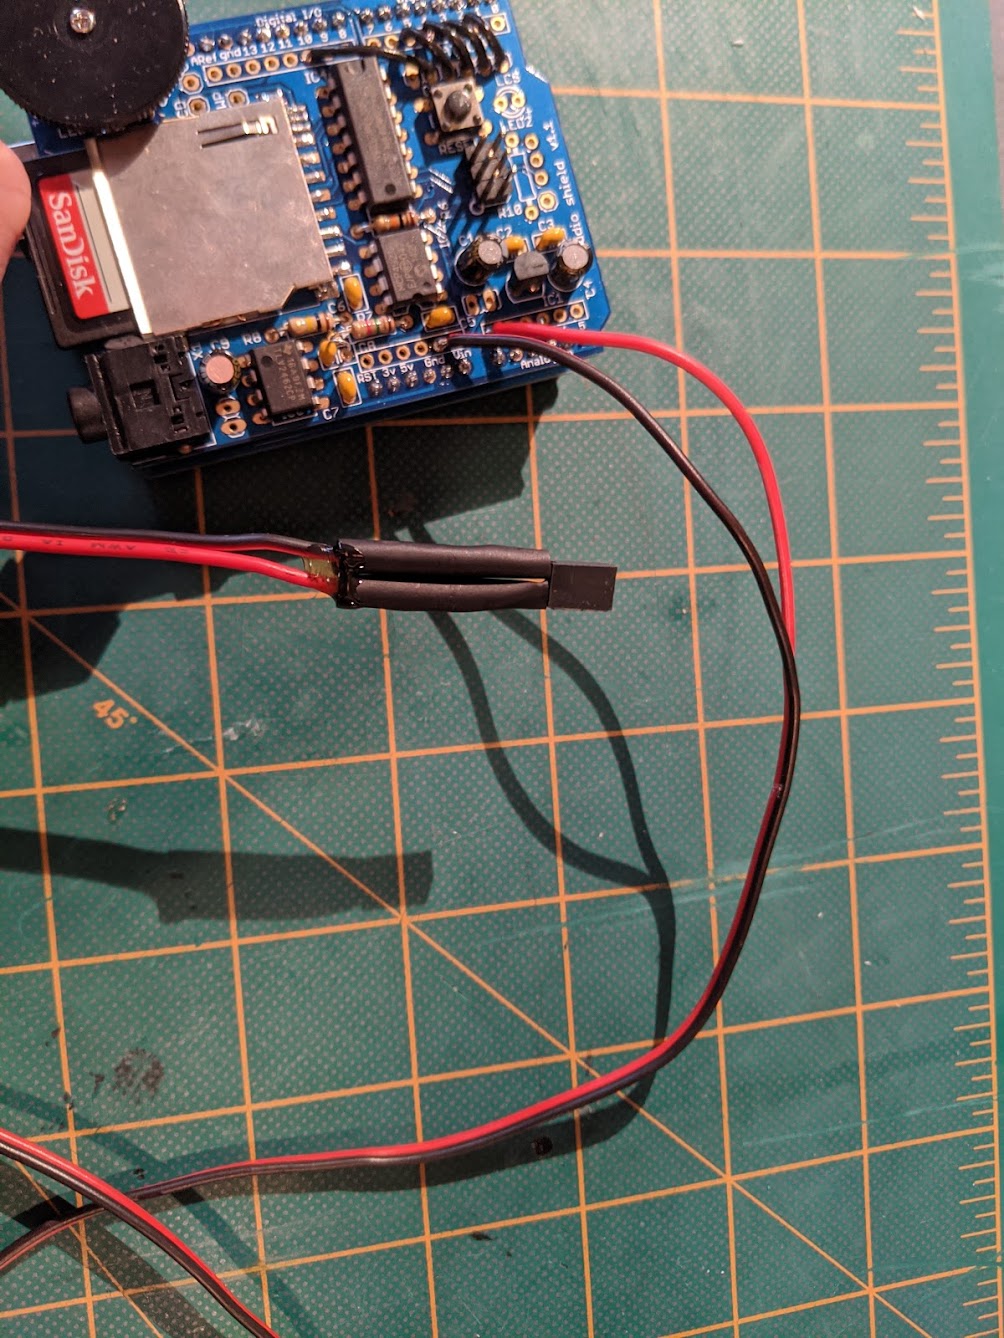
Solder a foot of speaker wire to the vibration sensor. A foot should be enough slack to position the sensor optimally. I added a bit of heat-shrink to protect the sensor leads. That thin lead is delicate. Solder the other wire end directly to the Wave Shield: thick lead to A0, thin lead to GND.
Step 6: Blow Your Nose
I hid the Celebratory Cash Gift underneath the pile of tissues. My friend had to endure my soundbites numerous times before arriving at the reward.